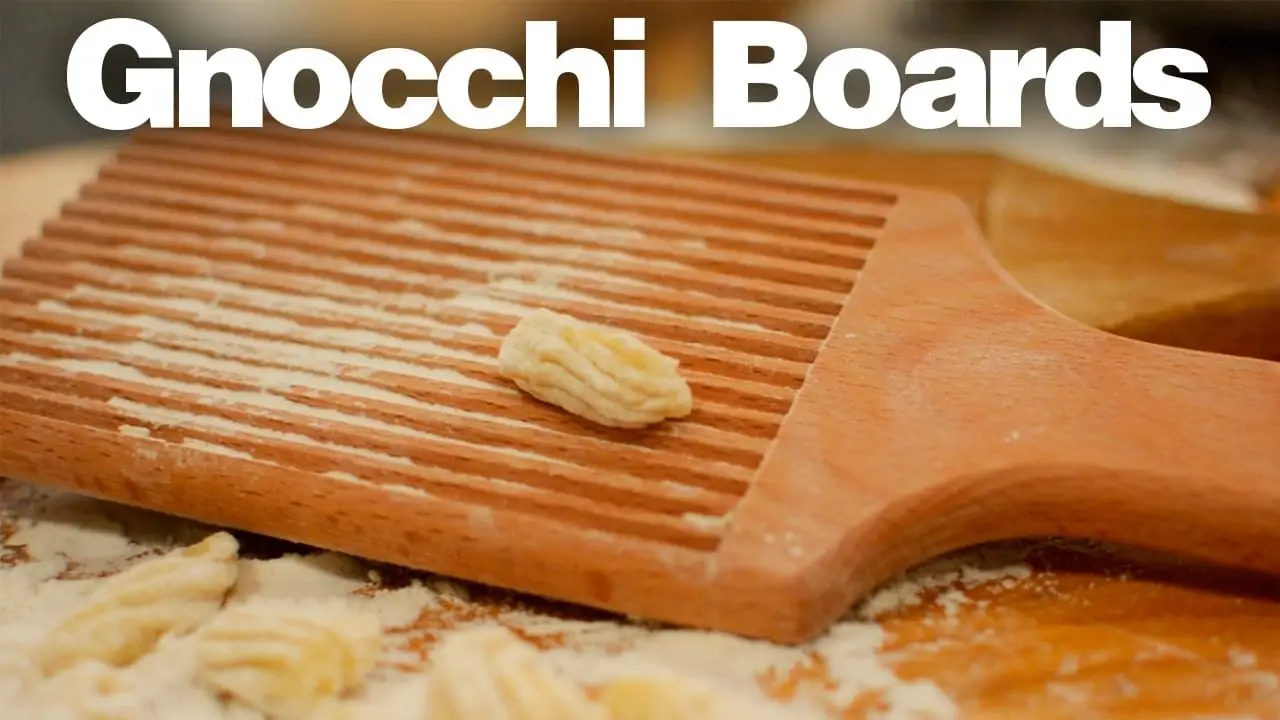
Gnocchi Boards are needed to make the perfect pasta-like dish. Gnocchi is a light and plump Italian Dumpling made from potatoes and semolina dough. It is kind of like pasta but it isn’t pasta exactly. Traditionally, it was made with potatoes but now people use more things than just the potatoes. This dish goes back to the time when everything was just very simple. People loved each other; there wasn’t any conflict, fights, and feelings of hatred and dislike. People used to sit on the table, the whole family used to enjoy the meal.
Food is a big part of any culture and the Italians are no exception, especially when it comes to extended family. I remember when we were little kids; I used to go to my friend’s house. She was Italian and I remember her grandmother used to make this amazing Gnocchi dish.
It is important to have all kinds of utensils to make all kinds of dishes. You never know when your guests demand what from you. Gnocchi boards may even make the perfect presents for people of the Italian culture. They can be easily made out of beech wood. The technique may use the routing grooves, the pattern routing, the rounding over, and much more. So let us bring back all the memories of our childhood and see how these boards are actually made and what kind of effort is put into it.
Today’s article is about how to make a Gnocchi board from any kind of wood. You can make them in different sizes depending on how much wood you have. Wooden projects are usually intimidating but this one is much easier than you think.
Items Needed for this Project
Here is the list of materials and tools you will need to complete this DIY woodworking project.
Material Required
- Incra T-RULE06 6-Inch Precision Marking T-Rule
- Wood planks (beech wood preferably)
- Planks of 4″ x 15″ x 3/4″ preferably
- Hardwood scraps (or new)
- Wood Glue
- Glubot
- Glue brush
- Sandpaper
- Mineral Oil
- Beeswax & Oil Blend
Tools Needed
Get all the required tools beforehand so that you do not get interrupted while working. Following is the list of tools you will need:
- Miter Saw
- Table saw
- Sander
- Planer
- Clamps
- Router
- Round over bit
- Wood glue
- Table saw
- Wood sander
- Woodcut machinery
- Wood sander
- Food safe finish
Step By Step Instructions On How To Make Gnocchi Boards
Step 1: Draw the Shape of the Handle
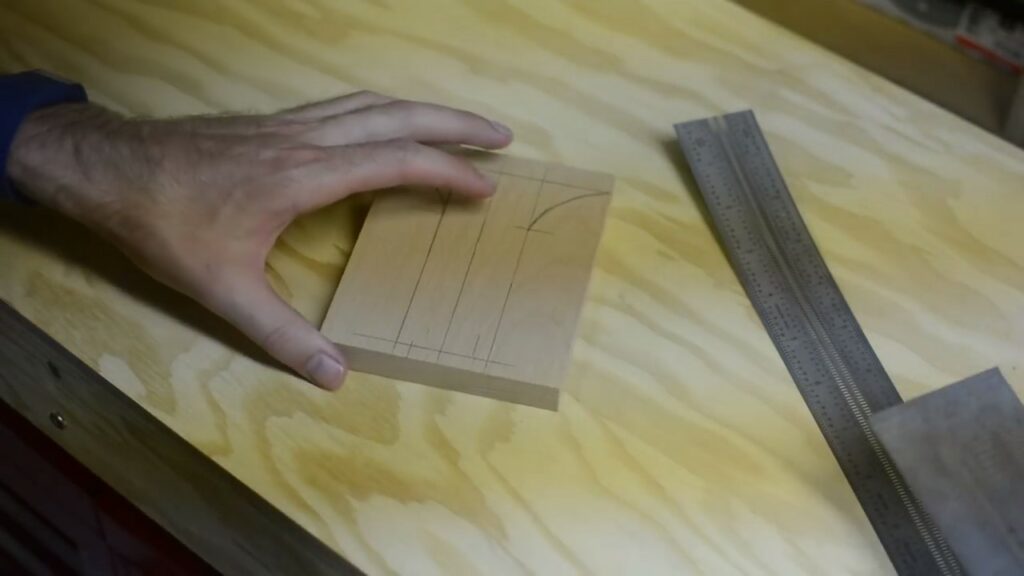
To measure and draw the perfect handle for your gnocchi board, you will need an Incra T-RULE06 6-Inch Precision Marking T-Rule. They are precise, versatile and easy to use. Make some basic marks to ensure that you met the desired dimensions. Draw freehand curves or arches at the bottom to make it easier to hold.
After you are done with the measurements, you start cutting and shaping it. The board would be around 12 to 14 inches long so you will have to make sure that the handle is around 6 to 8 inches. The board and handle should be about 1 inch thick and 1 to ¾ inches wide.
Pro Tips
- Use a wood-friendly carpentry pencil to make marks on the wood
- Using a T – Rule or a framing ruler will help you get the exact same measurements
- The measurements would be around 1″ x 1 – 3/4″
- You can alter the size according to your choice
Step 2: Cut and shape the handle (design of the handle)
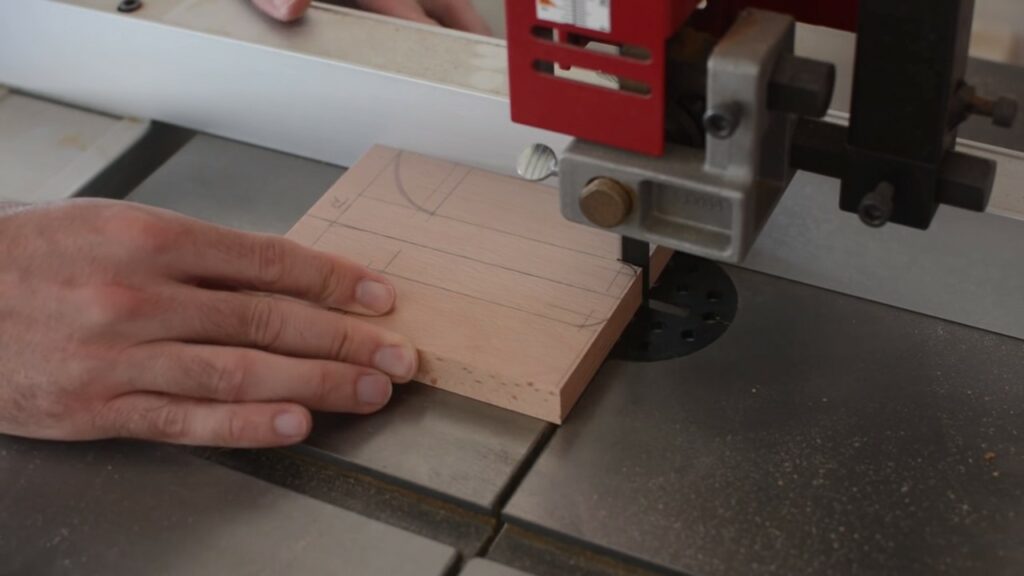
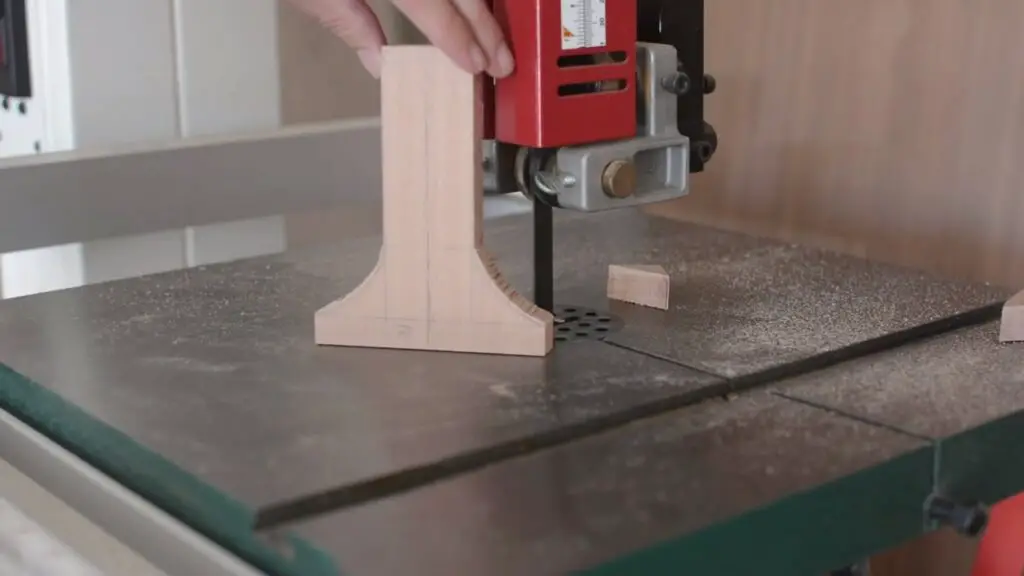
Use a woodcut machine to make sure you trim the wood straight with equal length and width. The curves might be a little rough so you can use a wood sander to smoothen the edges.
Pro Tips
- Use the woodcutter carefully
- Make sure not to hurt yourself as well as not to make any damages the wood
- Wood cutting machinery is handy but it might leave the curves a bit rough. Use the wood hand sander to equalize the handle making it easy to hold
Step 3: Shape or Groove the Board (layout of the board)
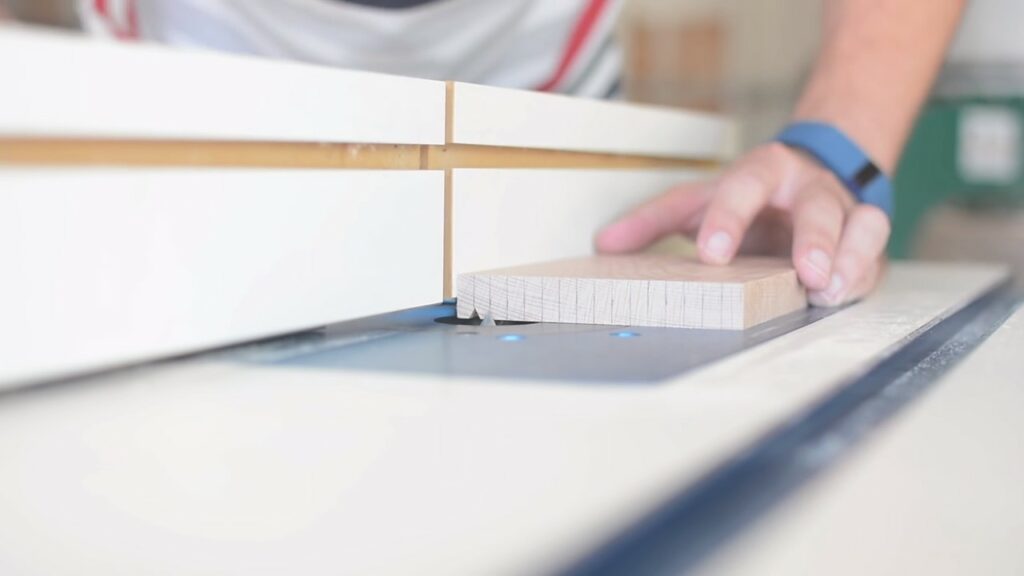
After you have the layout in mind, you set the board forward for its designing. You can use any ripped or pointy edges to pattern the board. Cut the grooves 1/8″ from each end. Keep a balance in the distance and cut another groove again. Repeat the process until the whole board has been grooved. Then trim the sides with a jointer or a hand plane.
Pro Tips
- Make marks with a pencil so that you know where exactly to imprint the design.
Step 4: Join the board to the handle (Gluing the board and handle together)
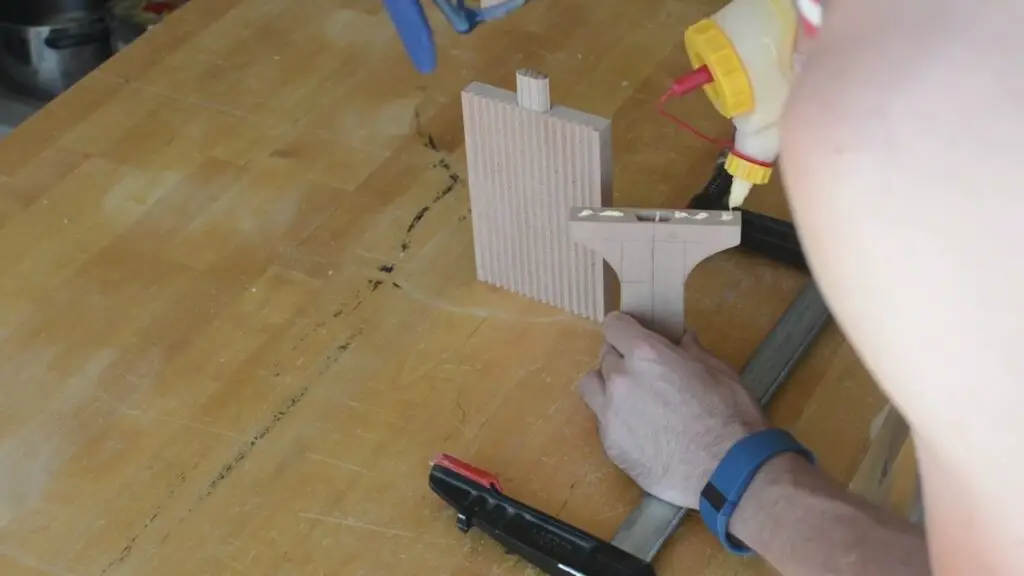
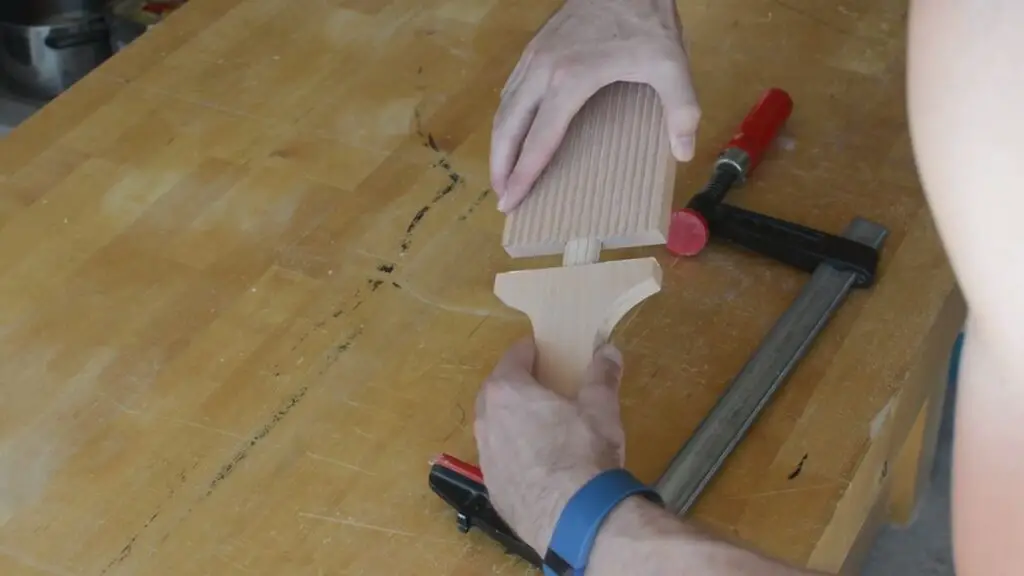
After you are done completing and patterning the board, join it to the handle using wood glue. And enclose it into a clamp so that it sticks properly. Some might use nails and a drill but simple wood glue would also do the trick.
Pro Tips
- Instead of glue, you can also use small screws
- Using a C-clamp will join together the pieces firmly without any gap.
Step 5: Make the edges smooth (sanding the board)
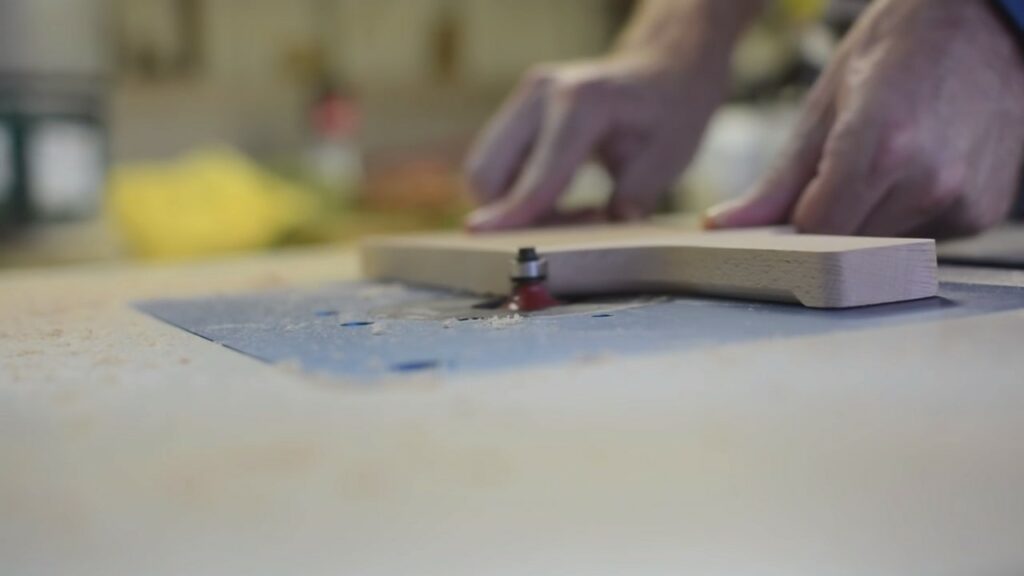
Finally, make the edges round over all the sharp edges of the gnocchi board so that holding the board becomes more comfortable. Do this with a jointer or wood sander or even a hand plane.
Pro Tips
- Some people might just get a smooth finish with a jointer or cutter in the first place. But using a wood hand sander is a better and easier option.
Step 6: Give it a food safe finish (with food oil)
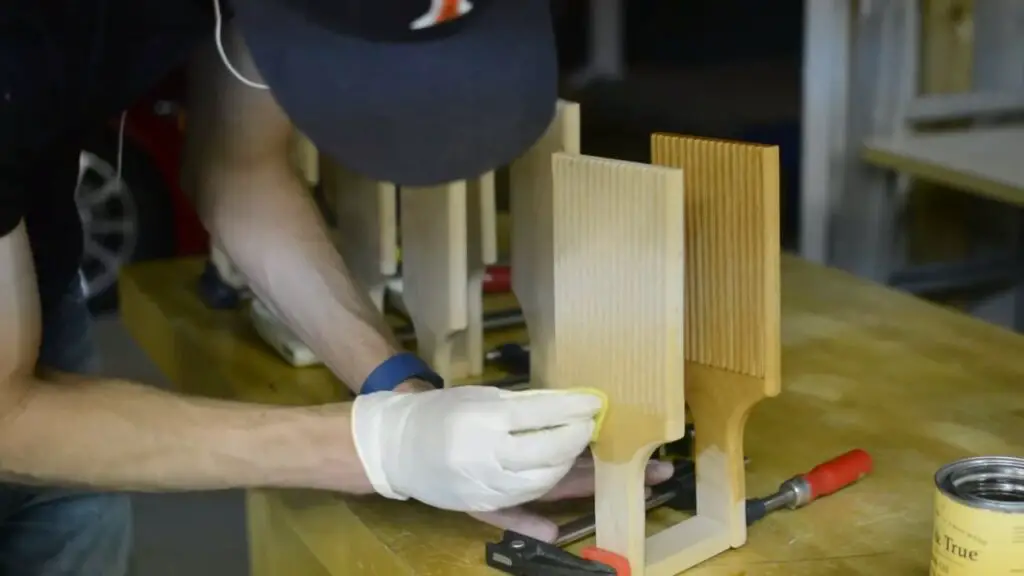
It is kind of like a polish called food safe finish. Apply it on the finished gnocchi boards using gauze and cotton. Mineral oil, butcher blocks conditioner, walnut oil or salad bowl also prove to be a good choice given their direct contact with food.
Pro Tips
- Expose the boards to heat for some time in order for them to soak the finish
- Use a paint brush for good application.
Conclusion
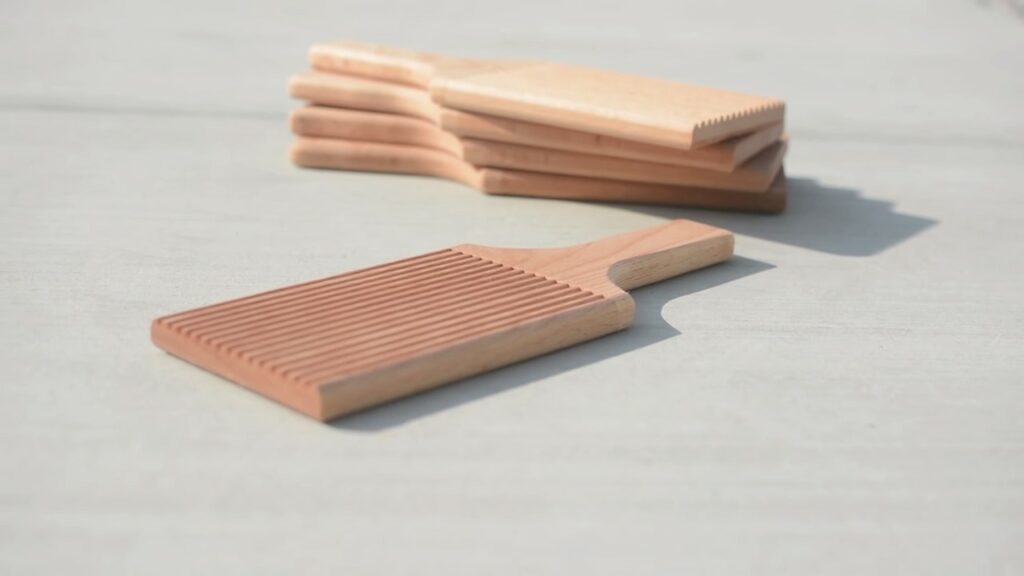
Gnocchi boards are very easy and fun to make. Surprise an Italian friend or even your mom by making her a Gnocchi board and reviving all the memories of your childhood. If you have all the right tools and all the right material, it is the easiest thing for you to make at home. This is of special importance for those who understand the Italian culture well. I hope this was of help and that you will give it a try and recommend it to your friends as well. Also send us precious your feedback.
