Have you ever wondered how to age wood grey and give just about any wood surface that weathered look with a cute shabby chic accent?
Of course, you can always opt for readily available stains and paints.
However, you can also achieve the desired effect for cheap without any fancy instruments or products involved.
In fact, you can turn wood into stunning, rustic shades of grey with common household materials you most probably already keep handy in your home.
The real question is how to get that aged, grey appearance on wood in the easiest and most effective way possible. And we are here to help with some practical tips and self-tested techniques to make your mission as a DIYer a pure joy.
Let’s dive in!
What You Will Need To Follow This Tutorial
- White Vinegar
- Water
- Steel wool
- A Jar
- A Paintbrush
Even though the process of turning wood grey is fairly simple, there are certain tricks which will help you a lot on that note.
Pro Tips
1 – Choose the right type of wood
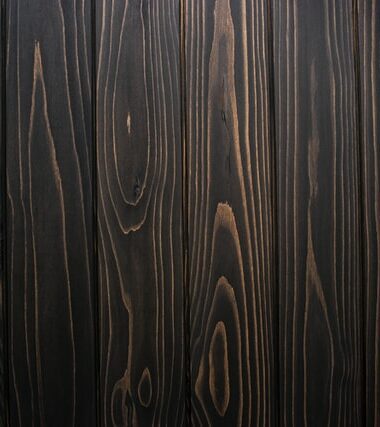
Much like the process of getting that aged, weathered look by applying baking soda and vinegar, the overall effect will highly depend on the type of wood you choose. For example, basswood and balsa can range from grey to dark brown while oak will turn black.
Personally, my favorite type of wood to age into gray nuances is cedar. However, pine wood also works wonderfully.
The best way to determine whether you like the effect on the particular wood you are experimenting with is to test the solution on a small piece of scrap wood before you proceed with covering the entire piece.
2 – The rougher the wood, the better
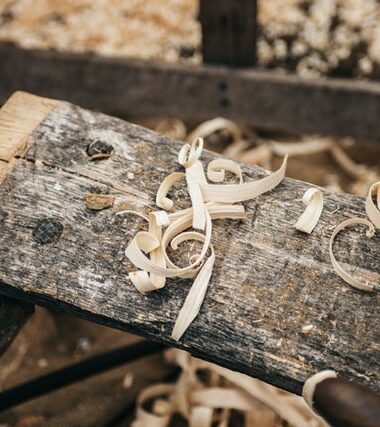
Roughness also plays a crucial role when it comes to aging wood grey. As a rule of thumbs, keep in mind that rough wood has the ability to absorb the solution better.
3 – Non-galvanized nails can substitute steel wool
If you happen to have a few non-galvanized nails available, you don’t have to buy steel wool. The nails can work just fine for the purpose of aging the wood grey, too.
Now that you are equipped with our pro tips, it’s time to get to the fun part!
Step By Step Guide To Aging Wood Grey
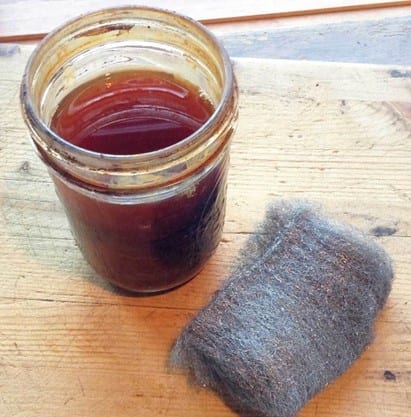
Step 1 – Prepare the Iron-Vinegar solution

Image Credit: familyhandyman.com
Fill a clean jar with white vinegar. Place the steel wool (or the non-galvanized nails) in the jar, making sure that the vinegar reaches about a finger over the wool/nails. Let the mixture rest aside for a few hours and up to a few days. The longer you let the process of dissolving continue, the darker effect you will get once you finish the wood aging process.
Step 2 – Start experimenting with the Iron-Vinegar mixture

Image Credit: intelligentsiacoffee.com
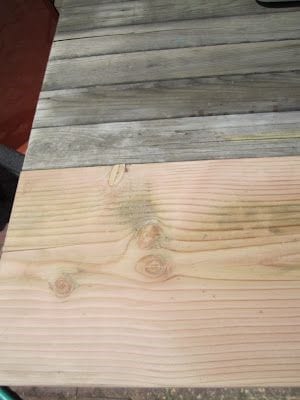
Above all, remember that in order to turn wood grey, you will want to experiment. Doing so will allow you to get the exact shade of grey you are aiming for.
For this purpose, once several hours have passed after letting the steel wool dissolved in vinegar, try brushing some of the solutions on a scrap piece of wood. Set it aside for half an hour and check out if you like the effect. In the case the color is still too light for your personal preferences, try again later.
You can also try another tiny trick if you wish to achieve a darker tone. Just boil 2 cups of water and add 2 bags of Black tea. Set these aside for 5 minutes. Next, brush the tea water on the board. Allow it to dry and continue with applying the vinegar & iron solution.
Isn’t it fascinating to explore the world of DIY crafts without having to spend a dime on store-bought products? Okay, you got me on this one; I am a thrifty chic all the way down to my bones. Anyways, I must admit that when it comes to aging wood grey, you may sometimes need to opt for a simple acrylic paint to achieve the effect you wish.
After all, there’s nothing bad about being picky at times to get the very specific final result you want. Did you like this article? Join us in the comment section below. Don’t forget to share the good vibes with other DIYers out there. We do believe that those who care share!


