In our age today, we all know that technology is the king. But it is always rewarding to know that you can always make something out of your hands and using natural materials. The satisfaction that one will get with creating something out of hand tools is always incomparable.
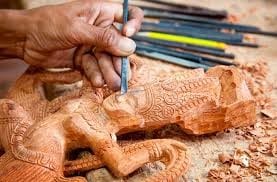
One of the things that you can do in order to achieve this one is woodcarving. Woodcarving can be enjoyed by anyone at any level. Woodcarving can take many different forms and anyone can do it using hand tools and even power tools.
If you are interested in woodcarving then read on this article and find out more about the process.
What wood should you use?
When looking for the wood that you will be using in your project then you can choose between a soft and a hardwood. If you are just starting out then you must start with the softwoods first. You also need to choose the one with finer grains, This will help you improve your control over the tools and get used to the basics of carving. Some of the common softwood that you can have out there are the Basswood, Balsa, Ponce, Butternut.
What else is needed?
Carving Knife
Woodcarving can be done using pocket knives but in order to make the process more efficient and easier then you must have a carving knife. This tool will also make it more comfortable for you. Carving knives have fixed long blades and a longer handle. It is worth the investment once you will have a quality carving knife.
Sharpening Stone
Once you will be carving though wood then it will make any tool dull. This is the reason why you also need to have a sharpening stone. This is essential pretty much like the carving knife that you have and they go hand in hand.
Instructions:
1) Safety first
Since you are working with tools that have sharp components then you need to see to it that safety will always be considered.
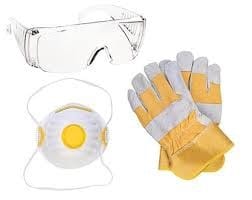
Image credit: Toolsify
2) Always keep your knife sharp
Once you will have a dull knife then there is a bigger chance that you will cut yourself compared to a sharp knife. This is the very reason why you will need to keep your carving knife sharp at all times. Sharpening a carving knife is very much the same with sharpening other blades. One of the easiest ways for you to do this is by using a ceramic sharpening stone. You will need to tilt the blamed in a 10-20 degree angle. Move the knife back and forth across the stone while keeping your wrist locked. You need to maintain the angel and trajectory of your elbow to make it effective.
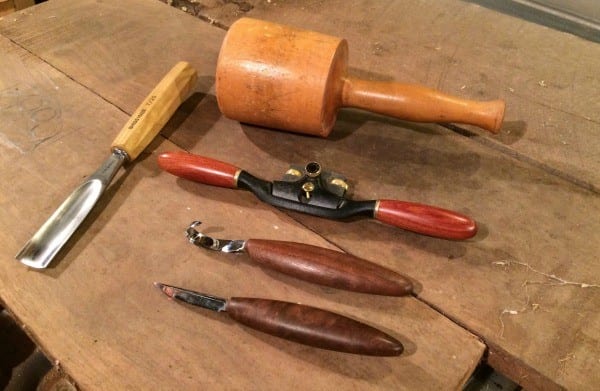
Image credit: s3.amazonaws.com
3) Wear a Glove
You need to wear a glove on the hand that is not holding the knife. You can use a leather hide work gloves. There are also specific carving gloves that you can find in the market which are more comfortable and will also be able to protect your hands against the blade.
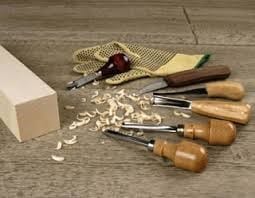
Image credit: Fundamentals Of Woodworking
4) Don’t rush
Woodcarving is a process that is not supposed to be fast. You should relax once doing this process. Being patient will help you avoid ruining your piece or worst cut yourself.
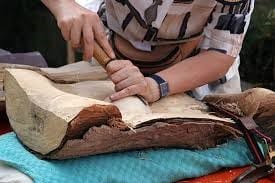
Image credit: www.wood-carving-tools.com
5) Remember to cut with the grain
You are able to avoid steering once you will be cutting along the grain. The dark streaks that you are able to see on the wood are its grain. You need to run the blade parallel to these streaks. You should avoid cross-cutting across the grain. Determine where the direction of the grain is.
You can do this once by simply performing a light shallow push cut in both directions. The side to which you feel less resistance then that is the direction of the grain. Doing longer cuts should be done in the direction of the grain since it will be easier to do so.
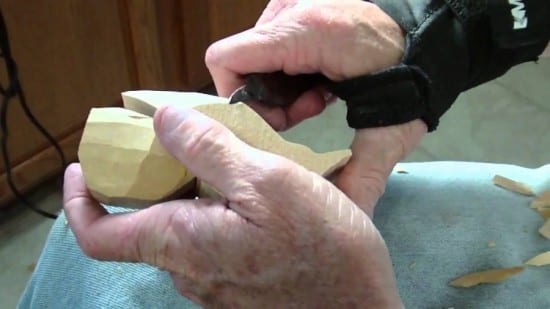
Image credit: Wonderful DIY
6) Tracing your design
Before beginning the whole process then tracing your design is always helpful. This will help you be oriented once you will begin the whole process and as the material starts to take form. It can also help once you will be working in stages. First, you need to work on the basic shape first. Once you are done then you can now refine the details based on the final vision that you have. Continue the whole process by doing small cuts of the wood until you are able to achieve the final shape.
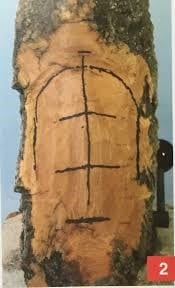
Image credit: Carving Magazine
Conclusion
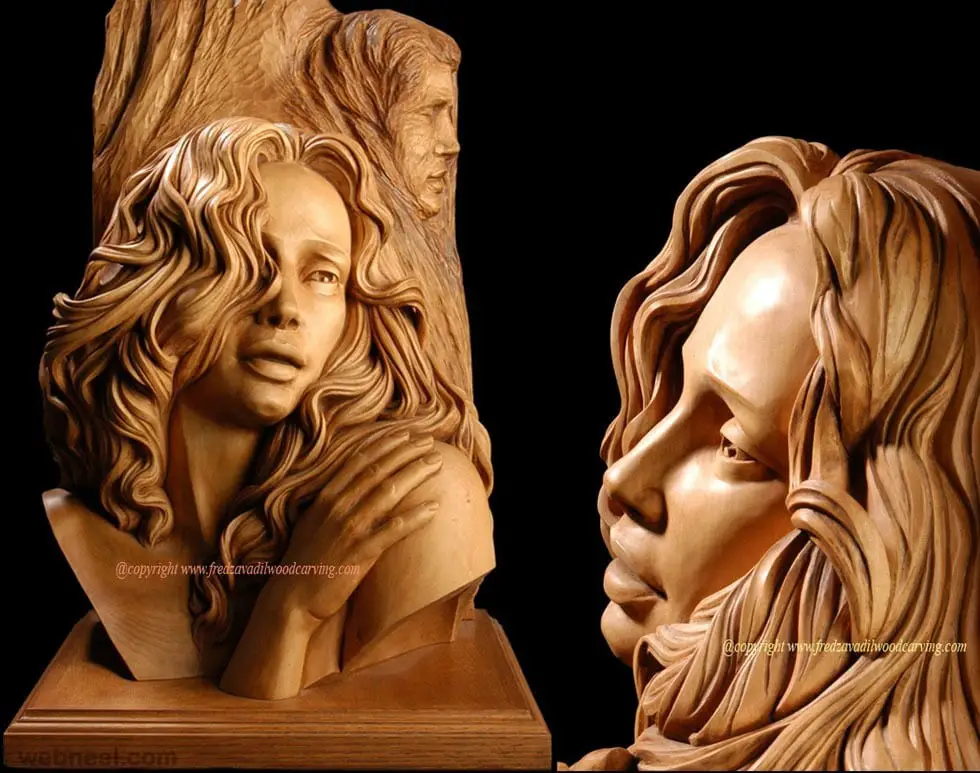
Woodcarving can be considered a rare art form nowadays. If you are interested in wood carving though then knowing the basics will help you better your skills. Who knows? This can be one that you will excel on.
