To ready wood for any building or constructing a project, it needs to be thoroughly cured. Wood is versatile, strong and very resilient, but it cannot retain these properties unless it has been prepared. Curing, drying or seasoning, this will ensure that wood will remain perfect for years to come.
Wood curing techniques
“Curing wood” is the process of drying wood to remove moisture. A tree is naturally full of moisture in the form of water and sap. These should be removed from wood to make sure that it is suitable as a building material and as fuel. There are several wood curing techniques; however, this guide only covers the air drying method.
There are many ways to cure or dry wood. Air drying is the cheapest and easiest way to cure lumber, however, this might take you a year to completely dry wood especially hardwood.
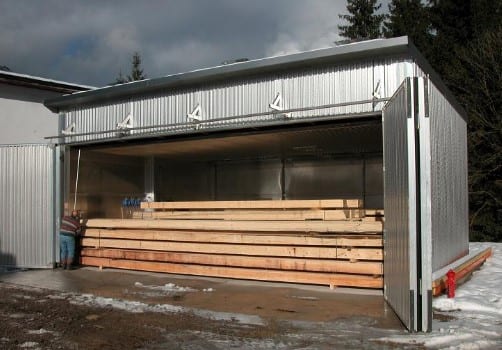
Another method of curing wood is using a kiln. A kiln is a kind of furnace that will dry wood by exposing it to high-temperature air. Kiln drying is a faster way to dry wood and this is mostly used by contractors and suppliers.
Things you will need
- Wooden logs (freshly cut, green wood)
- Stickers
- Kiln (optional)
How to cure wood
These are the steps to air dry wood presuming that you are drying at home using a simple air drying process.
Step #1
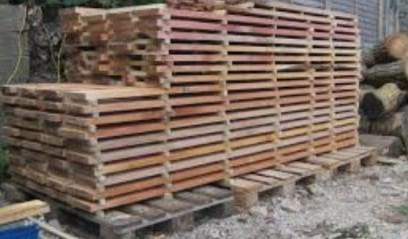
Place logs on the ground in the 8-ft long pattern. The base logs should be the same species of wood that you are curing. The stacks should be about 3′ to 4′ apart so you can easily pick these up later.
Source: http://www.saunders-seasonings.co.uk/air-drying/
Step #2
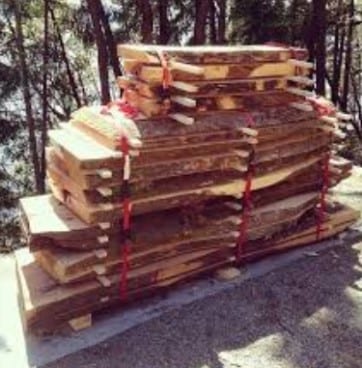
Put freshly cut lumber on the logs to avoid touching the ground.
Source: http://www.nahsep.org/kiln-dried-lumber/kiln-dried-lumber-air-timber-moisture-content-dry-prices-pressure-treated-home-depot/
Step #3
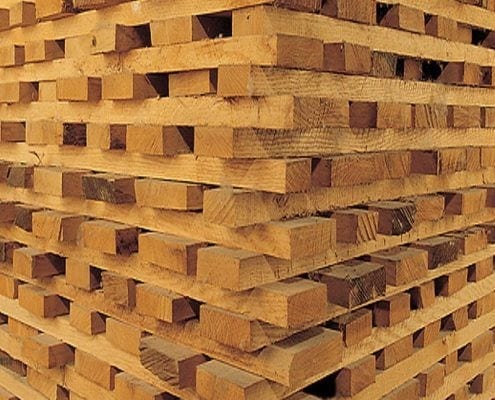
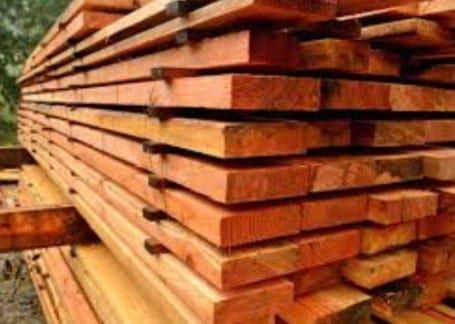
Layer the logs and place stickers between each layer.
Stack lumber up to shoulder level. Don’t go so high that stacking or unstacking becomes too hard for you.
Source: http://www.nahsep.org/kiln-dried-lumber/kiln-dried-lumber-air-timber-moisture-content-dry-prices-pressure-treated-home-depot/
Step #4
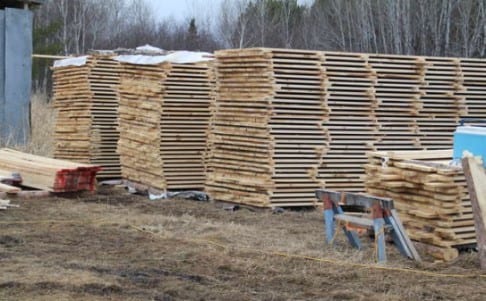
Let wood remain in the open air and sun. Complete drying can take several months.
Source: http://forestryforum.com/board/index.php?topic=81528.0
Step #5
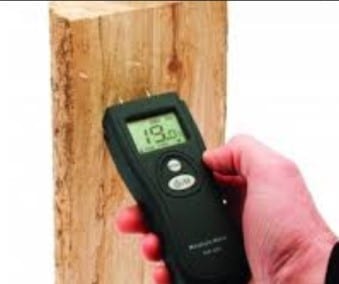
Use a moisture meter to determine the amount of moisture in your wood.
Record the moisture reading daily and check an online moisture chart. Each species has a different moisture level for building and for firewood.
Source: http://woodstovefanreviews.com/a-beginners-guide-to-buying-the-correct-moisture-meter/
Some important tips
Properly store your cured wood
Once the wood is properly dried place your newly cured logs in well a ventilated area. This can be in a ventilated barn where it can remain dry until you use it. You must not let wood near any area where there is moisture or an area where it’s constantly wet.
This is because the wood will reabsorb moisture which makes wood harder to work with again. Moisture can also make the wood warped or moldy. This type of wood is terribly bad for construction and for building furniture.
Visit your local sawmill
If you have no space for air curing wood or you just can’t manage air curing then you might be better off with curing wood using a kiln. It’s impossible to have a kiln or to construct your own kiln at home so buying kiln-dried wood from a distributor or supplier is a good option.
A sawmill in your area is a good place to buy kiln-dried wood. Take note that kiln-dried wood is more expensive than air-dried wood or green wood.
Collect stickers
Stickers are very small pieces of wood that are placed between layers of stacked wood. Stickers let air flow in between each stick of wood thus making wood dry faster. Remember stickers need to be the same wood type you are curing.
Stickers are simple 1×1 pieces of wood. You must have a lot of stickers to place in between each wood as much as possible. Each type of lumber has its specific drying or curing time. You need to take note of this as you cure your wood.
Seasoning firewood
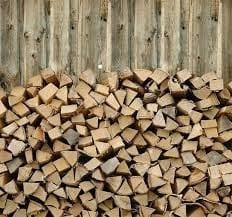
The wood used for firewood should be thoroughly cured or seasoned to burn hotter, brighter and more efficiently. Seasoning firewood helps prevent the creation of thick, unhealthy smoke that can accumulate inside your home. It also prevents thick ash and creosote that will only block your chimney or wood burning stove flue.
Conclusion
Curing wood is drying wood to remove moisture completely. This process readies wood for construction and for heating purposes. It can take months to years to cure different types of wood. You can cure wood by air drying or by using a kiln.
