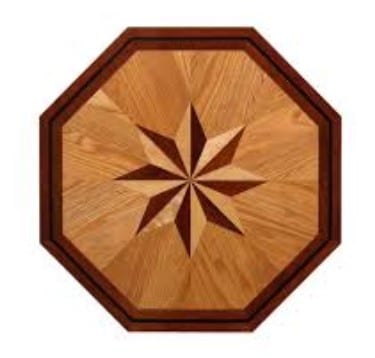
Inlaying a pattern using the contrasting material on wood makes any furniture or wooden item unique and eye-catching. You can find wood inlay designs in wooden picture frames, jewelry boxes or any piece of furniture.
If you want to become a seasoned woodworker, a wood inlay should be one of the decorative techniques in wood that you must master. This guide will show you how.
Wood inlay basics
Wood inlays are easy to make once you have mastered a few techniques. A simple method is detailed below which needs no specialized tools.
Things you will need
- Base material (wood)
- Inlay material (gem, plastic, metal)
- Sandpaper
- Epoxy
- Sharp knife
Simple inlaying steps
1) Preparing the materials to be used
Source: https://www.tapatalk.com/groups/paleoplanet69529/how-to-make-simple-inlays-t33591.html
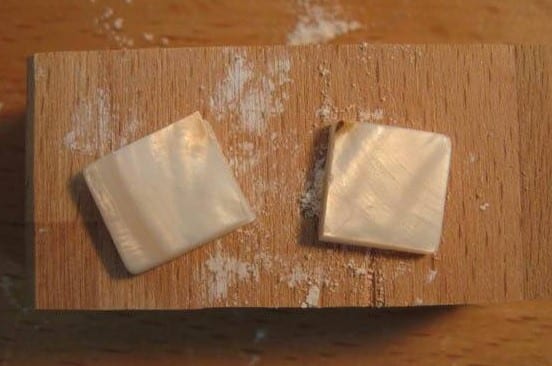
Choose your base and the material or item you want to inlay. You can decorate a piece of furniture, a wooden box, a guitar neck or a practice block. For your inlay, use any thin, flat material like a wood veneer, a cut of bone, ivory or mother of pearl. One dark and one light material is a good idea.
Cut the inlay into a simple shape. You can cut wood veneer using a sharp knife or a machete while a sharp, well-maintained saw will cut mother of pearl. Be sure to dip the pearl in water to prevent burning the material.
2) Fitting the inlay on wood
Source: https://www.tapatalk.com/groups/paleoplanet69529/how-to-make-simple-inlays-t33591.html
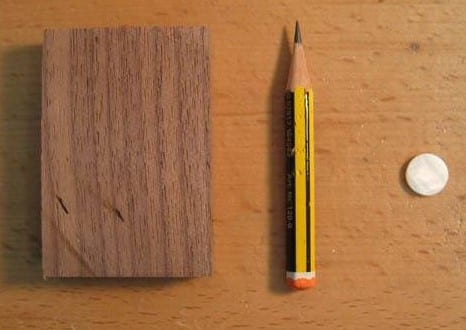
Stick the piece temporarily on the base. You may use a double-sided tape or glue that takes a long time to set. Sticking the piece on the base will let you trace around it.
Trace the inlay on the wooden base. Use a sharp pencil to trace the outline of the inlay onto the wood.
3) Making the grooves for the inlay
Source: https://www.tapatalk.com/groups/paleoplanet69529/how-to-make-simple-inlays-t33591.html
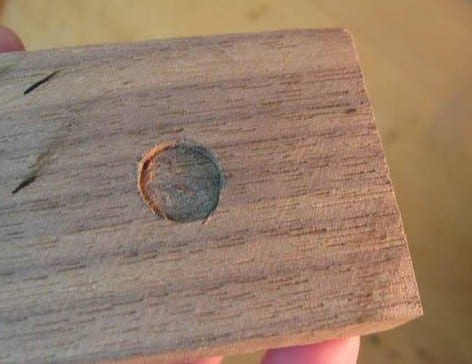
Cut into the traced lines using a sharp knife. You can use an X-Acto knife or another hobby knife; can easily cut into the traced lines. Begin by lightly scoring the wood to get a groove. Run the knife further down and deeply into the wood. Now you can cut further down with lesser risk of your knife slipping on the surface of the wood.
Cut only into the wood just deep enough to accommodate the inlaid piece. Fit the entire inlaid piece. If you end up slightly shallow, you can sand the inlaid piece down. If the inlay looks too deep, sand the entire wooden surface to make it flush.
Source: https://www.tapatalk.com/groups/paleoplanet69529/how-to-make-simple-inlays-t33591.html
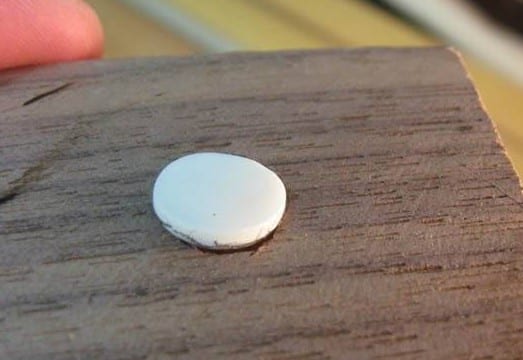
Remove the inlay, cut the wood underneath it. Make a recess where the inlaid object will be accommodated. You must not cut wood too deeply. Simple hand tools like a router plane, chisel, or sharp knife can help. A laminate trimmer or a router will be able to help you make precise recesses in just a few minutes.
4) Getting ready to place the inlay
Source: https://www.tapatalk.com/groups/paleoplanet69529/how-to-make-simple-inlays-t33591.html
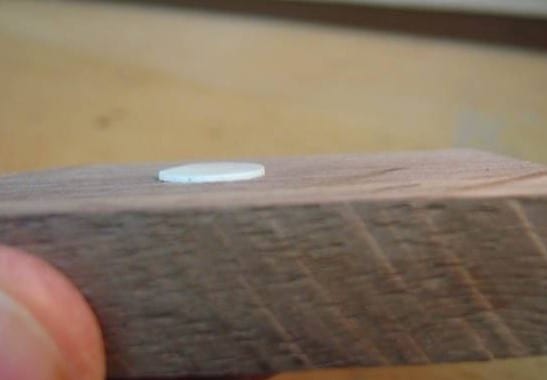
Smooth out the recessed area with sandpaper. You can use sandpaper to flatten the base and the edges after most of the wood have been removed. Check that the pieces fit before proceeding to the next steps.
Sand the edges of the inlay to create a wedge narrower at the bottom than the top. Use a fine grit sandpaper work on the inlay.
5) Preparing glue and applying on the inlay
Source: https://www.tapatalk.com/groups/paleoplanet69529/how-to-make-simple-inlays-t33591.html
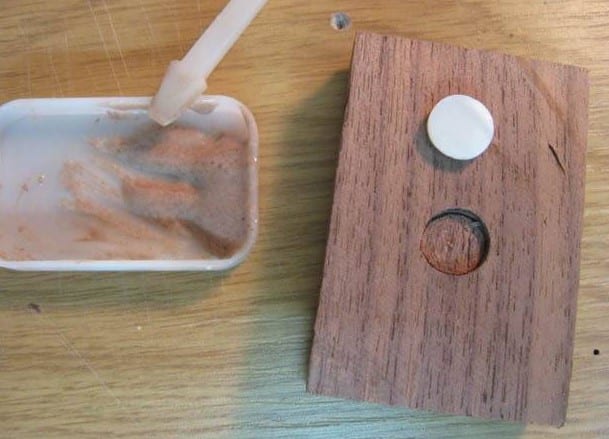
Prepare the glue and mix this with wood dust. By thoroughly mixing the glue and the wood dust, you will be covering any gaps between the inlay and the wood. This will look as if the material has been part of the wood all along. Use any kind of wood glue for inlaying wood to wood and for other materials, use epoxy. Follow the manufacturer’s instructions on how to prepare and cure the glue or epoxy that you wish to use.
Apply glue or epoxy on the inlay and stick it on the recessed area. Lightly tap the inlay and the wood so that these two pieces can stick together.
6) Finishing touches
Source: https://www.tapatalk.com/groups/paleoplanet69529/how-to-make-simple-inlays-t33591.html
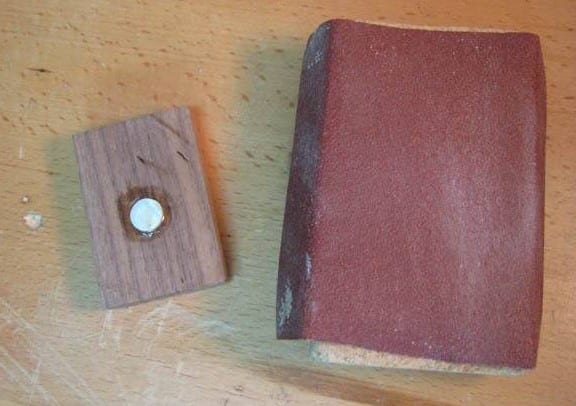
Make final adjustments to your work. Clean off any excess glue between the inlay and the wood. If the inlay is raised above the surface then use sandpaper and sand it down or until it is flushed on the surface of the wood.
Conclusion
Working on a wood inlay project is easy once you are familiar with the basic techniques of inlaying. Take time to work on your inlaying project and use two contrasting materials. Keep designs simple to make it easier to work on the inlay. The design should look as if it is part of the wooden base.
