Inlaying a piece of metal into wood is using two contrasting materials and no doubt that this will yield excellent results. You can find wood inlay designs that include metal in wood in various items like picture frames, jewelry boxes, musical instruments and so on.
You must learn inlaying techniques because this is an amazing way to decorate wood for any purpose. This guide will show you how.
Metal to wood inlay steps
Metal to wood inlays is easy to make once you have learned correct techniques and have the right tools and materials for the job. When it comes to metal inlaying, there are many types of metal that can be used.
Take note of the shape of the metal, the size and the characteristics that make it unique. Learning these important bits is essential for a successful inlaying process.
Things you will need
- Wood base
- Metal inlay
- Sandpaper
- Glue or epoxy
Instructions
Step #1
Select your base for the inlaying process and the metallic piece that you want to inlay to the wood. A dark and a light material is a good idea. Cut the metal inlay to a simple, easy to work with the shape.
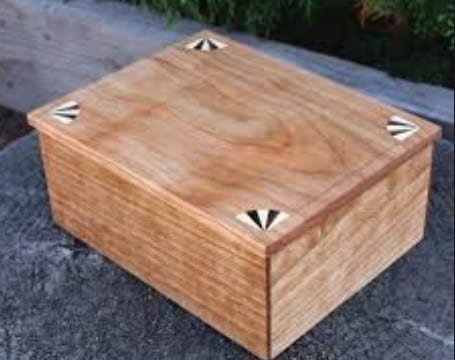
Cut metal pieces using a router or a hand saw if this is a thin piece. Thicker pieces need to be cut with a blowtorch. This is an example of what an inlay looks like.

Source: https://www.popularwoodworking.com/projects/butterfly-inlay/
Step #2
Place the inlay metal piece temporarily on the base so you can trace an outline. You can use a double-sided tape or glue to temporarily hold the metal piece as you trace with a pencil. The metal may be cut any shape to fit the inlay.
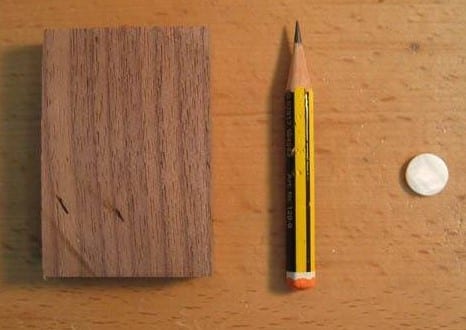
Source: https://www.tapatalk.com/groups/paleoplanet69529/how-to-make-simple-inlays-t33591.html
Step #3
Now that you have transferred the shape of the inlay to the wood, cut the traced lines using a sharp knife. Use an X-Acto knife or other hobby knife because this can cut into the traced lines without missing a grain. Start the cutting process by lightly scoring the wood to get a groove.
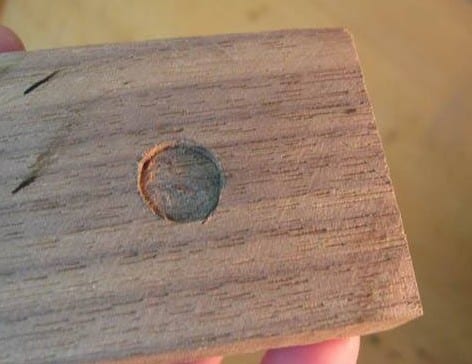
Source: https://www.tapatalk.com/groups/paleoplanet69529/how-to-make-simple-inlays-t33591.html
Step #4
Run the knife further deep into the wood. Cut further down lets you move the knife over the surface without slipping on the surrounding areas of wood. Be sure to cut only into the wood enough to hold flush the metal inlay piece. As you cut the groove, fit the entire inlaid piece.
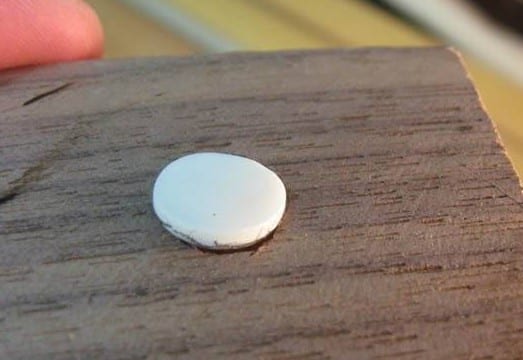
Source: https://www.tapatalk.com/groups/paleoplanet69529/how-to-make-simple-inlays-t33591.html
Remove the inlay and cut the wood underneath it. You will need to make a recessed part on the wood where the metal inlay piece will be placed. You may use simple hand tools like a router plane, chisel, or sharp knife can help.
On the other hand, a laminate trimmer or a router will be able to help you make precise recesses without wasting too much time.
Step #5
Use sandpaper to smooth out the recessed area. Use sandpaper to flatten the base and the edges after most of the wood has been excavated. Check that the metal inlay piece fit.
Sand the edges of the inlay to create a wedge which is narrower at the bottom than the top. Use fine grit sandpaper on the inlay.
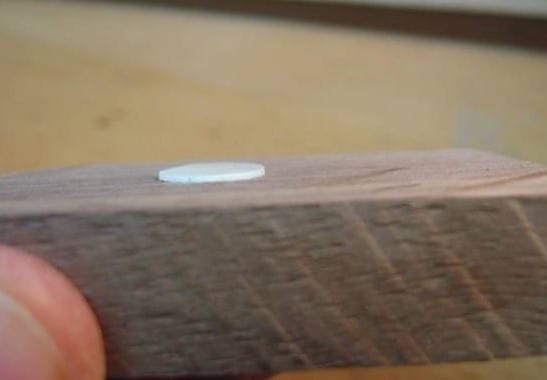
Source: https://www.tapatalk.com/groups/paleoplanet69529/how-to-make-simple-inlays-t33591.html
Now that the metal inlay is ready to be fit, prepare the glue or adhesive that you wish to use. Mix the adhesive with wood dust from the sandpaper so you can cover gaps between the inlay and the wood. This method will look as if the metal inlay has been part of the wood all along.
Step #6
Apply the glue or epoxy on the inlay and stick it on the recessed area. Help the metal stick to the wood by lightly tapping the inlay. Now the inlay has been placed in the wood like the wood was able to wrap itself on the metal piece.
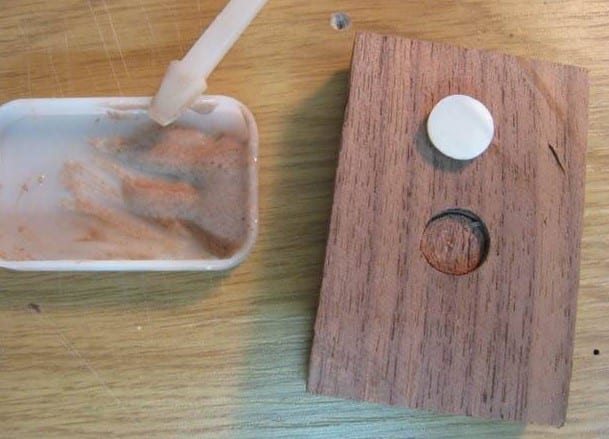
Source: https://www.tapatalk.com/groups/paleoplanet69529/how-to-make-simple-inlays-t33591.html
Step #7
Make final adjustments to your project by cleaning off any excess adhesive or glue between the metal inlay and the wood.
Clean off any excess glue between the inlay and the wood. If the inlay appears to be raised above the surface then use sandpaper and sand it down until it is flushed on the surface of the wood.
You may add varnish or stain on wood and polish the metal piece if you wish.
Conclusion
Working on a metal to wood inlay project is easy if you have the best materials, equipment, and tools. Take time working on your inlaying project to get good results. Keep your designs simple to make it easier to work on the inlay. Remember that the design should appear as if it was part of the base all along.
