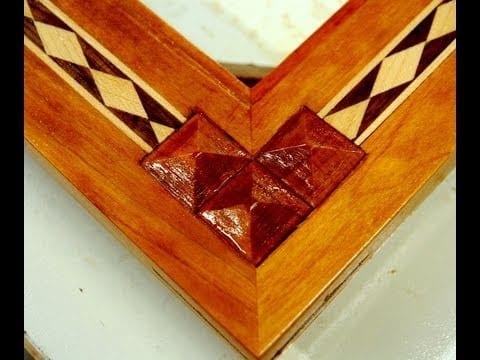
Personally, as a person who loves furniture and fixtures at home preferably the wood material, I love to see the specific carvings and designs. I mean, who would not want a classy inlay furniture but with the low-cost budget? In this article, I am going to teach you how to inlay wood with a cheap yet classy material with your own choice of design.
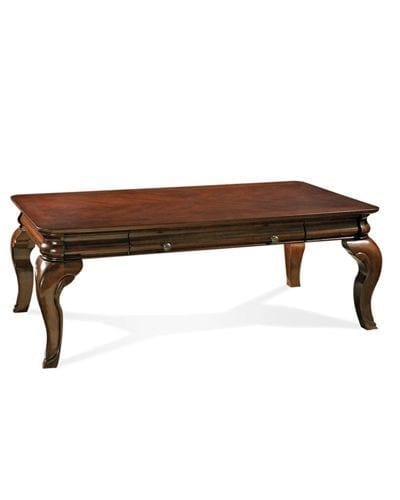
I am going to help you with the different techniques with a little less time-consuming procedure. I am going to design an inlay on my wooden center table in our living room. To start up with, let us gather all the tools and needed materials for this project. Without further ado, let’s get started.
What You Need To Follow This Tutorial
- One light and one dark thin plywood
- Knife
- Double-Sided duct tape
- Clamps
- Sandpaper
- Template kit
- Dust mask
- Cutter
- Wood Glue
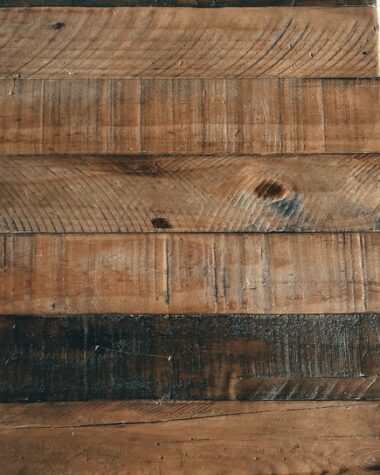
Just some quick tip, use two different shades of plywood to create an illusion and dimension. Use template kit instead of making a new one from scratch, you don’t need to buy the expensive ones, remember, one of our goal here is to lessen the time procedure.
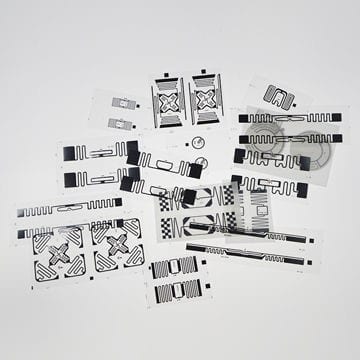
Credit Image: globalsources.com
Step by Step Guide to Inlay Wood
Step 1: Choose your base and inlay
Now let us set up the center table and decide where to put the inlays. We will need the thin plywood in this procedure.
Credit Image: aurainteriors.pk
Step 2: Cut the inlay with your preferred design
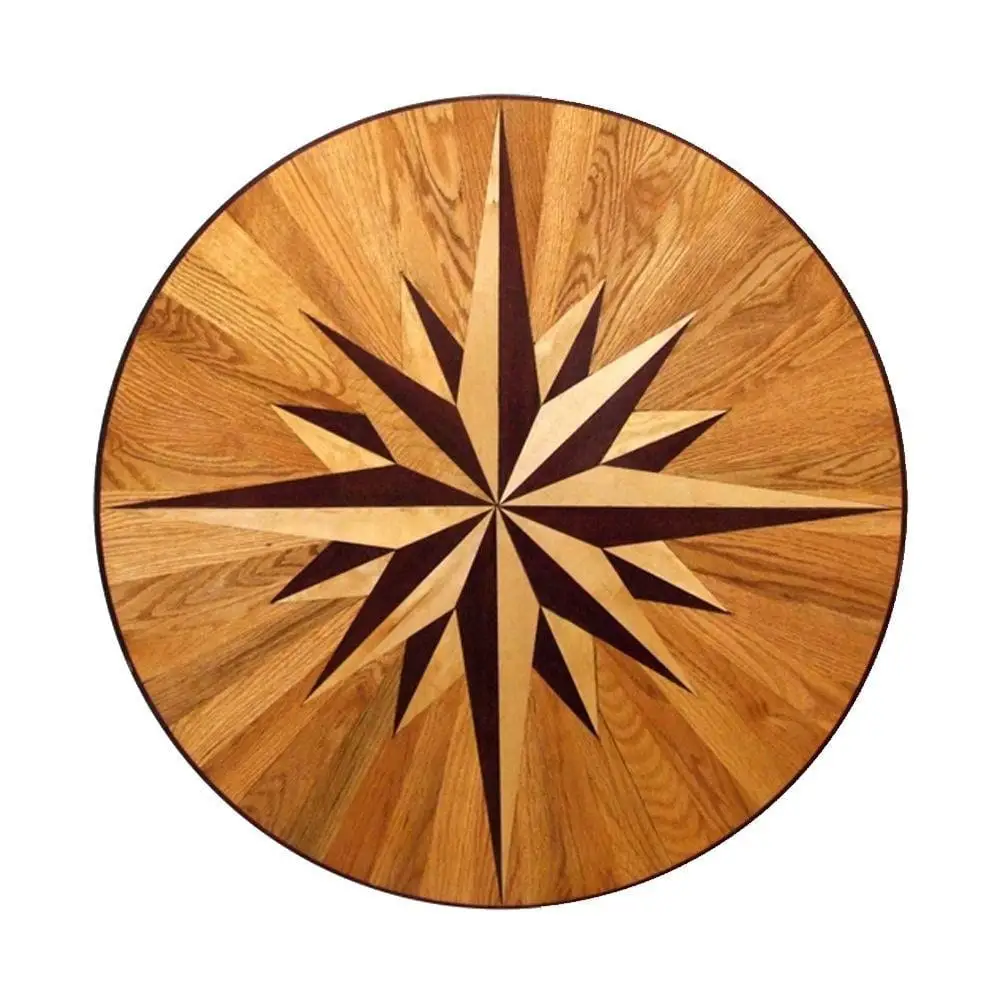
Using the template kit, cut the wood with the desired design that you chose. Expect the dust to be present here, so you need to wear the dust mask.
Credit Image: homedepot-static.com
Step 3: Temporarily stick the piece of the design onto the base.
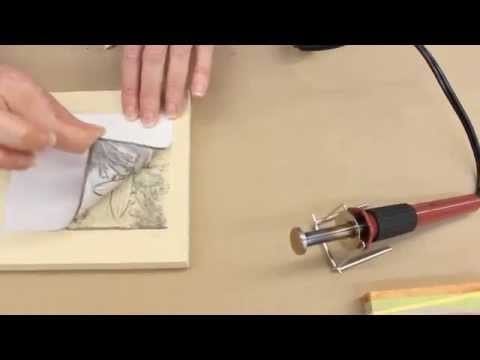
Use the double-sided tape here to trace and cut around the inlay, this will help the inlay immovable while you are tracing the design on to the base.
Credit Image: youtube.com (i.ytimg.com)
Step 4: Trace the inlay onto your base
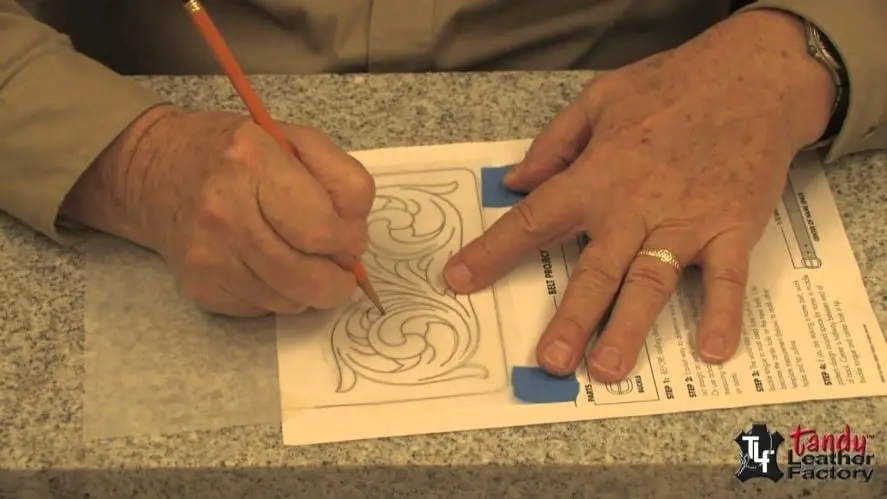
Use a pencil for tracing the outline of your inlay onto the base.
Credit Image: ytimg.com
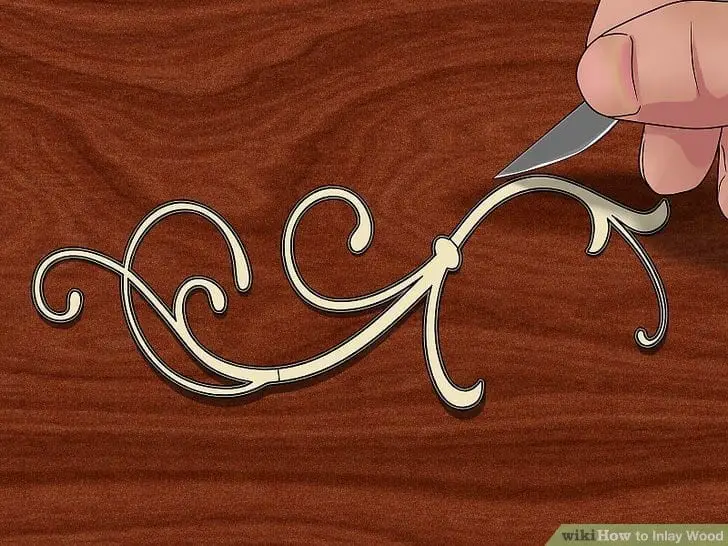
Step 5: Slowly cut the traced design with a sharp knife
This is now the delicate part since we are going to cut the design that we made. Start it with a gradual cutting, have an established drilling or carving move after you will proceed to the entire outline of the design.
Credit Image: wikihow.com
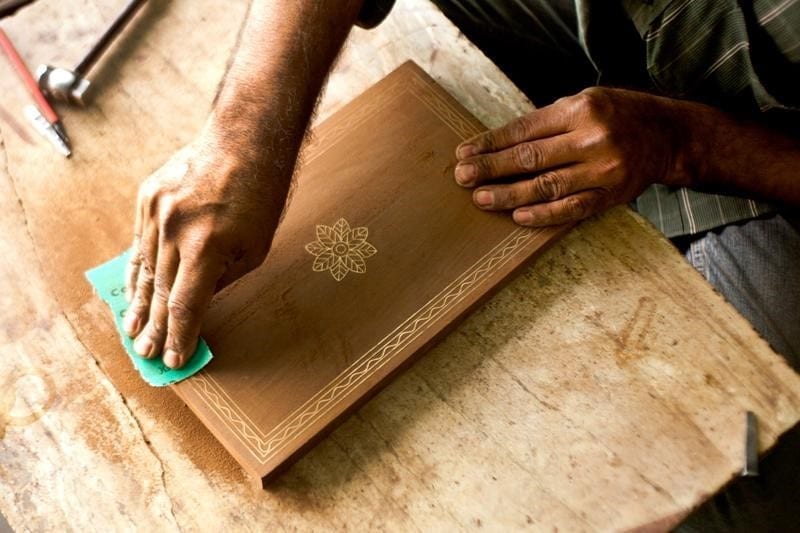
Step 6: Flatten and smoothen the area
Using the sandpaper, smooth the area where you made a craving to flatten the surface.
Credit Image: shopify.com
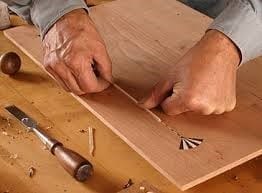
Step 7: Check the small pieces to fit
Have a trial and error fitting of the design before proceeding to the next step, if there are changes of the edges, have it amended and finalize the design.
Credit Image: vermontfurnituremakers.com
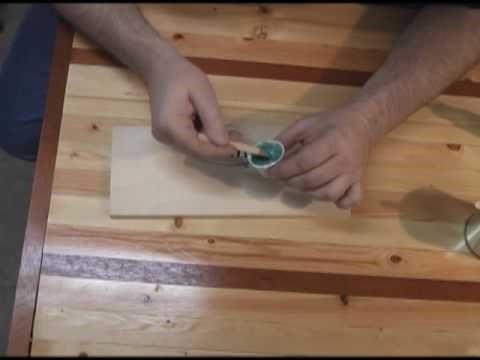
Step 8: Apply the Wood Glue
Apply the glue on to the design with the proper direction shown in the can. This is now the time that we put and place the inlay.
Credit Image: ytimg.com
Step 9: Make the Final Polish for the Final output
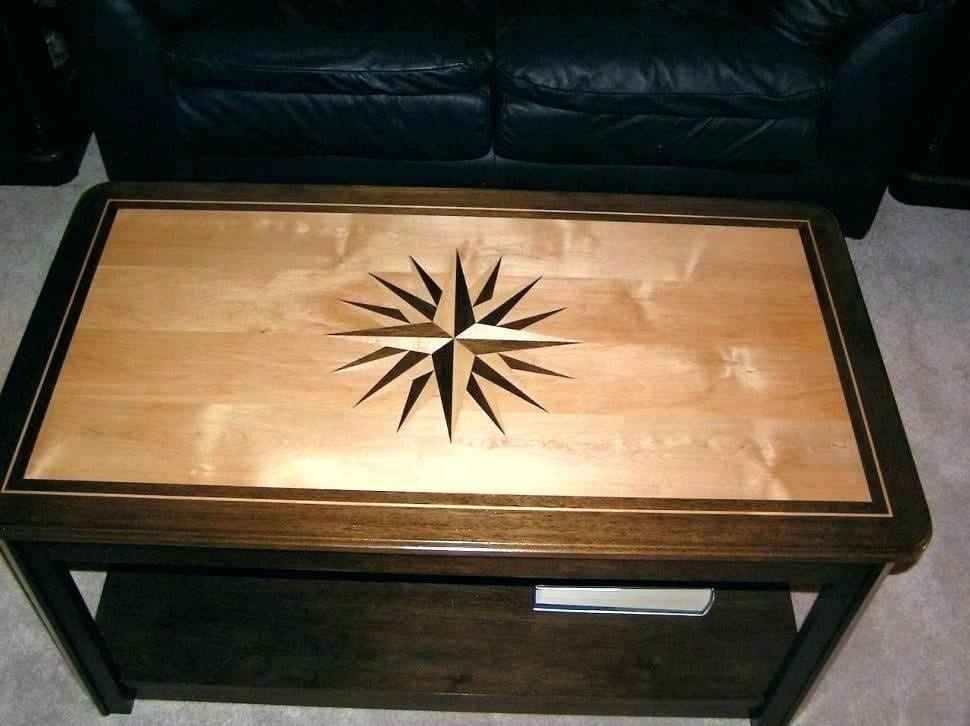
Polish the design, take all the excess glue to make it nice and neat.
Credit Image: digitalmemories.info
And now, we already have our DIY inlay wood without a lot of pressure and labor-intense. You too can make it with a few easy steps by following this quick guide. You will never go wrong if you make it with fun and excitement. There is joy in making this fun activity. We would like to hear your stories and comments by dropping one below. Don’t forget to like and subscribe. Have a good one!
