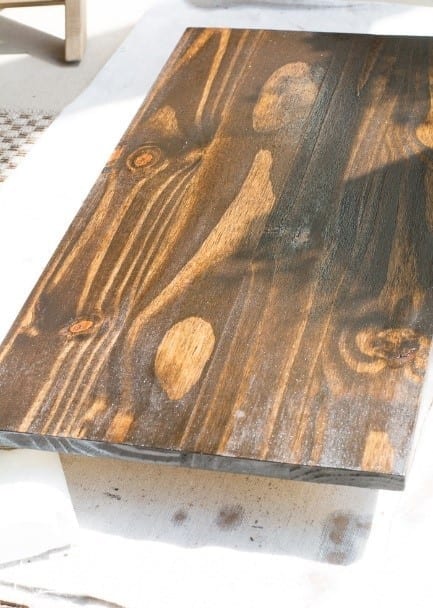
Are you wondering how to stain unfinished wood? If so, then you are on the right track! It’s crucial to be careful and precise when staining wood because once applied, there’s nothing you can do to remove the wood stain. Thus, your mission as a DIYer is responsible.
Personally, I must admit that I was a little scared before I started my first attempt to stain my new DIY masterpiece made out of untreated, unfinished maple. Indeed, I am a perfectionist. Sometimes, perfection is the last thing you want to strive for; it can cause you to lose a lot of time and efforts.
However, when it comes to something temporary, such as wood stain, it is worth the extra planning and understanding each step of the process. In order to make your life easier, we have already compiled everything you need to know in the comprehensive tutorial below.
What You Will Need To Follow This Tutorial
- 150-grit and 220-grit sanding paper
- Sanding block/ sander
- Wood stain
- Paintbrush/ foam brush
- Wood finish
- Safety gloves, a breathing mask, safety glasses
- Drop cloth
- Wooden stirrer
- Scrap pieces of wood (for testing the color of the stain)
Pro Tips
1 – You can use a clean, linen-free rag to apply wood stain instead of a paintbrush
Using a rag for staining has become quite popular. That’s partly because of the ease of the application. Instead of having to make careful, even, long strokes, you can simply wipe the wood stain directly on the wood surface.
However, mind that this particular method will not be the best option if you want to cover as much of the wood grain as possible.
2 – Stirring wood stain well matters
In order to make the most out of the wood stain you have selected, it is important to mix it properly. If you mix too vigorously, bubbles will form. Then, you will transfer these bubbles while staining the wood and this will affect the quality of the finish.
On the other hand, if you don’t stir the stain well, the pigments will not be fully released. Your best move is to use a wooden stirrer and go for controlled, circular, gentle mixing for less than a minute.
3 – Check if the wood is soft or hard
Softwood requires a coat of wood conditioner to ensure the even and smooth application of wood stain. You can identify softwood by the typical patterns of the grain, which appear somewhat blotchy and uneven.
On the contrary, hardwood may go without a wood conditioner. However, hardwood will need an extra coat of stain.
Step by Step Instructions for Staining Unfinished Wood
Step 1 – Prep yourself, the work areas, and the unfinished wood for staining
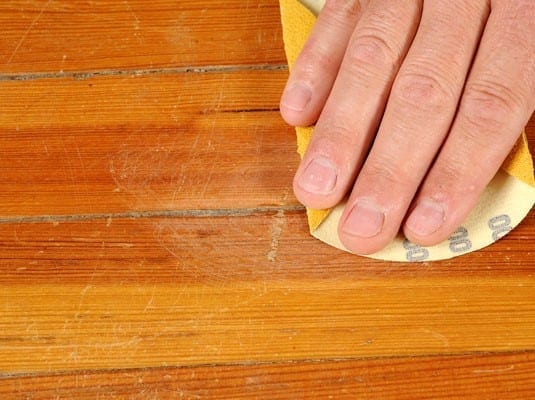
Image Credit: akostavat.com
Make sure your working area is protected from dust and blotchy spots, caused by the stain.
Cover any furniture if needed and protect the floors with a drop cloth.
Although some DIYers prefer to work without safety glasses, breathing mask, and protective gloves, we encourage you to get yourself equipped for best results.
Next, you can proceed with sanding the wood. The grit of the sandpaper you use depends on the smoothness you want to achieve.
You can go through the wood with fine-grit sandpaper only but combining medium-grit with fine-grit works wonders.
Step 2 – Stain the wood and apply a suitable wood finish
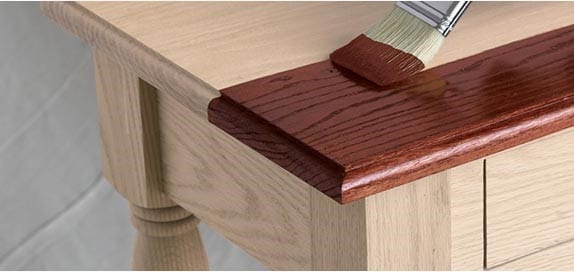
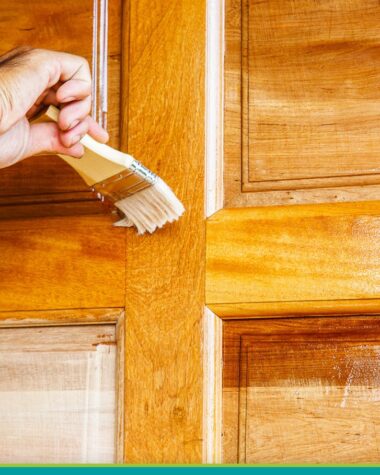
Image Credit: minwax.com
Before you start staining the wood, don’t forget to remove any dust and clean the entire surface carefully after sanding. Use a tack cloth and a damp cloth for this purpose.
Afterward, you can apply the wood stain. Aim for long strokes and always follow the direction of the grain. You can wipe off the first coat of stain if you wish to achieve a more natural, lighter color.
You may also keep applying additional layers of stain until you get the depth of the color you want.
Last but not least, seal the stain with a wood finisher of your choice after the stain has dried completely.
Wood finishers can also be applied in 2 coats for extra smoothness, brightness, and protection.
Finally, there you have it: a beautifully stained wood ready to turn any DIY project into a mini celebration for the senses. Did you find this how to stain unfinished wood tutorial helpful?
Do you want to help our community grow and get access to more tutorials, focused on practical tips and tricks? If so, your support is highly appreciated! Like and share this article, and don’t shy away from dropping us a line in the comment section below!
