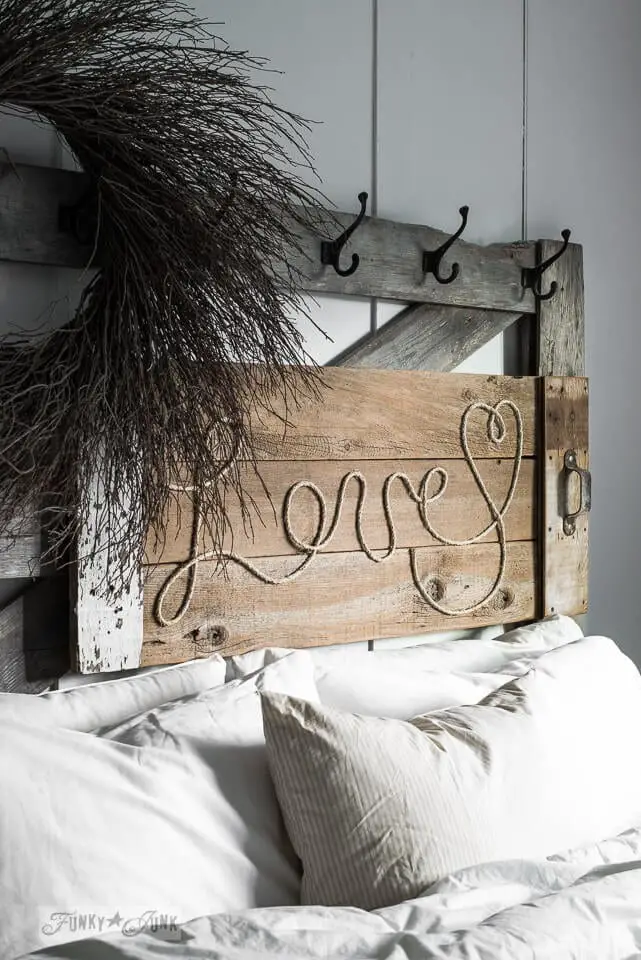
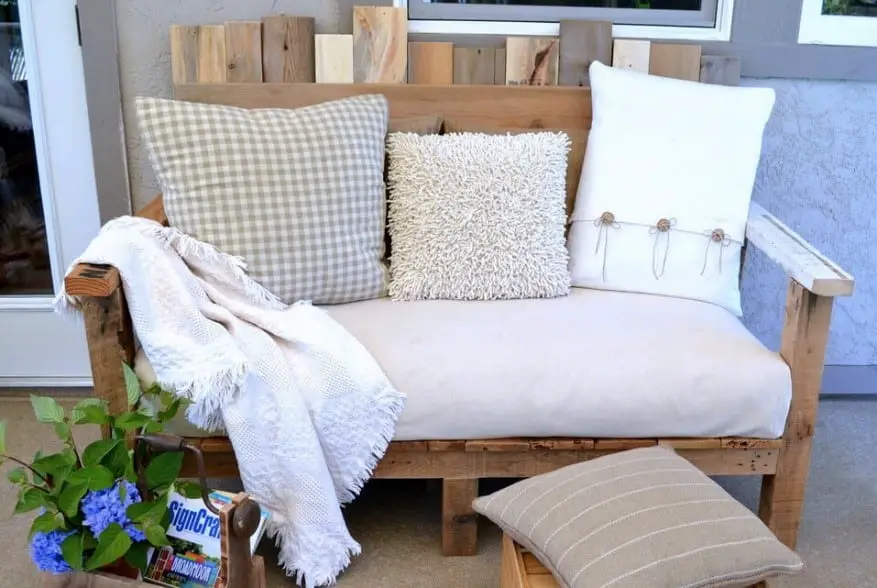
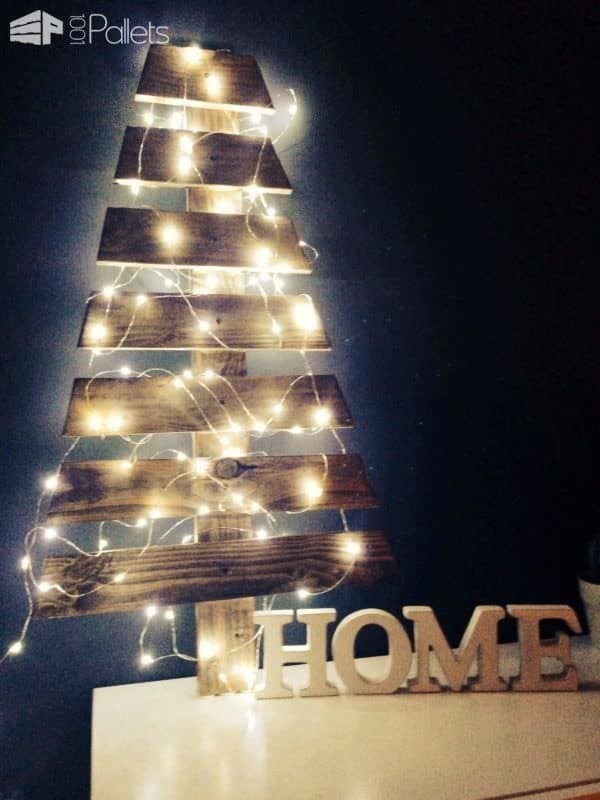
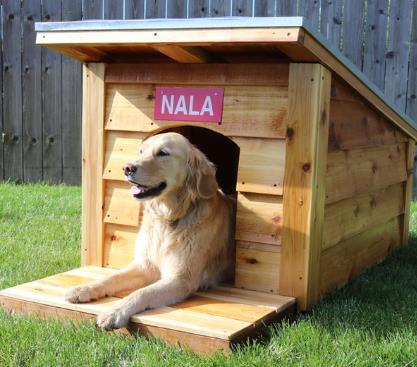
Pallet wall designs have fairly emerged as the new black. For a fact, anyone can easily put up a pallet wall in the home. Above everything else, the reason why pallet wood wall design reigns in the list is that of its cost-efficient nature.
The standard of aesthetics among modern American homes is greatly defined by chic/rustic feel. This particular trend, according to a number of home décor experts, rolls punches of fun, excitement, thrill, and satisfaction.
The whole effort of putting up pallet walls made from used wood in the home, offices, etc. yearns for an even bigger reward. Beyond the aesthetic satisfaction, the effort pays a great deal of visual stimulation. Meanwhile, visual stimulation is typical among chic/rustic designs.
Minimalism acts as a guiding principle in successfully upgrading your home. Such a concept involves the right juxtaposition between empty and full.
More so, minimalism proves to be the most logical agent for bringing out the home’s flesh. After all, indoor/outdoor designing eventually boils down to properly managing elements in the space.
Driven by the trend, or shall we say, movement, the industry has pushed forward in its efforts product upgrades, endless production of raw wood walls; ready-to-mount wood walls made available here and there.
Coincidentally, more and more DIY plans are rising at par with the cacophony of production-demand dramas. Thanks to the trend, business has inadvertently flourished.
The DIY plans are also part of the business. But what if we tell you that if you invest in this business, you’d save a lot of your pocket- would you believe us? The 34 pallet wall DIY plans will hopefully offer you the luckier end of the bargain.
Here is the list of 34 pallet wall DIY plans:
1) Mixed Wood Wall
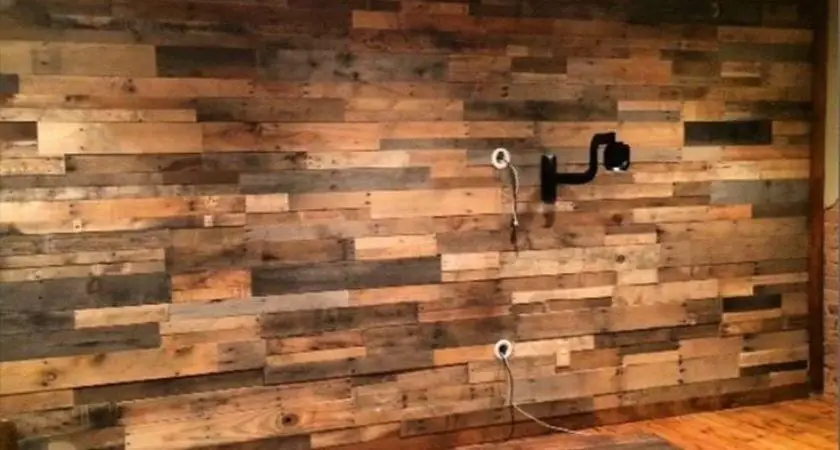
Image source: http://tierraeste.com/39-stunning-pallet-wall-ideas/diy-wood-pallet-wall-ideas-paneling-part/
With only $40 on hand, you can already successfully upgrade your home areas with the mixed wood wall DIY project. Also best achieved by using the reclaimed wood plank, the DIY output yields a fresh new look in your home.
Its $40-dollar budget cost can actually be toned down to the least figure depending on how much of the working materials are readily available in your home.
The mixed wood wall is more or less popular because of its balanced worn and fresh accents. You can further these accents by varnishing the fresher section of the wood and then vice-versa when you are buying a new one. The mixing magic, upon unlocking its secret through the DIY tutorials, should turn out to be a simple concoction in the end.
https://www.pinterest.com/pin/144396731781876580/?lp=true
Common construction materials involved in completing the mixed wood wall are cheap wood paneling, reclaimed/purchased wood pallet plank, paper towels/rags, paneling nails, milter saw, Minwax classic grey, Minwax stain, etc. More materials might be involved along the way but these should not concern much.
A masterful hold of the woodworking craft is necessary for the entire effort. Varied techniques for attaching the wood panels all agree to be governed by the general woodworking principles. If you are new to the business, it would be helpful to stimulate yourself with a few wood cutting exercises.
2) Bathroom Plank Wall
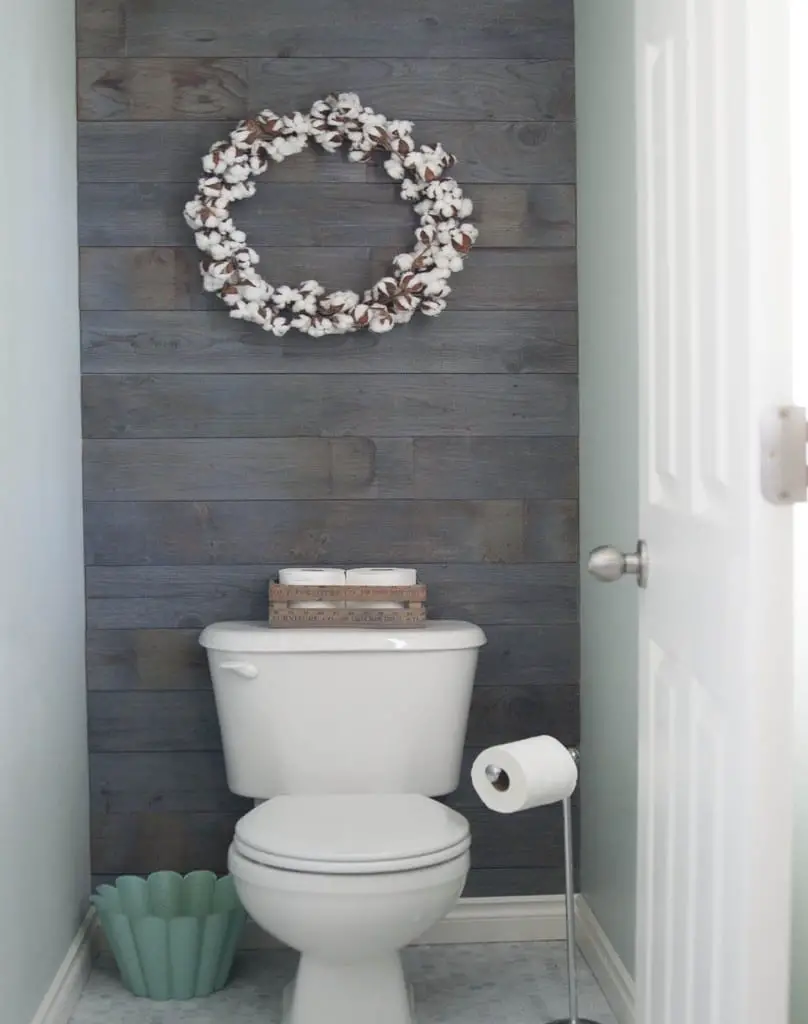
Image source: https://www.pinterest.ca/pin/469781804861722904/
Installing a wall plank in your bathroom ups its energy. Such an effort is guaranteed to give your private space a new feel. You can behold this pallet wood wall forever while being submerged in the tub.
Depending on the mixture of colors, wood walls can potentially balance the energy in your bathing area- keeping the cool while sucking in the brightness from the outside.
There are plenty of wood colors that blend perfectly with the bathroom décor. But nothing can beat the magic of a newly discovered color. I, myself, have eternally opened and offered myself to surprises.
Fortunately, it did not take long until I came across a discovery- a blog that talks about the undeniable beauty of a weather wood stain color.
Instantly, right after that, I tried the suggested color/tone. As expected, it did not fail me! Suppose I interest you with this prospect, I might just also insert in the spring inspired wall décor.
Why this, above everything else? Well, it just happens to have the right mixtures for refocusing visual elements in your bathroom.
If you would look closely, you will actually realize that there are potential corners in the bathroom for displaying décor moods. Beyond colors, shapes, etc., the presence of a wood per se perks up atmospheric temperature and feeling. This interplay of mood elements requires more or less, an intuitive conviction from your end.
3) Reading Nook with Wood Plank Wall
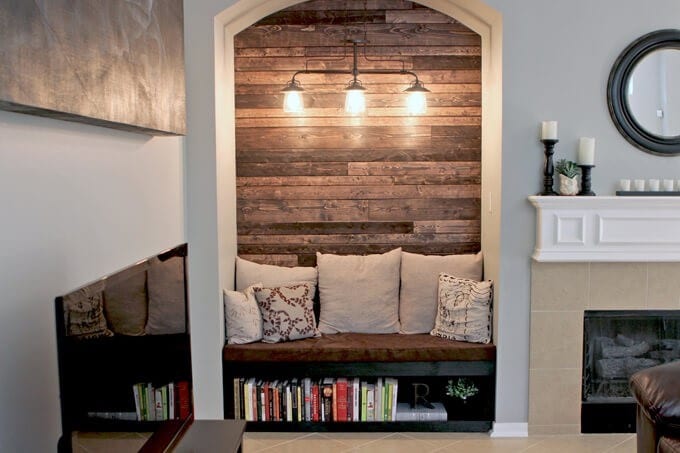
Image source: http://www.grayhousestudio.com/reading-nook/
Do you happen to be bugged by that space allowance in one corner in your home? Why not plaster a wood pallet into it and turn it into a reading nook?
In my home, for instance, there is this one eye-sore of a space in my living room. Left with no crispy idea on how to better utilize it, nay cover it from being an obvious gap, I was left tossing and tumbling in bed. But after sleepless nights, I finally conceived the idea!
Being a wide-reader myself, I found the DIY idea to be a timely discovery. The first step I did was look for any redeemable wood pallet. Fortunately, I found one. It was rough, earthy and wrinkled. It actually resembled a freshly skinned tree bark.
Did it bug me? No! It even gave me a better idea. What I did was to leave it all as it is- with the exact texture and dark brown color. After fumigating it with methyl bromide, I attached it to the wall. Alas, there it is- the best space for my reading escapade.
If you feel upgrading the reading nook wood plank’s color, my jolly- you must! The best step that you can start off is by varnishing the surface. Then you can proceed by painting it. And since it is a reading nook, it would be advisable that you attach lamps unto it. You can help yourself more with color ideas from the net.
A reading nook is a crucial part of your home. By all means, it can work beyond being a reading nook. Quality family times, movie times, dining times, etc. are sure to warm up in this specific area.
But the best thing yet about the reading nook wall pallet is its conduciveness for creativity. So, if you go over the flipside in my story and happen to not have that vacant space in your home, then you can utilize the living room instead.
4) Round Photo Collage
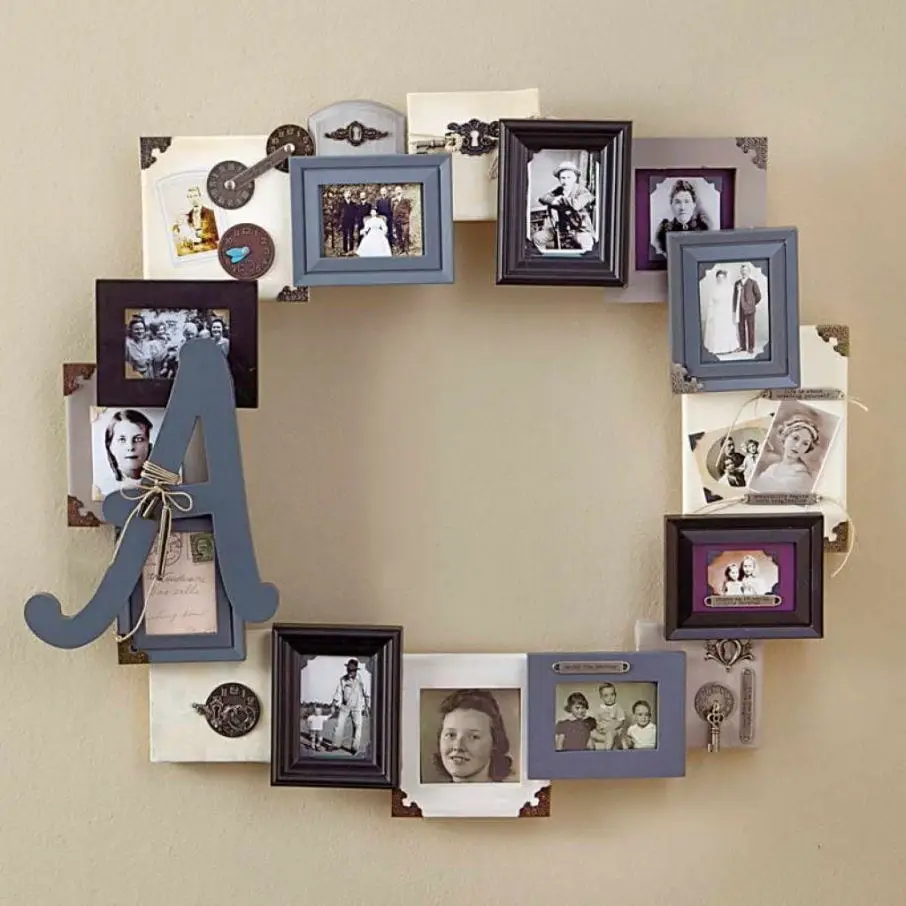
Image source: http://www.ghollab.com/15-diy-picture-frame-collage-ideas/circle-collage-frame-and-family-photo-on-wall-plus-round-shaped/
The DIY Round Photo collage wood wall is more of an artwork than a home corner. Nevertheless, it is highly necessary. Just picture out your picture-filled refrigerator door in the brink of collapsing.
You must certainly be having a hard time opening it. Just imagine that- except that in this piece, it is more organized and lightened up. Camping trip pics, family adventures, travel adventures, world tours and more pictures are sure to fit in the whole piece while sustaining a singular feel.
The best thing about the photo collage wood wall piece is its construction convenience. You can go rustic over this one, sustain its color and keep it bare- it does not actually count.
The composition in the space with the pictures is what really counts over this one. You can set a permanent placement for the wood pallet if you want. On the other hand, you can arrange the photos in a temporary template.
https://www.shutterfly.com/home-decor/wood-wall-art/round-photo-collage-wood-wall-art
Another chic factor by this wood wall DIY project design is its movability. Yes! You can design it to resemble a movable frame. Through the DIY guides, you will be taught how to design the wood pallet as a frame.
With this knowledge, you are actually offered another gifting option for the holidays. This chic factor shall save you from spending for your friend/family’s gift.
As mentioned earlier, the piece is intended for mobility. So, you ought to utilize a lighter wood pallet. A fine cedar wood plank will actually do. But in case you prefer a permanent, fixed, built-in-like setup, you can permanently attach it to your favorite corner in the room. Anyway, you can assemble/reassemble it later on in case of another artistic eureka.
5) Wood Letter
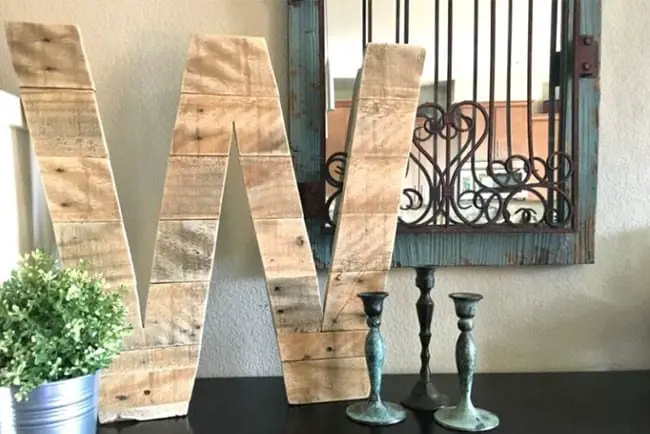
Image source: https://www.shutterfly.com/ideas/wood-wall-decor/
The DIY pallet wood letter is another artistic offering by the wood pallet material. Using repurposed wood, you can actually beautify your home with lettered wood structures. With these letter-shaped wood blocks placed in the bedside stand, living room, dining room, hallway and receiving areas in your home or office, a solid feel is sure to be felt by everybody.
The DIY offerings herein will impress you with letter options. A wise move in the home involves shaping the initials of your family members. The DIY project options will also walk you through the construction basics of 3-dimensional framing.
In another setting (in an office), if you have ample time, you can actually design individual letters that make up words on a bigger picture. Simple and exciting, this DIY project encourages bonding in your space.
Letter-shaped pallet wood art spins a feel of mystery in your space. And since not all people are doing it, this should prove to be a novel attempt. More so, 3-dimensional letter wood designs are yet to saturate their presence in the market. Thus, the whole package of the DIY pallet wood letters definitely warrants an even wider-spread attention.
The best tones for the pallet wood letters are light, natural brown to faded colors. It is because the immediate décor signature of such project is crisp earthiness. The earthiness of the DIY already carries in cool tones.
And why make it cool? The simple answer is a balance. With a massive wood letter block, thick and solid as the kingdom- is there any chance that you can go any brighter? Suppose you wash it with bright colors, should it not hurt the eyes? But unless, again- unless, that is your intention.
6) Rustic Wood Wall Design
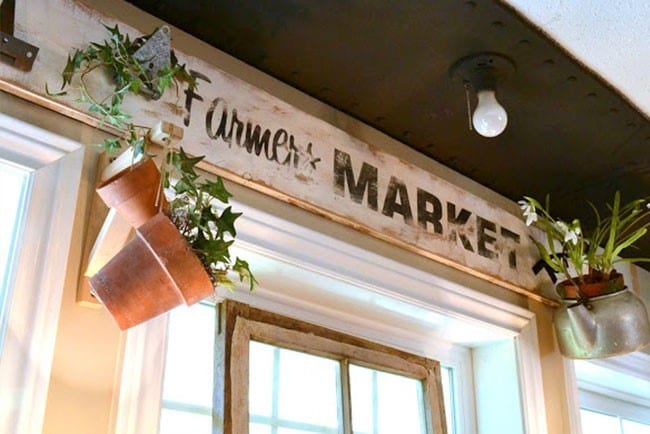
Image source: https://www.shutterfly.com/ideas/wood-wall-decor/
The DIY rustic wood wall design promotes crafts in visual arts and lettering. It can instantly transform your home into a countryside barn. You can write in whatever you want, considering that you have already come up with a theme. In my case, for instance, I put a barn rustic wood wall plank just above my home’s entrance door. I carved in it the phrase, “Wanderer’s Portal”.
Other great areas where you can hang the wood wall design include the kitchen, dining hall, patio, porch, restrooms and sleeping quarters. This awesome DIY project output can be assigned outdoors. Suppose you are giddy enough to give guests quite an adventure, you can place it right above your entrance gate.
Word carving on wood demands another time and focus. While such area may prove to be challenging, it is still however very much doable. To prepare yourself with the detailed craft, it is best that you sign into online workshops months ahead of your scheduled DIY effort.
After all, you need not hurry on this. In your time and pace, given the active learning, you are sure to realize the project with delight and satisfaction. Take your time and learn all you can on wood carving craft.
Wood carving is not the only option here. Suppose you are aiming for a fast DIY yield, then you can just paint your sign. Spray paints, pallet painters, and other coloring options can be laid in a way that words appear to be carved. There is a trick for the 3-dimensionality in that. You can learn all of these from the varied DIY options.
7) Barn Wood Herringbone Wall
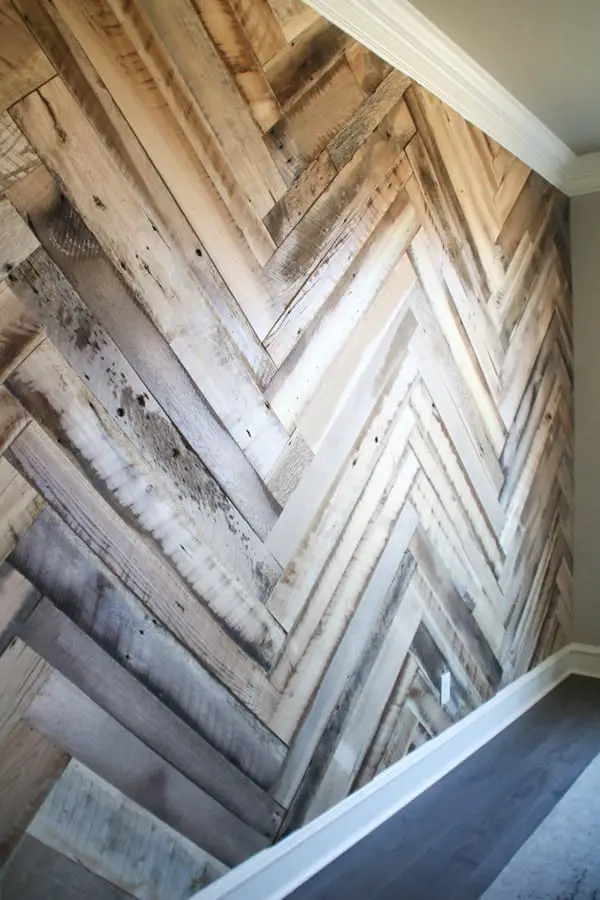
Image source: https://www.shanty-2-chic.com/2017/03/diy-barn-wood-herringbone-wall-treatment.html
The Herringbone wall design pattern takes delight from a wide interest among modern home décor practitioners. A highly symmetrical architectural pattern, it now inclines towards the more artistic nature of interior designing. The herringbone pattern is simple to put up, hence, its DIY procedures. What this DIY project need is a pack of wood pallet tiles. The number of the tiles depends on space’s dimension you are resting your eyes at.
You would be much luckier if you are refurbishing an already polished package of wood tiles. Given so, what you will only have to think about is varnishing its surface. Obviously, there is not any need for painting over herringbone design. Because, it is literally meant to be simplistic, bare and pure. Color has very less to do with the herringbone design. Its biggest star-players are shape and pattern. In case you cannot find a redeemable package, you may have to settle with your rough wood. But again, you must go through the basic process of checking/enhancing your wood quality.
Barn wood proves to be a solid nucleus of the herringbone DIY design. Sturdy, fine and naturally mold-resistant, barn woods hold architectural weights for centuries. As to which gains credit for this- that would be the wood’s source which is pine. Because of this, pine wood almost always makes it in several barn wood manufacturing areas. Like Cedar, Pine boasts of a very high-quality wood tag.
The Herringbone pattern can be realized in not more than a day. With the DIY pointers precisely followed, you are sure to finish covering your whole area within a day. In bigger cases, however, like offices, churches, and restaurants, you may have to require assistance. Depending on manpower size, the DIY project may take two or days to be set.
8) Geometric Wood Wall Art
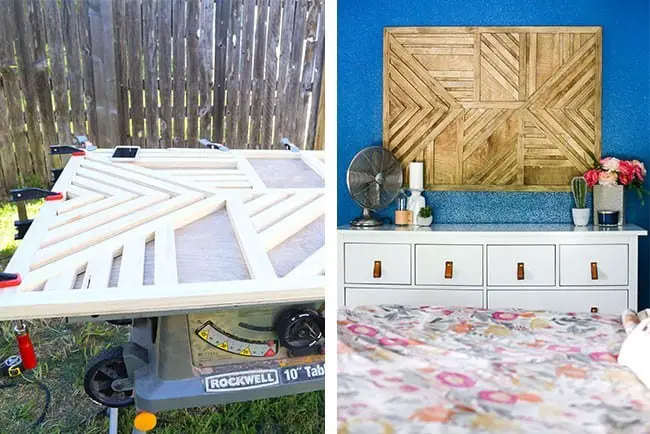
Image source: https://www.shutterfly.com/ideas/wood-wall-decor/
Another worthy addition to the classic artistic DIYs, the geometric wood wall design brings so much flavor and perkiness to that one area in your home or place that you consider a gap. The problem with the general home structures is that it sometimes leaves unwanted wall spaces in between. These gaps/spaces can be awkward in a sense that even color washing it would not save its blankness. The geometric wood design proves to be the ultimate solution to that problem.
The geometric design taps various patterns to look good. Matched patterns for the geometric wall design include herringbone, plank wood, a double herringbone pattern and many more. But you can still put in your personal, deconstructed touch to this highly geometric platform. It is all up to you. Anyhow, such DIY design is intended to be symmetrical for a fast finish. By all means, you can variate with your own patterns. The sky is the limit for this kind of project.
https://www.loveandrenovations.com/10/geometric-wood-wall-art/
The best wood source for this project is any cedar/pine wood pallet blocks. The blocks will serve as the scaffolding for the piece. It is through these blocks that you get to achieve the geometric patterns of such design. You can further layer this with a plywood support or any thin wood pallet flake. It would not hurt if you buy.
The geometric wood wall design may appear to be intimidating and difficult to put up. But, it is not really the case when you begin the work. The DIY options for the design are intended to empower even the most novice of all builders. All you need is a sharp eye and ears to realize the instructions. At the end of the day, the effort is simply a product of detailed and neat working characteristic. So, it is not really that intimidating after all.
9) Photo Clipboards
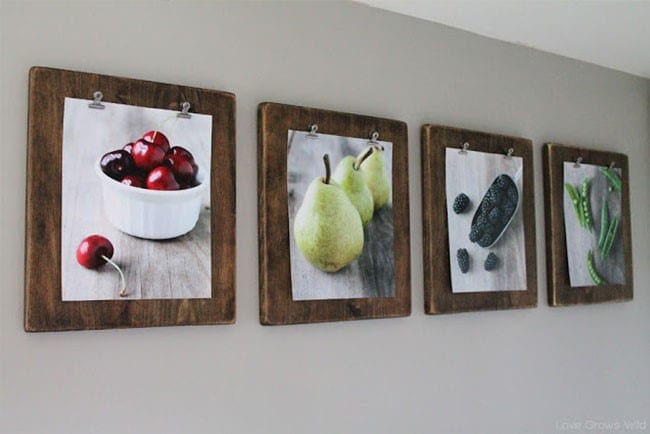
Image source: http://lovegrowswild.com/2013/08/diy-photo-clipboards/
The DIY photo clipboard design offers an alternative for putting up or framing important photos in your home. It proves to be a unique photo structure option. But the best thing about this design yet is its flexibility for tweaking. Thus, you can tweak it in the most artistic way you can. Easy and practical to put up, the DIY photo clipboard should be the best alternative for framing photos.
Making the DIY photo takes only a few minutes. Why? Because it only involves the slightest clipboard wood pallet. It should not take longer than that. And since it is a lighter, thinner wood pallet material, it can easily be moved around. Arrangements of the clipboard can vary as per photo subject. Other options for arrangement include individual posting or a grouped setting like that of a gallery. This should not take an hour.
You can take independence on the subjects that you frame. By any means, you can even attach a painting or a personal favorite portrait instead. In fact, this DIY project is highly personalized. There are limitless ways that you can perk up the clipboard design. Thus, it should be the best instrument for artistic freedom.
Using reclaimed wood planks, it would be great to polish the wood material or bathe it with anti-mold solutions. It would be a double happy if you apply an anti-mold varnish on the wood surface. Such varnish solution is cheaper and safer to use. With a high-quality varnish, you may no longer have to buy expensive other coatings and finishing. After all, the clipboard would be much appreciated with an organic, rough feel.
10) Reclaimed Wood Fireplace
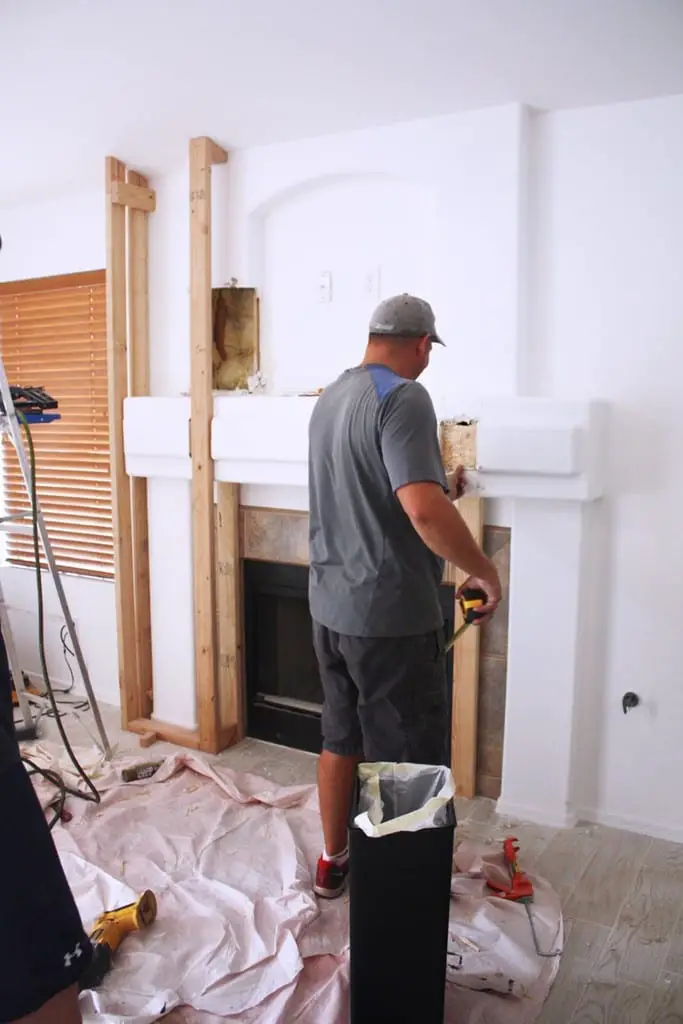
Image source: https://www.kristimurphy.com/blog/diy-reclaimed-wood-fireplace
The fireplace! Oh yeah! It should be the homiest, coziest part of the home. It especially becomes tres important during winter. Now, spruce it up with complete wood pallet reconstruction and you are sure to set a cabin atmosphere in your home. The fireplace plays an important function in your home- it gathers and strengthens the family by providing warmth. The cool effect provided by the pallet wood fireplace neutralizes the general tone. Thus, this mixture further results in a highly cozy atmosphere.
As seen of it, the reclaimed wood fireplace tends to be the most challenging DIY to realize. It is challenging as per cutting procedure, wood placement, and architectural planning. Adding fuel to the fire, the precise dimensions of the fireplace wall corner can be unpredictable. Thus, changes in the dimension are to be expected with the fireplace spruce-up business. The fireplace size can ultimately vary on depth enhancement. So the best that you can do to avoid complications is to flatly structure your fireplace beforehand. But, that is just the surface of it. The whole effort of fitting your reclaimed wood to the corner is another complex story to tell.
https://www.kristimurphy.com/blog/diy-reclaimed-wood-fireplace
In most cases involving this type of DIY project, contractors and assisting architects are being tapped. Under professional help, you can expect this DIY project to be realized within a day. Doing it alone, though doable, can guarantee you a-two-or-more day working period. But if you are up to the challenge, it should not be a problem.
The DIY procedures for this project will teach you to wear protective gears, especially eye goggles. It is important that you put on protection because the project would involve laborious drilling, sawing, welding, etc. The whole effort of upgrading the fireplace with wood pallet is expected to demand the involvement of metal/steel for structuring. So, it is highly recommended that you follow the DIY instructions to the tee.
https://www.thespruce.com/diy-reclaimed-wood-fireplaces-4129105
