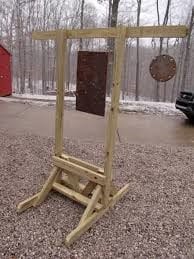
Wouldn’t it be amazing to have your own archery range or firing range at home? If you have a large yard or clearing then no doubt you’ll love to engage in these awesome sports. All you need to make your own firing range is a lot of open room and your own target stand. You can construct your own stand using very simple pieces of wood. This guide will show you how.
Creating your own target stand
Improve marksmanship or just play target practice with your friends with your own target stand. Here are some steps to make your own target practice stand at home.
What you’ll need
- 2 x 24″ pieces
- 2 x 36″ pieces
- 1 x 40″ piece
- 1 x 60″ piece
- Saw
- Hammer
- Nails
- At least 8 screws
Instructions
1) Prepare your materials

Source: https://www.instructables.com/id/DIY-Target-Stand/
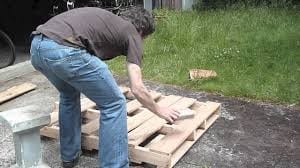
Measure the length and the height of your stand. It should meet your needs. You can use spare wood from your shed or garage or wood from past projects. Cut the wood according to the measurements you have made. Cut using a table saw, circular saw or router.
Prepare your screws, nails and other materials. You have an option to assemble the target stand at home, in your shop and transport it to the field. You may also choose to assemble the stand in the field if you don’t want to transport it
2) Start assembling
Source: https://www.instructables.com/id/DIY-Target-Stand/
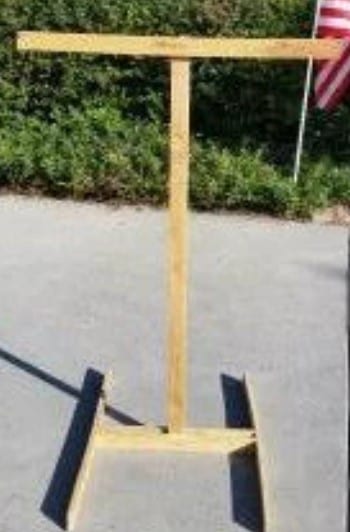
Take the wooden strips and mark their center line. Screw these on a larger strip to create the upper part of the stand. Connect the pieces from the ends using screws and make sure that these are connected tightly. Remember, you will be shooting at this so it does not have to be perfect, just strong enough to be used as a target stand.
This target stand can stand on its own or you may install it on a fence or tree. If you want this target stand to stand on its own, construct a stand using very strong and wide wood. Place braces on the wood so it will stand strong as you fire away. But if you want to hang it, you don’t need to construct a stand.
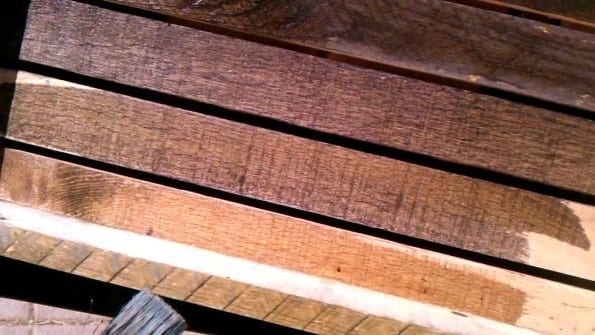
You don’t need to sand or to finish the wood for this project but if you want you can apply a coat of paint and finish to protect wood from the elements.
3) Put on the top
Source: https://www.instructables.com/id/DIY-Target-Stand/
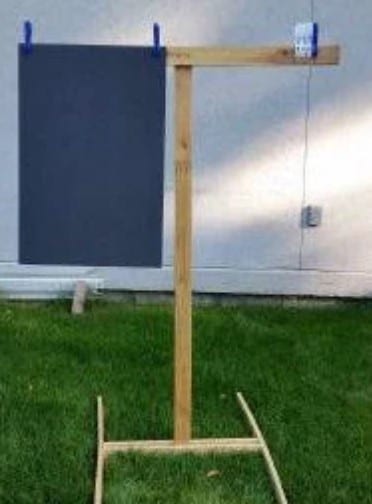
For the last step, screw a large strip across the top of the largest strip to make a “T” shape. You may now install a tarp to start practicing. You may want to consider adding two hooks on the frame so can easily hang a tarp or a piece of paper on the target stand. Aside from hooks, you can also use large clothespins instead. A foam core can be placed at the back. This will absorb the impact of the shots.
You can paint this according to the color you want. Since this will be a target practice stand, paint this striped yellow and black. These colors symbolize danger and warning. You can make a target practice stand that can hold one or two targets. To make two targets, add a bottom cross bar to clamp the bottom of the foam core. But if you want this to accommodate two targets, strengthen the posts and choose a stronger type of wood.
This is a simple stand which can be constructed in just an hour or so. To complete your project, you may construct a post or a table where you can lay down your arsenal or where you can position your rifle or arrow. As always, keep safe when constructing this target stand as well as when you are using it.
Conclusion
Making your own target stand could be a nice project for a weekend. It’s easy to do and won’t even cost you anything. You can use spare wood you have around but make sure that this is strong wood and wood that can withstand the pressure of firing and countless target practicing. And of course, stay safe as you use this and make sure to set it up in a safe area as well.
