Cherrywood is considered a prized wood for making furniture. It is a hardwood that’s smooth-grained, and reddish-brown. Cherry wood is hardwood that’s harvested from the American black cherry tree native to North America. Cherry wood is a favorite among woodworkers and furniture aficionados. This wood has a unique characteristic and changes its color as it ages. What starts as a light pink wood darkens over time into a reddish color showing off a lustrous patina. However, unfinished cherry is not as impressive as finished cherry wood as it looks blotchy and unevenly colored. The uneven patches are the result of the wood’s color-changing behavior with age. So, if you are planning to take up a cherry wood project next, to give it an attractive look you must know about the basics of how to finish cherry wood.
You may have worked with different kinds of woods like maple, poplar, pine, to make flooring, cabinets, and furniture. But, before you start working with cherry wood, evaluate its properties, strengths, and weaknesses. Learn the intricacies of how to finish cherry wood, to get a uniform appearance.
Before you start working with cherry wood, here are some important things to remember.
Cherry wood changes color with age
The color of cherry wood darkens as it ages. The hue turns from a pale pinkish tone to a deep reddish-brown tan due to prolonged exposure to light and air. The rate of color change is quite rapid. Initially, the fresh wood, when partially covered, can develop shadow lines within hours. These lines can be difficult to remove with sanding or any other process. Remember to keep freshly acquired cherry wood completely covered or fully exposed to ensure uniform color change on the wood.
After a few weeks the color change slows down and the darkening becomes more gradual. Cherry woods with market finish often use UV blockers to keep the tanning process under check but cannot stop it completely.

Do not use oil stain on fresh-cut cherry wood
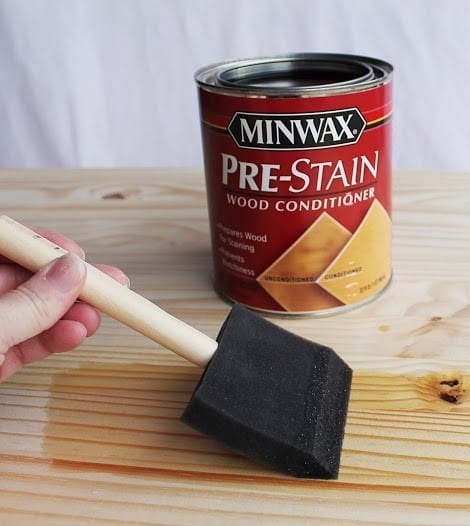
Using an oil stain right away on freshly acquired cherry wood for darning the color, may do more harm than help. The oil will enter the wood’s pores and make it appear unnatural. The right thing to do is first to seal the surface before applying coats of the desired color glaze.
To give cherry wood a deeper and richer look, linseed and tung oil finishes work better than film-forming finishes like polyurethane, shellac, and lacquer. However, as years pass by, they start giving a similar appearance.
Cherry wood color varies from one board to another
Before knowing how to finish cherry wood, it is important to know how to select the right cherry wood to make your work easier and better. Cherry wood boards differ greatly in color as they change their shade with age. To get a uniform finish, choose cherry wood boards of similar shade. A good match would be wood boards taken from the same tree.
Sapwood and heartwood
The color difference in cherry’s whitish sapwood and pinkish heartwood looks more distinct as the wood ages. The heartwood darkens giving a darker red-brown tone but the white sapwood doesn’t. The most appropriate solution is, simply cut off the sapwood. However, with the know-how of how to finish cherry wood, it can be blended with the heartwood to give a similar look.

Absorbent spots and curly figures
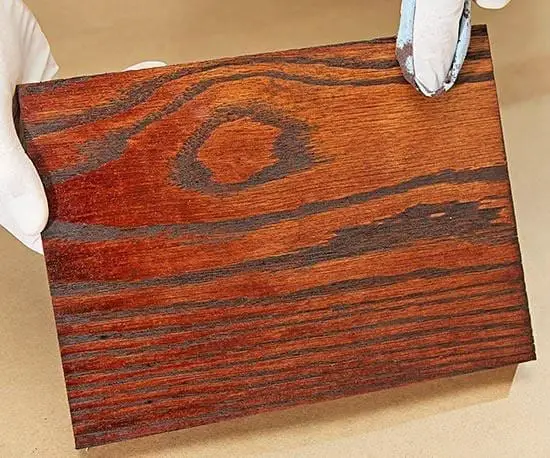
There are many absorbent spots on cherry wood and curly figures on the wood grain that may cause a problem with achieving a uniform finish. These two characteristics may end up with you getting a mottled, blotchy, and uneven colored surface. Some people do not mind the look and consider it to be an inherent beauty of cherry wood. But if you are particular about a uniform finish, wipe a small portion of the board with mineral spirit to check the mottling tendency.
Steps of Finishing Cherry Wood
Step-1

The first step is to select a finish of your liking. You need to decide the color and the coating for protection. There are two types of finishes you can go for to seal and protect the wood. Some of the finishes dry to give a hard film and the others do not.
Some suggested finishes are
- Boiled linseed oil
- Tung oil and varnish blend
- Clear dewaxed shellac
- Clear dewaxed shellac with brown glaze
The finishes forming a film can be applied in multiple ways. You can wipe, brush or spray them. Every layer applied to the wood adds thickness to the film. Finishes that are made from drying oils are soaked by the cherry wood’s sponge-like characteristics. The oil moves into the pores of the wood and does not harden to form any hard surface film coating. The oil finishes have to be wiped to be applied and to remove the excess. Drying oil finishes tend to give a more mottled appearance compared to shellac, lacquer, polyurethane finishes.
Step-2

Wear protective gear like gloves, a respirator, and work in a place that is adequately ventilated.
Step -3

For wipe-on drying oil finish, clean the wood surface to remove any dust or grime before applying oil.
Step-4

Pour the oil on wood, brush, or rub the oil on the wood following the manufacturer’s directions. Usually, wipe-on finishes are slightly thick. Heating them can make them less syrupy and more convenient to apply.
Most wipe-on finishes are compatible with oil and varnish and they form a film-coated finish. These blends contain solvents that make them easy to apply and quick to dry.
Step- 5

These are worry-free finishes and are easy to apply. You will get a drip-free finish with no brush marks as you will be wiping them with a rag. However, the wiping job can be tedious. Wipe the excess oil from the surface. After finishing, dispose of the oil-soaked rags safely.
Step- 6

After the first coat is dry, use a fine sandpaper to smoothen the surface before applying the second coat if required. Repeat the process till you get the desired shade, and uniform layer, and sheen on the cherry wood surface.
Sprayed-on film finish

These finishes harden to give a firm coating minimizing the blotchy effect on cherry wood. These finishes have less color compared to drying oils and the wood does not soak as much. They seal the wood well and the layers form successive, uniform coats on top of each other.
Spray finishes that come in aerosol cans are easy and convenient to use, and dry faster. They are ideal for covering corners and difficult-to-reach nooks and crannies. You don’t have to worry about unsightly brushstrokes or rag clean-ups. However, be careful not to overspray.
Now that you know how to finish cherry wood, choose what suits you the best and give your cherry woodwork an eye-catching finish.


