Dry firewood is ideal for burning and causes less smoke. But, when there’s no choice and you are stuck with damp wood, you need to know the tricks of how to burn wet wood. Sudden rain can spoil your plans of enjoying a bonfire in your backyard by drenching your firewood. Without knowing the proper process, burning wet wood may turn into a real nightmare.
Most campers look forward to starting a fire to maximize their camping experience. Often in bad weather and unexpected rains, all they are left with is wet wood! Burning a fire can also be of key importance in a survival situation. Knowing tips on how to burn wet wood can be a lifesaver when the weather turns hostile during a camping trip.
Things you will need
Before starting a fire with wet wood in the open, you will need some preparation. Without following the proper steps it may be impossible to start and keep the wet firewood burning for long. Here are the things that you will require for burning wet wood.
- Lighter/Matches
- Lighter fluid
- Large rocks for building a base/Shovel for clearing the ground
- Paper or dryer lint/flammable material
- Hatchet/Knife
- Paper towel
Step – 1

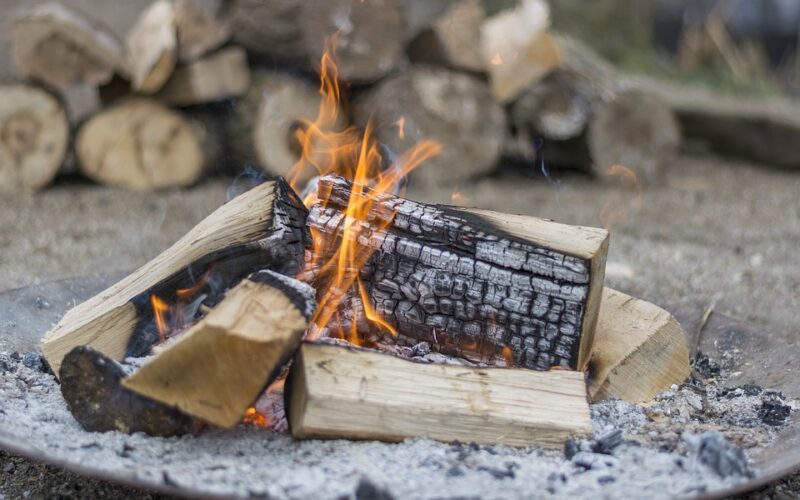
Before burning wet wood, clear up the ground to make a base for the fire. Sand or gravel makes the ideal base/platform. Dig out or clear any grass from the ground as wet grass will add more dampness to the wood. Make a circle keeping the size proportionate to the size of fire you want to light up. Or, place some stones and logs to create a circular fire pit with a platform. This will also help you keep the wood off the wet ground and allow airflow that’s required for fire to burn. For in-ground fire pits, the ideal depth is 6 to 12 inches. The tips of knowing how to burn wet wood will make your task easier when starting a fire with damp wood.
Step – 2

Gather sticks and logs of different sizes.
For a successful fire, three types of wood will be required.
-Tinder, which includes small twigs, dry leaves, woody residue on the forest floor (shed and dry branches, barks, stems), cotton balls, wood shavings
-Kindling, which consists of thin (finger-thickness or less) and tiny sticks usually around one-six inches.
-Firewood, which are larger pieces of wood. These wood pieces will keep the fire burning for long hours.
For a larger fire, gather more supplies. The best way is to gather some dry kindling from the driest parts of wood to get the fire started. To select dry twigs, look for branches that make a cracking noise when snapped.
No matter what size your fire is, always start small. As the fire starts burning you will then require extra supplies of wood to keep it blazing.
Step – 3

Place the smaller sticks or twigs at the center of the base. If the sticks are wet, shake off the water and use paper towels or absorbent cloth to dry them as much as possible. Arrange them in an ‘A’, cone, or teepee shape with some kindling and tinder placed loosely in a pile.
Your small heap of wood will range from dry leaves, small twigs, to larger pieces of wood. This will support the fire to burn well and dry up larger pieces of firewood burn quickly and steadily. After the twig bed is ready, place dryer lint, rolled up dry paper from magazines or newspaper, and any other available flammable materials, in between the twigs. Only when the fire starts burning well and the temperature rises, add the larger logs a few at a time.
Step – 4

Strike a match or use a lighter to start a fire. First light up the paper or lint placed between the twigs. Pour some lighter fluid to help the fire burn and dry up the wet wood. Be patient, it may take a while for the wet wood to burn properly.
When the fire starts burning steadily, add a bigger log. Let it dry up and catch fire before introducing other bigger logs. While the logs burn, keep the other wet wood near the fire so that they dry up a bit from the heat. This will get your next batch of firewood ready to keep the fire going! Keep adding paper or lighter fluid at intervals if required to keep the fire burning till the logs start burning naturally.
Step – 5

Another trick of how to burn wet wood lies in your capability to feed the fire with smaller pieces of wood or available dry wood whenever needed. To do so, use a hatchet to break open larger logs of wood and expose the possibly drier core.
If you do not have a hatchet handy, then shave off the wet jacket or bark of the wood to get to the drier portions. Once you have done that, place these wood pieces next to the burning fire. This will allow them to get warm and dry which will help them catch fire easily later when you put them in the fire pit.
Step – 6

The success of burning wet wood lies in being persistent. Once the wood catches fire, keep it burning and do not allow it to die down. If the blaze dies out occasionally, blow gently on the embers to add air to the fire to revitalize it and help it burn with flames again. If you intend to keep it burning for longer, keep drying some wood alongside and feed the fire with firewood occasionally.
Now that you know how to burn wet wood, you can build yourself a toasty fire in your backyard or a camping site. But, once you have enjoyed the warmth, don’t forget to douse the fire before you leave the site. Extinguishing fire properly is as important as lighting it up. Fires that are not put out properly can be hazardous and cause immense damage.
