Wood etching is a satisfying hobby. If you are thinking of trying your hand at it, you should read this article on how to engrave wood by hand. You will learn about the tools which are most helpful and make etching easy for you. For example – Did you know for hand-engraving, the chisels and gouges are going to be your best friends.
DIY projects involving engraving wood by hand have their benefits. You can use deep groves whenever you need them. You will not use any machines that will make noise. The tools you will use will have no movable parts and will last long. If required, you will be able to put in a high degree of precision. Of course, as it is a wholly manual process, most of the time the final product will have little imperfections. How much of it is visible will depend on the skills of the person crafting it. So if you are learning how to engrave wood by hand, we would advise you to start with engraving an easy and simple design.
Things to keep ready
These are the things you will need if you want to learn how to engrave wood by hand:
- Wood
- Workbench
- Fine-grit and medium sandpaper
- Tack cloth
- Gouges – Narrow blade gouge. Flat-blade gouge and round-shaped gouge
- Topcoat
- Flat and wide brush, if using topcoat
- Damp sponge or brush
- Paint or Chinese ink
- Pencil.
Step-by-step instructions on ‘how to engrave wood by hand’:
Step 1: Choosing the wood

You have to decide what wood you are going to use. There are hardwoods and softwoods. But if you are newly learning how to engrave wood by hand, it is best to use softwood. You can choose linden, balsa, or pine wood. Or you can also choose between cherry, walnut, poplar, or oak.
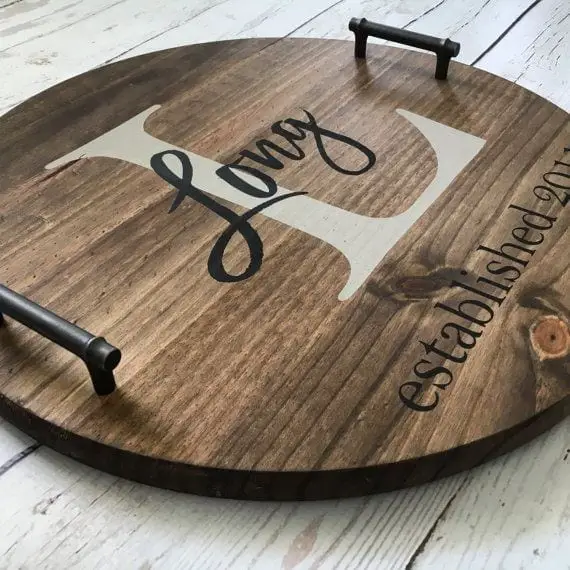
You can always engrave on a hammer handle or a coat rack. But as a beginner, try etching on a simple sign or plaque.
Step 2: Preparing the wood
A. Removing Varnish & Smoothening the surface

Use sandpaper or solvent to remove the existing varnish. The sandpaper will also help to remove the grain and make the surface smooth. A smooth surface will be easier to work on when using a hand tool. Medium-grit sandpaper works best for sanding wood.
B. Cleaning the sawdust

You will need the tack cloth for this step. Whether you will be carving, or using any other etching method, you must not skip this step. If you cannot get hold of a tack cloth, get a clean and soft cloth. Wet it enough to make it damp and wipe off the sawdust.
Step 3: Creating the design
A. Selecting a design

Select a design. You can engrave pictures, symbols, phrases, or only a word. But if you are learning how to engrave wood by hand and this is your first try, keep the design simple. Choose a design that has a lot of straight lines. You can print the design out or create it on paper.
B. Transferring the design on wood

Using a pencil, draw the chosen design on the piece of wood. This step will be easy for you if you are skilled at drawing. It is also one of the fastest and simplest ways of creating a design on wood. You must keep your hands steady and concentrate for a precise drawing.
If you are not confident about drawing with a pencil, you can use graphite paper. Place a graphite paper and draw the design on it. The graphite side must be touching the wood. You can also trace a design using a stencil. Secure it on the wood with painter’s tape and trace the designs.
Step 4: Carving the wood

Start etching the contours of the drawn design using a gouge. Gouges as wood-carving tools are ideal for carving straight and curved lines. Try holding the gouge at a 20 -30 degree angle to the drawing. Keep pushing the tip and also give gentle taps at the back as you engrave into the wood. Make the cuts 1.6 to 3.2 mm deep.
When engraving on the thinnest parts, use a gauge with a narrow blade. After digging the contours, use the flat blade gouge to create depths in the notches. Then using a round-shaped gouge, make any irregularities flat.
The other tools for etching are a chisel (ideal for carving straight lines), a Dremel (perfect for lightly carving a design), or a wood-burning tool (great for carving dark lines).
Step 5: Clean the surface
A. Using a sandpaper

Fold a thin strip of 120-grit sandpaper around your finger and lightly sand away the surface and all carved lines’ inside edges. A good sanding on the carved surface will make the reliefs homogeneous.
B. Using a damp sponge

Do not ignore this step if you have etched using gouges, or a chisel or Dremel. The job will not be done until all splinters or chips are removed. Use the damp sponge or brush to ensure no chips and sawdust are remaining in the grooves. Take a wet sponge and wipe the sanding dust away.
You can also use a tack cloth, a soft cloth, or a brush.
Step 6: Applying a topcoat (Optional)

Giving a top coat would give your job a polished and finished look. Apply a thin coat of topcoat with a matte, gloss, or satin finish. If you have worked on a piece that will be kept outdoors, use water-resistant polyurethane. For a piece that will be kept inside, you can use lacquer. Let the top coat dry.
For pieces to be kept outdoors, consider applying a couple of more coats. Apply a light coat each time. Give it enough time to dry before the application of the next coat.
Let the top coat dry completely before you use the piece you have created. Topcoats made for outdoor pieces can take quite a few days to cure. Indoor types will take several hours before they become ready to use. Humidity, temperature, and weather will affect the drying time too.
You can also paint your wooden artwork. Hopefully, all these steps will teach you how to engrave wood by hand successfully enough to make it your hobby!
