Inlays take woodworking to a whole new level. Depending on the intricacy of your design, an inlay can look like a legit piece of art worthy of admiration and accolades. If you are a professional woodworker or carpenter, well-done inlays can be a huge selling point as they reflect your level of skill. If you are an amateur then inlays make for a good decorative item or a highly personal gift.
Whatever may be your reason, this article will show you how to inlay copper into wood.
Instructions on How to Inlay Copper into Wood
Simply follow the steps given below to learn how to inlay copper into wood.
Step 1: Gather all your Tools and Material

You require precision to make neat and professional looking wood inlays. A different assortment of tools is necessary to work the intricacies of the task at hand. Overall, these are the tools needed for the perfect copper inlays –
- A wooden sheet or board (preferably hardwood)
- Copper Wire – 14 gauge
- Rolling Mill
- A stove or a fire torch to heat the copper wire
- Different types of pliers (Jeweler’s pliers is a must have)
- Different types of wire cutters (Flush cutters are a must have)
- A small hammer
- A metal file
- A large quantity of super glue
- Sandpaper and sander
- Accessories to polish
Step 2: Understanding Hardwood

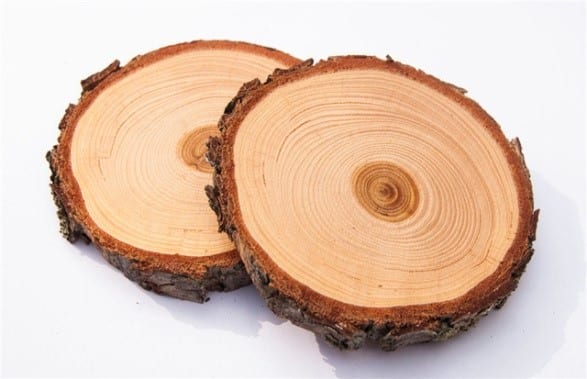
You are advised to only use hardwood. Many skeptics will discourage you saying that the wood will crack when you pound the copper in it. But you can prevent that from happening with your skill. Also, follow these tips –
- The size of the void cut out in the wood and the size of the copper wire (which you will place in the void) must match.
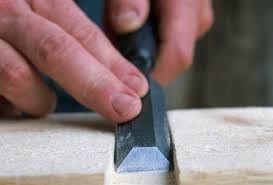
- The void needs to be cut neatly into the wood with minimal splintering.
- The copper wire must be heated with the torch or on the stove.
- Use the small hammer to tap the copper wire into the void.
Step 3: Creating the Void in Hardwood

Hands down, the best way to carve out the void in your wood is by using a laser cutter. They are precise and can be controlled perfectly. But such a tool is often expensive and inaccessible in the local markets. So there are other alternatives.
One way to go about it is with a rotary tool. The size of the rotary bit should be the same as your void’s width. Another way to make the void involves the use of pantograph. A pantograph is an apparatus that allows for detailed and precise cutting. It also keeps the blade or bit steady so you do not go off course.
Step 4: Ready the Copper Wire

Beat the copper wire with your hammer to bring it to the preferred thickness. Do not forget to heat the wire first; otherwise you will be beating it in vain.
The preferred thickness can be described as the thickness of the wire which allows you to shove the wire into the void with your bare hands. But the wire should not go in so easily. There should be some application of force from your end to get the wire in. If it goes in easily, it will fall off as easily.
Now use the mill to roll the copper wire into a coil. Then heat it with fire. When it becomes red hot, put it into a bucket of water to cool it immediately. This will impart softness onto the metal. You can then easily put it into the void.
Step 5: Focus, Patience and Skill

This is your answer to the question, how to inlay copper into wood. The time required for an inlay depends on the design you are aiming for. The more complicated a design, the more time it will take. So please be patient.
Ensure that the inlay is not one long uncut wire. This will cause problems. You cannot bend the wire to get sharp corners. Also, during the sanding process your metal will expand. If it is one whole wire then it will expand a lot and may even come out of the void.
When it comes to using super glue, the amount required will depend on the length of the void being inlaid. If the portion is short, you can first apply the glue to the entire area. But if it is a long portion, then apply the glue in instalments, while also sticking the wire in as you go.
Using the Jeweler’s pliers, bend the copper wire to get curves. To set the inlay into the wooden void, tap the wire with your small hammer. Once a portion is complete, cut the wire’s end with a flush cutter. If you need to shape the end of the wires, use a filer.
Before you begin the next step, allow the glue to solidify properly. The ideal time is a day. So begin the next step the next day.
Step 6: Sanding and Polishing

After the copper wire has been inserted into the void and the glue as dried up, it is time for step 6.
For sanding, opt for an orbit sander. Its slow speed is ideal for the job. Something fast like a belt sander will destroy your delicate wire designs. Continue the sanding process till the metal and wood flush together. Keep touching the inlay time again to check this.
After it has flushed, use sandpaper of different grits. Slowly, use sandpaper of higher grit and go on up from there. Keep doing this till you achieve a good finish.
In the end, use a good polishing cloth to dust off any particles and clean the copper wire. You are almost done.
Step 7: Put it on Display

Your inlay is ready. Now is the time to invite friends and family over and flaunt your piece of art. Or if you are humble and modest, quietly hang it on the living room wall. You have worked hard to make this remarkable piece of work, so decide whatever you want to do with it.
Hope this article helped you in learning how to inlay copper into wood.
