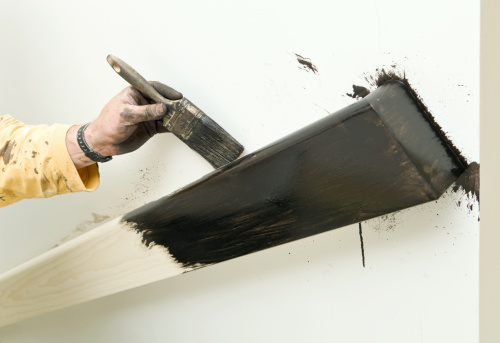
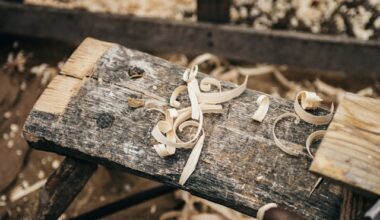
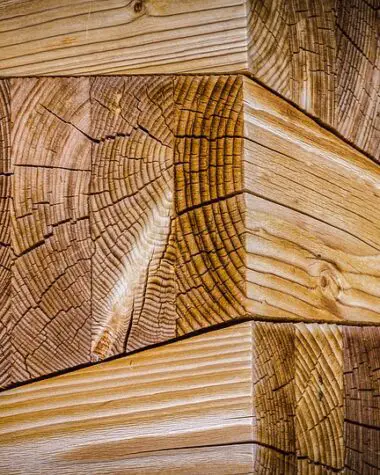
Poplar wood has been a popular choice, for building materials, for centuries. The wood is cost-effective and easy to handle, although it doesn’t look too good. Here, you will learn how to stain poplar wood. However, before that, let’s look at a few distinct features of the wood.
Features of Poplar Wood
You must know its properties before you can learn how to stain poplar wood. Poplar wood may be cheap-looking, but it can be stained to look like other, more expensive wood types, including cherry or walnut. The wood comes from the tree family and blooms during spring. You can also call them tulipwood, tulip poplar, or even whitewood or canoe wood.
However, since the streaks are dark green to pale yellow, most workers keep this wood aside for smaller projects, such as drawers, or frames. However, you can stain the wood to make it appear like some of the premium types.
Similarly, other properties of poplar wood include:
1. Poplar Wood is Hard
Poplar wood is a hardwood, although it isn’t that hard, and is comparable to some softwoods, such as cedar. The wood is classified as hard as it blooms in spring and sheds its leaves during fall.
Poplar also has a hardness rating of 540 pound-feet (lb-ft), which is much lower than cedar, and higher than white pine wood.
2. Poplar Wood is Best-Suited for Home Furniture
Poplar wood comes in different colors, including yellow-brown or creamy yellow, and runs parallelly. Its low density makes it porous and tricky to use. These properties make it challenging to give poplar wood a smooth finish as you don’t get crisp edges in other wood types.
For these reasons, poplar wood is used in home furniture, like frames or dressers. So, you may be able to use poplar wood for your ceilings, but make sure that you vault it to make it look attractive.
How to Stain Poplar Wood?
You now know the properties of poplar wood and how to handle it. With that, you can move on to learning how to stain poplar wood. Staining poplars involves several steps, but you can start with sanding off those patches. So, here are the steps involved in staining poplar wood to give your product an elegant finish.
1. Sand off Rough Spots
Grit paper can be pretty helpful for sanding off those rough spots and finishing touches to enhance the product’s overall appearance. Sanding off rough spots will also let the wood absorb stains better.
2. Apply the Stain
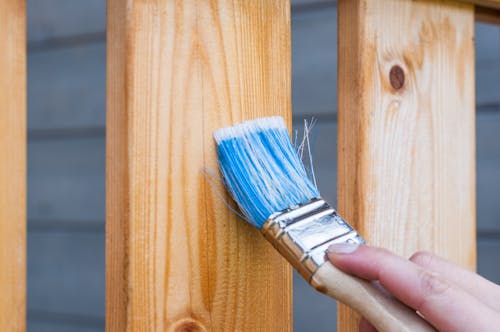
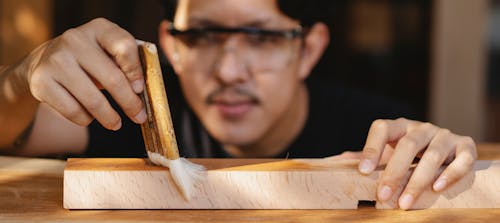
The second step in the process involves applying the stain. You can use a paintbrush to apply the stain, but make sure you rub it back and forth. Alternatively, you can also use a cloth, in which case, it would be best to stain each spot at a time.
3. Apply a Sealer
Though optional, it would be better to apply polyurethane to prevent the wood from becoming dirty or wet before smearing it. You may skip this step entirely, but be sure to use the substance to the bare areas first if you choose to go ahead. Also, allow the coat to dry before applying any extra stain.
4. Apply Additional Stain
You must apply as many of the stains as you can to get a vibrant look. However, you shouldn’t use too much as it may become harder for the wood to absorb the colors and dry off.
If you have an affinity towards a particular color and want to use it to stain poplar wood, you must ensure that you apply several layers to prevent smearing. Also, while applying each coat or layer, pay attention to the pattern, and follow the same throughout, to get the desired outcome.
You may even use water-based colors if you feel that they would be easier to clean than oil-based colors.
5. Wipe off Extra Stains
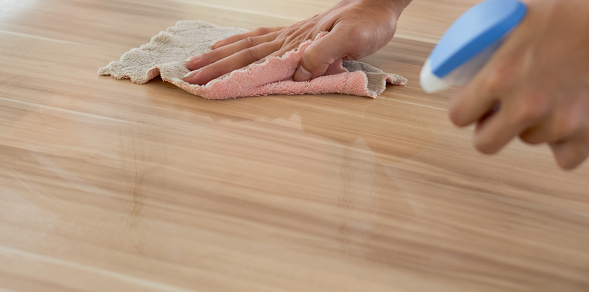
As you apply each coat, wipe off any stains. So, you must remove those extra stains after applying a coat and before moving on to using the next skin.

6. Let it Dry Overnight
After applying the stain, don’t be in a hurry to use it. Leave it so that it can dry off. That way, you can ensure that there is no smearing of any sort and that the coat won’t crack or come off as you peel it.

7. Clean Up
Don’t forget to clean your tools after applying the stain. Most people would want to leave the sealant or stain on their tools to use the same for other projects. However, ensure that you clean your tools by wiping off any stains or sealant leftovers so that you can start afresh.
You might end up causing damage to the tools if you leave the stains or sealant leftovers. So, make sure that you clean the tools after doing the job.
Common stains may work well for small projects, but if you are working on something big, you may need to use those spray-on wood stains. Spray-on wood stains are not only easy to handle but also settle quickly on wood. Another popular option is oil-based stains. Oil-based stains can work like a charm, especially if you are not used to dealing with water-based smears.
Closing Words
When working on projects that require applying stains on wood, you must take all the necessary measures not to hurt yourself in any way. Wear a mask when using to prevent suffering from nausea, headaches, or dizziness.
Also, don’t spill water or dirt on the stains, as they can be harmful to the wood. To avoid damaging the wood, you must ensure that it is dry before working on it.
Finally, ensure that you clean your tools as soon as you apply the stain to prevent accidental spilling.
So, follow this guide on how to stain poplar wood. By doing so, you can do a fine job and give an elegant finish to your product.
