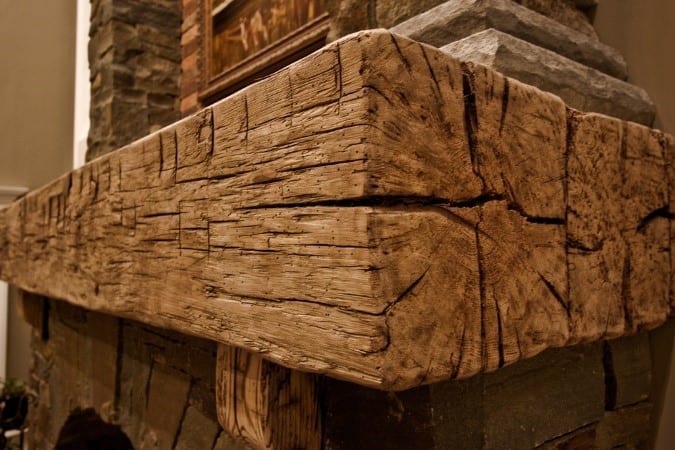
Old wood brings a warm, cozy feeling to the atmosphere. That particular charm creates a very casual, friendly sense of well-being. For sure, the reclaimed wood fever has been growing in popularity. Are you also on the look for smart techniques which will help you add that fantabulous rustic appeal to wood?
Do you want to learn how to make new wood look old? I’ve been experimenting with as much wood distressing methods as possible: staining wood, painting wood, using a steel and vinegar mixture, trying a baking soda and vinegar mixture. So far, so good. But the techniques which I adore the most do NOT make use of any paint, stain, or other solutions.
Instead, the best techniques for making new wood look authentically old are the ones which require a mechanical approach. That’s why these techniques are also known as mechanical techniques.
The purpose is to apply some form of pressure and cause damage to the surface of the wood. Subsequently, it will appear just like it would in the wild after being exposed to bad weather, insects, and age.
What You Will Need To Follow This Tutorial
- Metal chain
- Hammer
- Mallet
- Awl
- Sandpaper
- Drill
- Wire brush attachment
- Nails
- Sandpaper
Keep in mind that you do NOT need all of these tools in order to make new wood look weathered. Use the ones you have handy.
Quick Pro Tip
The Shou-sugi-ban wood burning technique (also known as wood torching technique) is amazing for accentuating the grain of the wood. Accentuated grain gives off a special touch of rustic deepness. However, you may also choose to burn only certain edges or deep cracks on the surface of the wood which will create an effect similar to that of a thunderstruck tree in nature.
Step by Step Instructions for Making New Wood Look Old
Step 1 – Test various mechanical technique on a piece of scrap wood
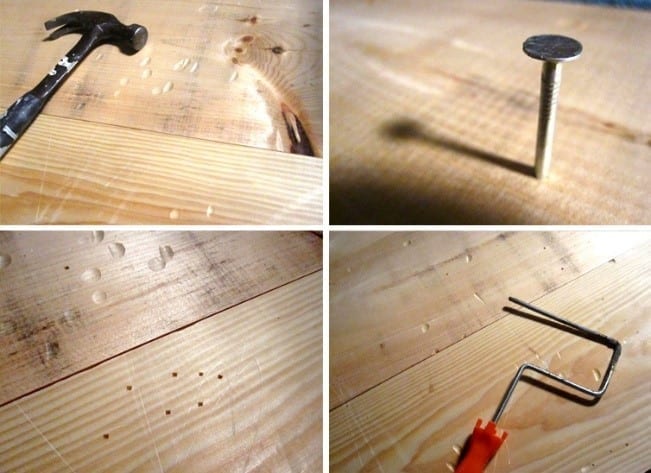
Image Credit: flickr.com
Even though the mechanical means for distressing wood do not come with a set of strict rules to follow, it’s best to give your tools a try on a scrap piece of wood first. Thus, you will quickly understand how much pressure you need to put in order to create a particular pattern.
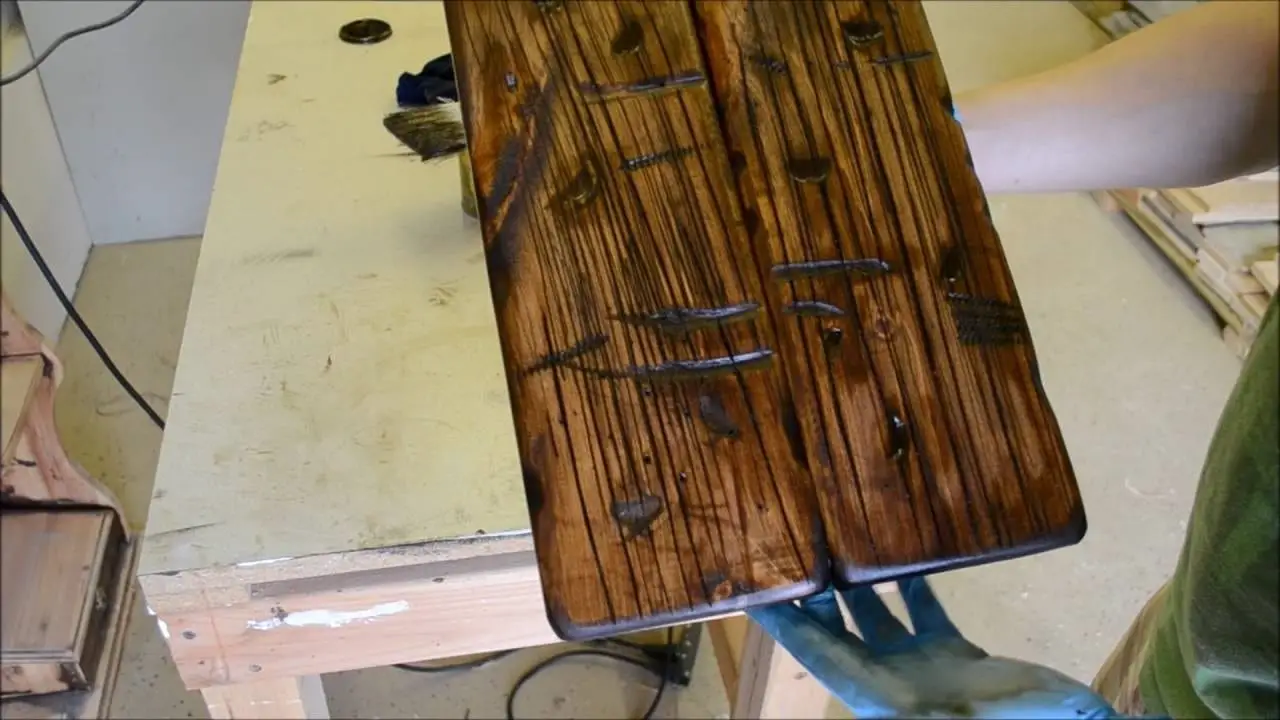
For example, you can make small divots by hitting the wood with a metal chain, hammer, or a mallet. Long scratches can be made by pressing the side of a big screw against the wood surface. You can also achieve a similar effect by hammering the side of an awl. Nevertheless, you can try drilling screws into a board, such as a 2-by-4 and hit the wood to create an effect, which mimics wormholes.
Step 2 – Attack the wood and let your imagination guide you
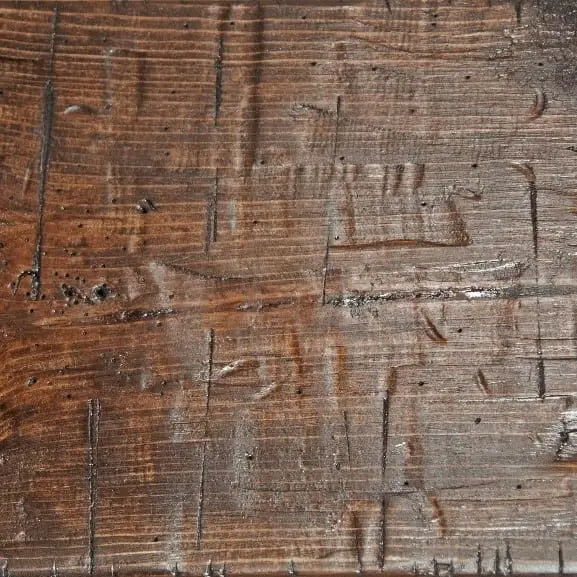
Image Credit: familyhandyman.com
When you are done testing the mechanical techniques on a scrap piece of wood, it’s time to go on and apply those techniques on the original piece of wood you want to distress. The most important rule is that there are no rules! Let your imagination guide you. My personal top favorite mechanical technique for making new wood look old is creating texture with a drill and a wire brush attachment. That particular method makes the grain truly stand out.
Do you have a favorite mechanical technique for making new wood look old? Have you tried any of these before? We’re excited to hear from you! You can join us in the comment section below and help us grow the community with useful tips, insights, personal impressions or any possible questions. Distressing wood is a form of art.
Try combining the mechanical force methods we listed in this tutorial in a combination with another wood aging technique, such as, for example, staining, or chalk paint.
We bet you will be able to astonish yourself with the final results. But before you get down to work, don’t forget to show us your support. If you find this article helpful, your thumbs up and shares will help us succeed in reaching out to more of our friends DIYers globally!
