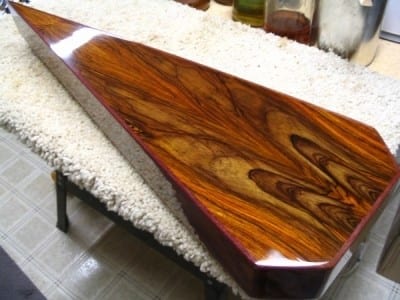
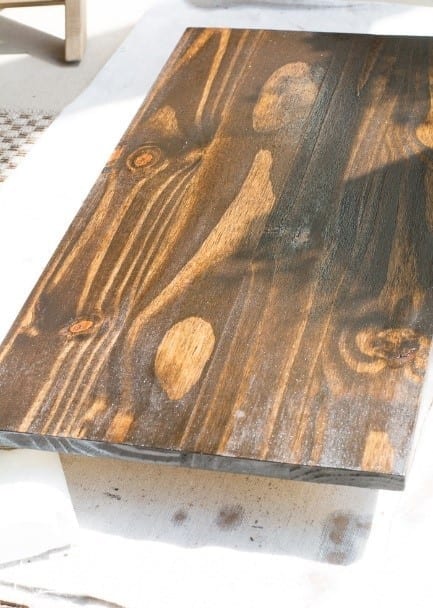
When I started figuring out how to make wood shiny, I had zero relevant experience on that matter. But there is one thing I knew for sure: I wanted a super glossy, golden-hued, warm finish which will be durable and will require a low maintenance.
After tons of research, it was time to test if I did my “homework” on learning the best ways for making wood shiny. Fortunately, it didn’t turn out just fine; it turned out fantastic!
Do you want to find out how I did it? Are you on the search for an easy tutorial to guide you through all of the important steps without the fluff? Head on to the comprehensive tutorial we are listing below!
What You Will Need To Follow This Tutorial
- Cloth/rag
- Water
- Painter’s tape
- Medium-grit and fine-grit sandpaper
- Vacuum cleaner
- Breathing mask (optional)
- Paintbrush
- Paint stirrer
- Wood stain (optional)
- Water-based or oil-based polyurethane
- Razor
Quick Pro Tips
1 – Be gentle when sanding
You don’t want to sand too aggressively. Instead, go for light, gentle strokes which won’t damage the shape of the surface you are about to gloss. Nevertheless, always follow the grain of the wood.
2 – Polish like a pro
Once you are done applying all the coats of gloss to the wood, you can polish like a pro. Although this step is often underestimated, buffing the surface will make your masterpiece look sparkling bright. A clean cotton cloth dipped in automotive polish can work perfectly for this purpose.
Step by Step Instructions for Making Wood Shiny
Step 1 – Start with preparing the work area
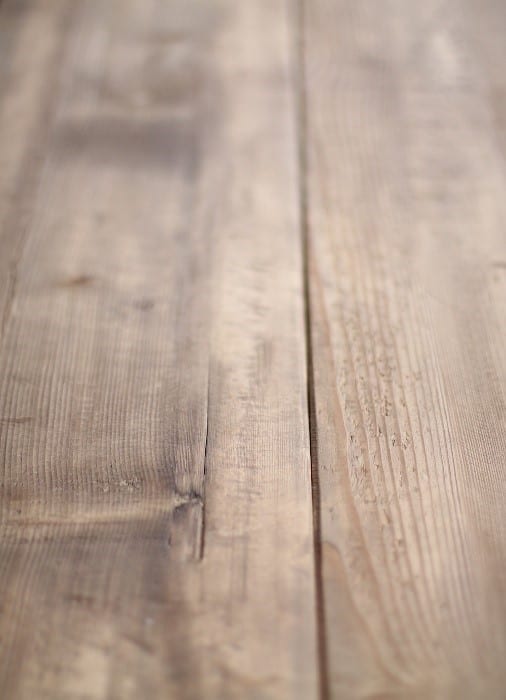
At the very beginning, you want to clean the surface of the wood with a clean, damp cloth. You need to work in a dust-free environment or the tiny particles can ruin the appearance of the glossy coat. Use painter’s tape to prevent blotchy spots from the gloss getting spilled on the floors. Just tape all the edges well.
Afterward, you want to sand the wood surface, making it smooth and ready for the gloss. Depending on the condition of the wood, you may need to start with medium-sized sandpaper and proceed with fine-grit sandpaper. However, in some cases using only fine-grit sandpaper can work just fine.
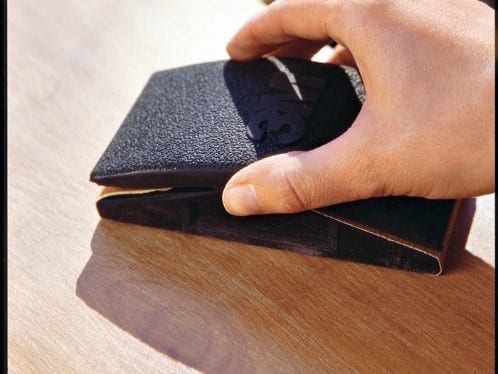
Image Credit: southernliving.com
Once you are done sanding, vacuum the entire surface carefully and pay extra attention to nooks and corners, where fine particles can settle. Wipe the wood with a damp rag and let it dry out.
Step 2 – Proceed with applying the gloss
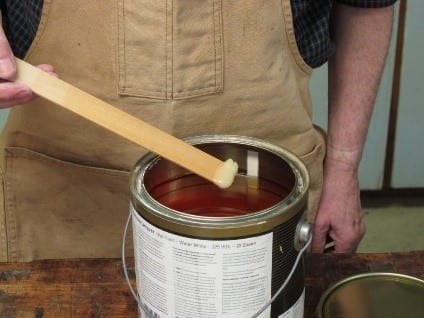
Image Credit: popularwoodworking.com
As you open the gloss you have chosen to work with, you need to stir well with a paint stirrer. However, you should avoid stirring energetically or shaking the can. Doing so will cause bubbles to form and this can spell disaster when you start applying the gloss because of the bubbles.
Now, you can choose to apply a seal coat. However, you can skip this step if you choose a self-sealing polyurethane gloss. In the case the gloss you pick does require a layer of seal coat, you may need to apply a coat of wood stain, as well. Just check the label of the gloss you choose so that you know whether you will need a seal coat and/or a coat of wood stain.
Whether you will have to start with a seal coat or not, the next step is to apply the primary coats of the gloss.
Step 3 – Polish the uneven areas
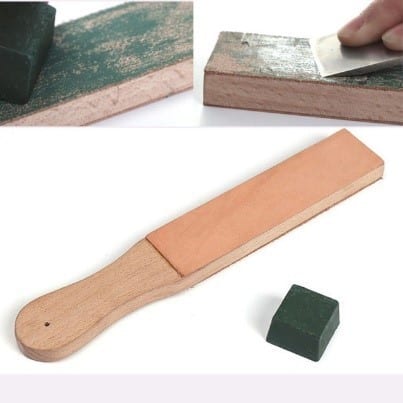
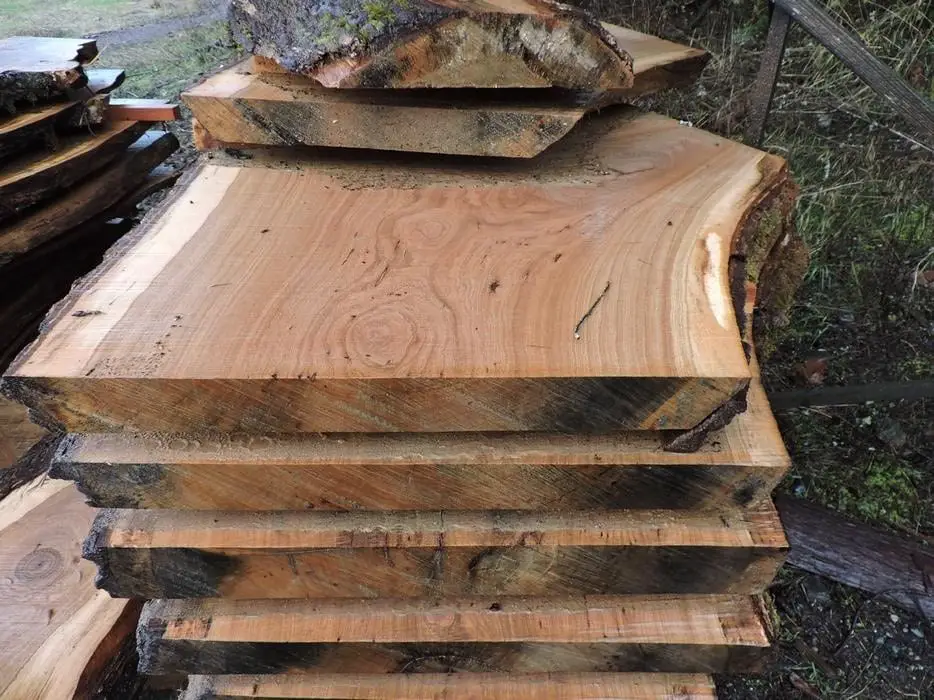
Image Credit: ebay.com
Mind that you will need to wait for about 24 hours after applying each coat of the 2 main coats of gloss. In any case, make sure to go through the instructions listed on the label because the drying time may vary depending on the brand you choose.
Remove any bumps or uneven patches left behind with the help of a razor. Once the second coat is fully dry, apply the final one. Great job! Now, you can choose to buff the wood surface to maximize the shiny effect to the fullest.
Did you learn how to make wood shiny with the help of this tutorial? Have you tried some of these tips and tricks? Do you have personal insights such as particular steps that you follow which can be of assistance?
Don’t hesitate to share your valuable experience by joining us in the comment section below! By liking and/or sharing this article, you can help our team on the mission of creating easily accessible tutorials for our fellows DIYers out there.
