Knowing how to mill wood is not one of those skills you get born with. However, the more you practice, the better you will become at milling lumber.
Nevertheless, this is the only way to polish your woodworking mastery and create stunning DIY showpieces while spending less than the initial costs of wood, which has already been milled.
The truth is, it took me years before I finally decided to polish my milling abilities. Surprisingly (or not!), I believe that I felt good in my comfort zone. I barely paid any attention to the fact I spend so much of my hard-earned money by NOT milling the lumber I use as a DIYer by myself.
What’s more, I kept upgrading my set of tools but my workshop was still lacking behind as I refused to get equipped with a jointer and a planer (sad but true!). However, every day is a good day to learn something useful and get better at what you do.
Below, we are revealing the simple secrets of milling wood like a pro.
What You Will Need To Follow This Tutorial
- Jointer
- Planer
- Table saw
- Miter gauge (or a crosscut sled)
Pro Tips
1 – Sequence matters
If you want to learn how to mill wood properly, take the time to think of the big picture. And the big picture with milling wood is that sequence matters.
If you can’t picture each step of the sequence in a logical frame, you may end up disappointed. Also, when you pile your boards it’s best to keep a test scrap board handy. Use it to test the setups of your machines while going through each step of the milling process.
2 – Organize all your boards before you start
Good organization = excellent and easy milling of the lumber. I highly recommend working with 2 carts. Use a separate cart to stack boards with an outfeed side which is about to be treated. And another cart for the infeed side. This is extremely helpful when you switch from one machine to another while milling.
Step by Step Instructions For Milling Wood
Step 1 – Straighten the first face of the board with a jointer
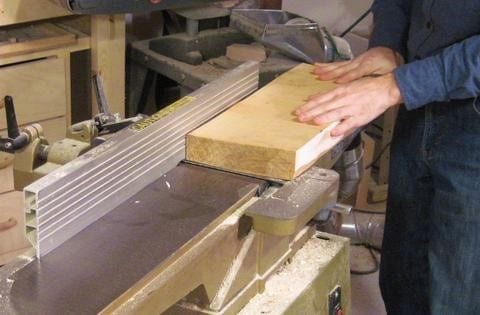
Image Credit: woodgears.ca
Make sure you stack all your boards on your infeed cart, with a board’s concave facing side down. Feed the board properly by always starting from the right to the left. Also, you need to slope the grain from the top to the bottom and not vice versa. When the boards come off the jointer, stack them on your outfeed cart.
Step 2 – Proceed with straightening the second face of the board on a planer
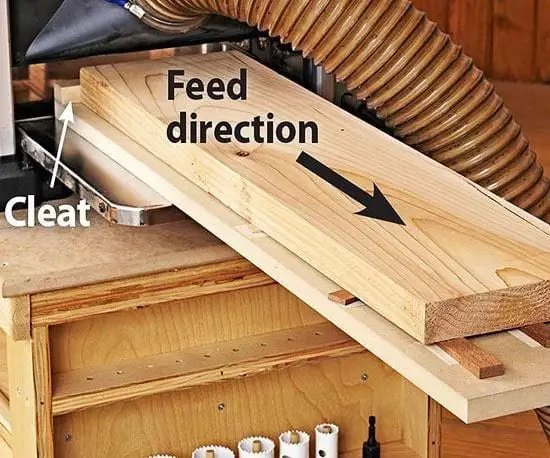
Image Credit: woodmagazine.com
The end of the board which went first into the jointer must be fed last into planer. Start flipping end for end after each pass as soon as the board is approximately 90% flattened. Immediately restack the boards coming out of the planer to make sure the grain of the wood runs in the same direction.
Step 3 –Rip the widest parts of the board at the table saw
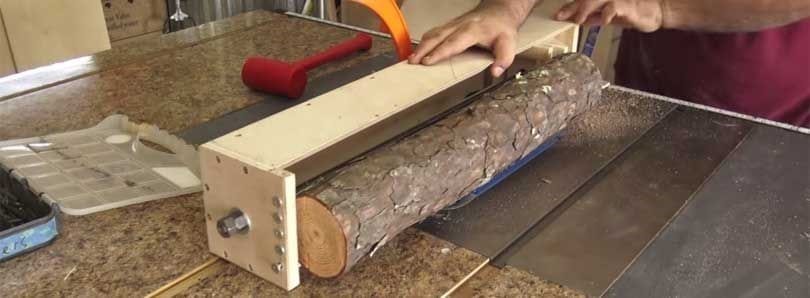
Image Credit: Pinterest
Move on with joining the first edge with the board facing down. Next, start ripping the widest part of the board and work your way to the narrowest at the table saw. The jointed edge needs to run against the rip fence.
Step 4 – Cut the parts to length
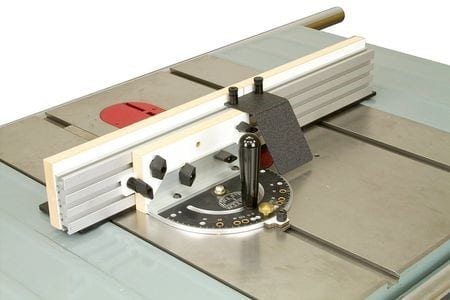
Image Credit: thesprucecrafts.com
Before you proceed with the miter gauge (or the crosscut sled), check if your tool is cutting square by testing it on your scarp board. Next, cut on all of the boards. Go for cutting one square end only. Finally, cut them to length. Always work from the longest parts to the shortest.
We hope that this tutorial has helped to erase any doubt whether you should (and can) learn how to mill wood. All in all, the first trial will give you a taste. Then the next several trials will make you feel good. And before you know it, you will fall in love with the process of milling wood.
Or at least this is what happened to me. Luckily, I have the chance to share my knowledge with you. Did you find this article to be useful? Your support will help us spread our love for DIY projects with the world. Do you have something valuable to share, too? Join us in the comment section below.
