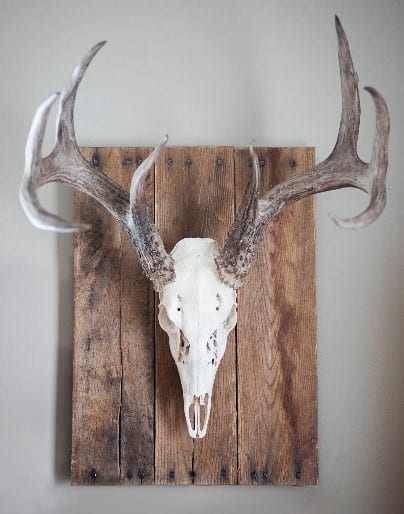
I can’t forget the sparkling excitement on the face of my 4 years old son when we bought a tiny forest lodge back in 2010. As soon as he walked through the door, he started screaming and jumping around with joy. His favorite part of the lodge was the deer skull which was hanging right above the fireplace.
7 years later, the poor skull was broken into pieces after my teenage daughter invited some friends for a party at our family lodge in the forest. I knew my son would be very disappointed so I had to find out how to mount a deer skull on wood.
At first, I thought this would be a pretty tricky task, keeping in mind that I am not very advanced when it comes to woodworking gigs. However, after some proper research, I did find a way to mount a new deer skull on wood very easily. Do you want to learn how I did it? Let’s jump in!
What You Will Need To Follow This Tutorial
- Wood plaque
- Marker
- A drill (use the 3/8s inch drill bit)
- An old blanket
- 3-inch screw
A Quick Pro Tip
If you want to mount a deer skull to wood paneling or to a wood accent wall, you can display it without having to opt for a wood plaque. First, you need a stud finder to find a stud on the wall.
Next, use a 4-inch all-purpose screw (or hooks which are available for sale). Position the screw at 45 degrees angle. Place the deer skull by attaching it to the screw through the big hole which is already present on the back of the skull.
Bonus Tip
In the case you are dealing with a deer head which has not been skinned and prepped for getting mounted, don’t rush! Take your time to skin, boil, clean, and lighten the skull precisely. Remember: rushing is not an option!
Step by Step Instructions for Mounting a Deer Skull on Wood
Step 1 – Drill a pilot hole
The most precise part of the mounting process is to drill the pilot hole. That’s a fairly simple process but first, you need to understand where the heck to drill. The idea is to drill through the thickest part which is located right below the opening where the spinal cord went into the brain.
Note: The position of the marker shows the exact spot where you want to drill in the skull
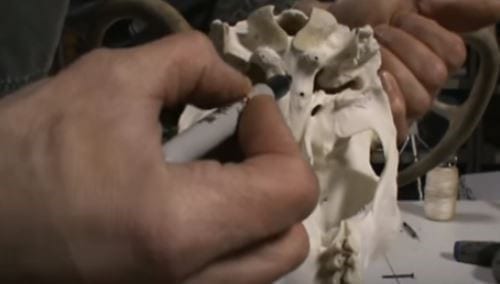
Image Credit: Lively Legz/Living4theoutdoors
Step 2 – Secure the deer skull to the wood plaque
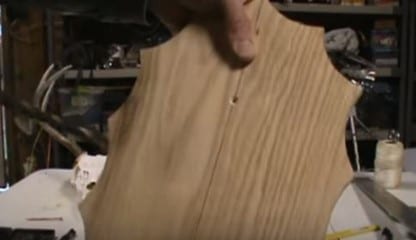
Image Credit: Lively Legz/Living4theoutdoors
First off, you need to mark the plaque at the exact spot where the drilled hole in the skull will make a perfect match when you finally mount the skull to the wood. After you mark the spot on the wood plaque, drill it with the 3/8s inch drill bit only halfway through.
Take a 3-inch screw and drill it into the plaque until up to ½ of the screw sticks out at the back of the plaque. Place the deer skill on a blanket to avoid harming the delicate lower parts of the skull while mounting it.
Place the skull facing the blanket. Finally, line up the wood plaque with the pilot hole and secure it with the drill. Don’t tight it fully yet. Turn your plaque around and adjust the position of the deer skull with turning it slightly to the left or to the right. Now, you can tighten it fully with the drill, and you’re done!
Placing a deer skull in the house has a deeper meaning than what most of us dare to believe. The deer is considered the king of the forest in many cultures. What’s more, the deer is the protector of all other creatures. That means hanging a deer in your house can serve as a totem to protect the family members, too.
Whatever the reason which made you want to learn how to mount a deer skull on wood, we hope this tutorial was helpful. Did you like this article? Join us in the comment section below and show us your support to help us reach out to more DIY enthusiasts.
