A wooden deck is a nice outdoor space to spend some quality time with your family or friends or your loved ones. In its pristine condition, it also enhances the overall value of your home.
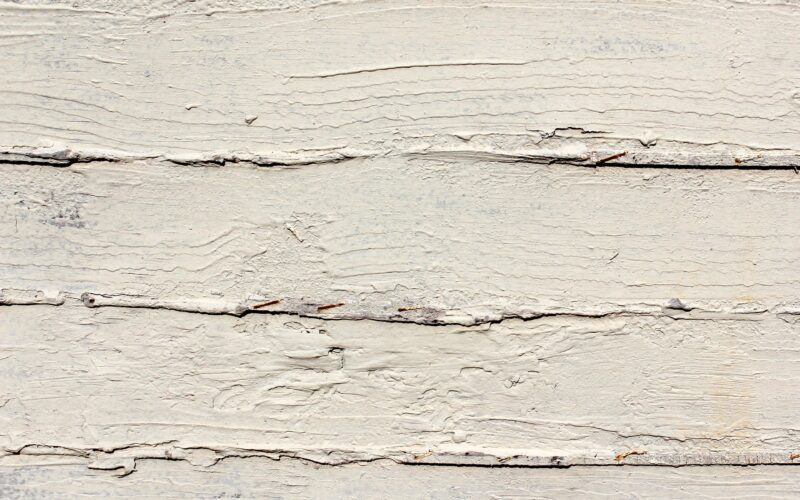
Unfortunately, with time it deteriorates and the paint starts peeling due to various reasons. Outside weather and normal wear and tear are some of them.
But you can restore the peeling deck with a quality paint job if you know how to paint a deck with peeling.
In this article, you will get everything you need to know about how to paint a deck with peeling paint. Before you paint the peeling deck, you need to ensure certain preparations and essential tools that are required for the job.
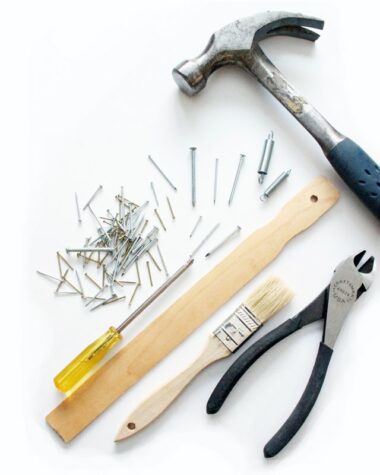
Before you proceed on to the step-by-step guide on how to paint a deck with peeling, you must assemble the tools you need to paint a deck with peeling paint.
Tools you need to paint a peeling deck
Paintbrush: To apply paint on narrow surfaces and corners
Rollers: To evenly spread the paint over the wide area, without leaving any marks
Broom: To remove loose dirt and residue pieces
Power washer: To wash and remove any loose paint
Paint scraper: To remove any peeling or flaking paint
Sandpaper: For feathering or smoothing out any rough paint edges
Alright, you have all the tools needed for a successful paint job on your peeling deck. Now it is time for you to start the painting job. So follow the step-by-step guide on how to paint a deck with peeling paint to refurbish your peeling wooden deck.
Step 1: Scrape out the peeling paint off the deck

The first step on how to paint a deck with peeling is to scrape the peeling paint off the surface of the wooden deck. For this, you can use a wire brush and in sweeping motion get rid of the shedding paint.
Once you see that paint isn’t coming off with the wire brush, you can use a paint scraper. Using the sharp flat edge of the scraping tool, sink below the paint and take out the peeling paint off the surface.
Step 2: Washing the deck and thoroughly

This is step is necessary to remove the dirt particles clogged on the surface. Even the grime trapped under the deck boards, any presence of mold and mildew will be clear after washing.
Start the power washer and wash the whole area thoroughly.
Use the rotating nozzle and angle the wand towards the deck. But avoid gouging your deck with the nozzle. Maintain a six feet distance, using slow sweeping motions to clean the entire deck evenly. This will also eliminate any loosely peeling paint off the deck’s surface.
If you notice mold growth on the surface, use an all-purpose wood cleaning agent. Apply it and wait for some time. Afterward, slowly scrub with a stiff wire brush the clean the mold and mildew.
Rinse the deck thoroughly to get a smooth and even surface. Then let it dry for at least 48 hours.
Step 3: Sanding the deck surface

Now that you have removed most of the loosely peeling paint, it’s time for sanding the surface.
Use sandpapers, probably 60-100 grit, to lightly sand over the wooden surface. Once the sandpaper is worn out, replace it with new paper. Keep scrubbing till you get a smooth even surface.
Remember that you don’t have to rub too much. Otherwise, the wooden floorboard will become thin and weak.
Once sanding is done, use water and your power washer to once again wash the whole floorboard. This step is necessary to remove the sand particles from the surface. If not removed, the sand grains can prevent a smooth and even paint layer. Now allow your wooden deck to dry for a day before you start the painting.
If you find the peeling is taking place consistently large area, you can use powered sand tools to get better results. You can easily rent a power sand tool in your local hardware store.
Step 4: Apply primer coating

The next step on how to paint a deck with peeling paint is to apply the primer coating before the final painting. Select a good quality adhesive primer that is suitable for the exterior wooden surfaces.
Apply 2 or 3 coatings of the primer layer. The coatings should be even. Keep a time gap of 1 hour to 2 hours between each primer coating.
Step 5: Now it’s time to paint your deck with peeling paint

Once the primer coating is properly dry, get the paint and roller brush ready.
Start painting from one end with the roller brush, spreading it evenly over the surface. Slowly move towards the other end with slow and even coatings.
If the whole surface is covered with the roller brush, use the smaller paintbrush to give the final touch-up to the small narrow surfaces. These are the areas that stay untouched with larger roller brushes.
Alternatively, you can use a sprayer to spray paint the whole surface quickly.
Step 5: The final touch up

The final step on how to paint a deck with peeling paint is the final coating of paint. After applying the first coating, let it dry properly. Once the paint dries, give a second coating using the same roller or sprayer you used in the previous step.
Once again, allow the final coat to dry properly. So keep it undisturbed for at least a day. Maybe you can spare another day before you start using the deck.
Some precautions to follow when you paint a deck with peeling paint
- Place the paint can in a dry and safe place where it does not get moisture. Also, prevent it from accidental spillover.
- While painting, wear safety gear like gloves and goggles to avoid any mishap.
The bottom line
We hope after knowing how to paint a deck with peeling paint, you can get your pristine deck back, the same old beautiful, and durable deck. We hope this information helps you.
