Whether you want to support a wooden beam or you want to improve its appearance, learning how to wrap a beam with wood is something that a woodworker must learn. The key is to take careful measurements of the beam to be wrapped and everything else follows. This guide will show you how it’s done.
Wood wrapping basics
Since you will be wrapping beams, you need a way to reach the ceiling carefully. Consider having someone help you with this project.
You will need the following
- Hardwood flooring
- Faux wood
- Tape measure
- Ladder
- Wood glue
- Circular saw
- Nails
- Screws
- Nail driver
Instructions
1) Measuring and buying materials
Source: https://www.shutterstock.com/video/search/carpenter-pencil
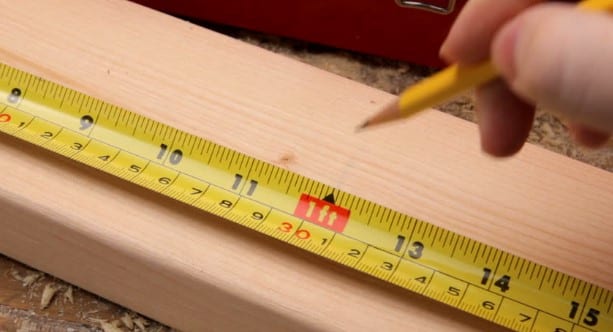
Use a tape measure and find out the length of each beam you want to cover from one end to the other. Use a ladder to help you reach the ceiling.
There are many ways to wrap a beam with wood but the easiest way to do this is to use hardwood flooring. Hardwood flooring is pre-colored, pre-cut and is easy to use. You can easily wrap your beams using hardwood. You may find stores or hardware selling hardwood flooring in a large lot but since you will only be using a small amount, inform the salesperson if they sell by the piece. You might even find leftover or scrap hardwood flooring given for free.
If you wish to have a more authentic wooden look, use faux wood beams. There are faux wood manufacturers that sell three-sided beams made from synthetic materials. Since these are three-sided, these are ready to use on wood beams.
You may also use lumber and in any particular color and texture. You may even want to apply techniques to wood before you install it on the beams. Treatments like whitewashing, staining, and painting can be done before these are installed.
2) Preparing materials
Source: https://www.freepik.com/premium-photo/capenter-use-hand-hold-saw-machine-cutting-wooden-board_1815453.htm
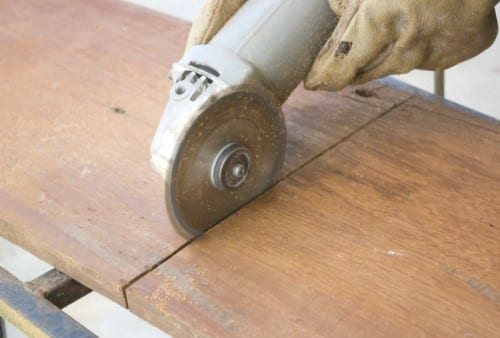
Cut the wood according to your beam’s measurements. Cut the pieces to size using a circular saw or a table saw. But if your material isn’t enough to cover the beam use another piece.
Sand the cut edges before you install these on your beams. You can also use metal brackets or straps to cover the edges after you finish wrapping.
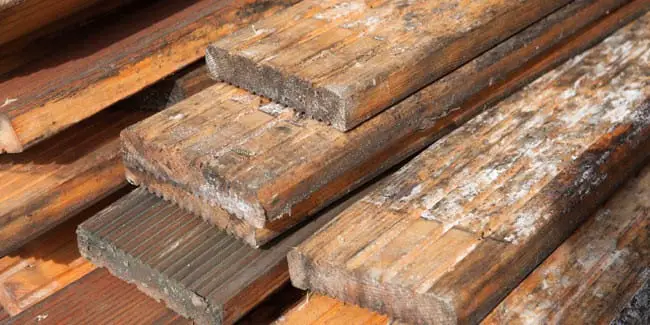
This is the time to distress your lumber if he is what you want. You can hit the wood with a hammer, chains or use a screwdriver to create holes. Sand the surface at different depths to create that aged look.
Stain or paint the wood. For new wood, use two coats of stain or paint on all sides of the beam. Wait 24 hours for the surfaces to dry completely.
3) Covering the beams
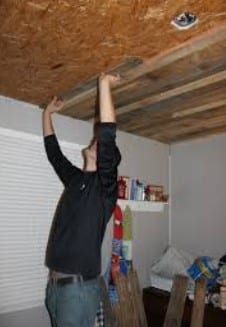
Source: http://www.artnak.net/remodelaholic-rustic-pallet-wood-ceiling-tutorial-c3892c3cba7fe88b.html
Glue the hardwood flooring pieces. Spread wood glue on the back of each piece, then install these with finishing nails. Cut the pieces to cover the entire surface of the beam.
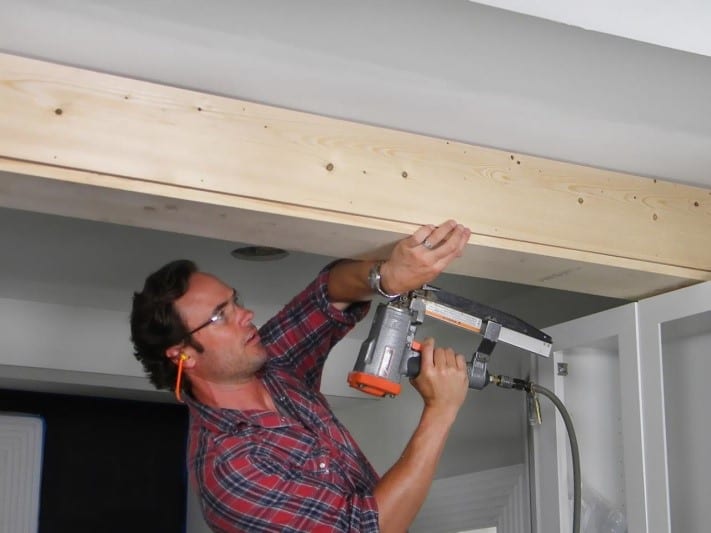
Nail the wood in place. For new lumber, put wood glue on the back of each piece and set these on the beam. Use a nail gun or hammer and nails to keep the pieces in place. Put nails every 6 inches along each side of each board.
If you are using faux beams, keep the pieces in place using screws. The open side of the three-sided faux beam should fit over the beam in your ceiling. Place screws every 6 inches along the edges of the beam.
Add metal straps and brackets to the ends and sides of the beams. Metal straps/brackets can also hide the seams where lumber meet. Decorative brackets are available in hardware stores.
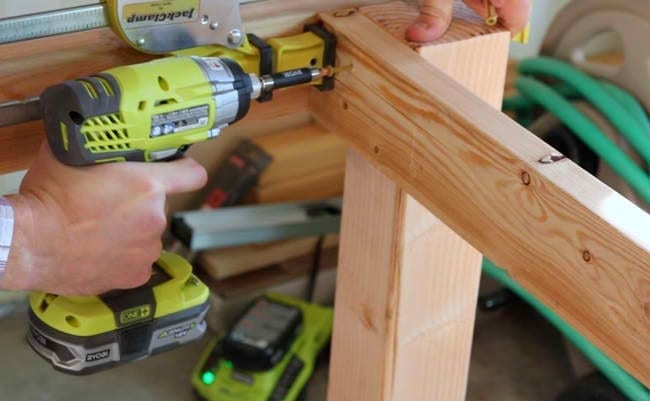
If you decide to use brackets, you will find this easier to use with pre-drilled holes. Drive screws through the hardware pieces into the beam to hold the pieces in place. Metal straps may also have pre-drilled holes but if the ones you got do not, these should have thin metal walls so you can easily drive through the beam.
Conclusion
Wrapping beams with wood are mostly decorative but it can also be used to support an ailing wooden beam and can also help hide imperfections. But no matter how this is used, you must use the best materials and use the most efficient tools to install your wooden covers.
