Why not make a personalized design on wood using stencils? There are many ways to print designs on wood and possibly the easiest way to do so is to use a stencil. This guide will help you paint with stencils on wood. By learning how you can print all kinds of designs on wood because there are tons of stencil designs online! You can even make your own stencils and print these on wood as well.
Painting with stencils on wood basics
Select from a wide variety of free stencil patterns online. You will find stencils for letters, basic forms, shapes and more. There are even stencil templates for you to use if you want to make your own.
Things you will need
- Stencil design
- Spray paint or regular paint
- Rounded piece of wood
- Masking tape or removable spray adhesive
- Fine grit sandpaper
- Newspaper
Instructions
Using premade stencils
Step 1
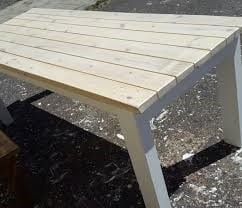
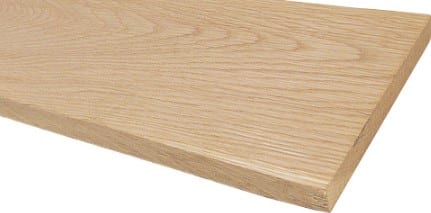
Plan your stencil project carefully. Choose the ideal wood size, shape, and surface where your stencil design will rest. Take note that the stencil must rest completely flat against the object. Keeping the stencil in place could be tricky but you can use removable spray-on adhesive to make stencils stay put.
Source: https://www.woodworkerssource.com/shop/category/1_domestic_wood.html
Step 2
Make sure that the surface of the wood is workable; it should be able to accept paint and is smooth enough and adequate (in size) enough to accommodate the stencil design you want to use. Prepare your working area. Cover the work surface with newspaper and place the wood atop the newspaper (presuming the wood you want to print on is small enough to fit!).
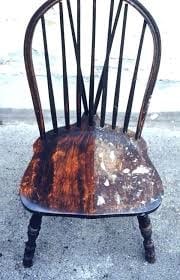
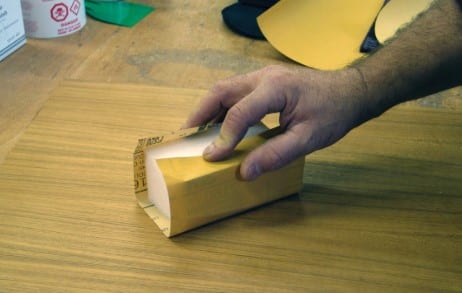
Sand the surface of the wood with a fine-grit sanding block if it has a finish on its surface. This will help the paint adhere better to the wood surface. Remove dust and residue with a rag.
Source: https://www.boatus.com/magazine/archives/wood-interiors-need-tlc-too.asp
Step 3
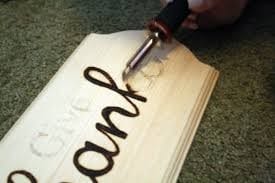
Place the stencil in the desired location on the wood surface. Place bits of painter’s tape as markers around the stencil. This will keep the stencil from moving and will act as a guideline for positioning the stencil after the adhesive has been applied. Put the stencil, front-side down, in the newspaper.

Source: http://www.mylove2create.com/2016/04/how-to-make-your-own-signs.html
Step 4
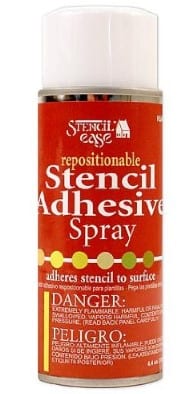
Spray the removable adhesive over the stencil and allow the adhesive to settle. Check the manufacturer’s instructions on how long this has to be or if there is any time to wait at all.
Pick up the stencil and place it adhesive-side down over the wood surface using the tape markers as positioning guideline.
Source: https://www.amazon.com/Stencil-Ease-Repositionable-Adhesive-adhesive/dp/B006MNDLB4
Step 5
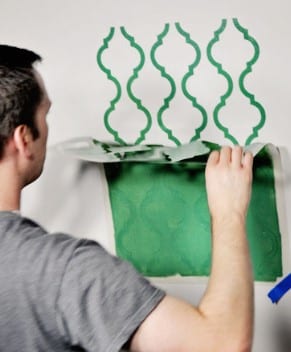
Smooth the stencil down using your hands. Cover areas surrounding the stencil with newspaper to protect from overspray. Shake the spray paint can according to manufacturer’s directions, before use. Spray paint through the stencil using thin layers. Continue in this direction until the piece is painted according to your liking.
Source: http://www.cutestencils.com/how.html
Using homemade stencils
Step 1
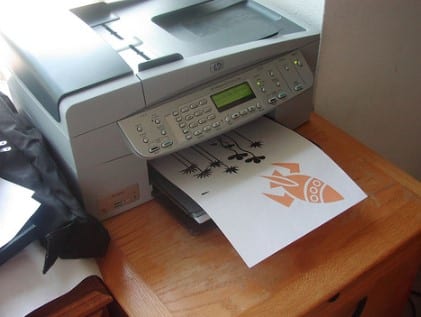
Create your own homemade stencils using your computer. Print the stencils out and cut with scissors. Work outdoors or in a well-ventilated area when using spray paint. Wear a dust mask to avoid breathing in fumes. Cover your work surface with newspaper. Set the wood on top of the newspaper.
Source: http://panjokids.blogspot.com/2008/06/freezer-paper-stencils.html
Step 2
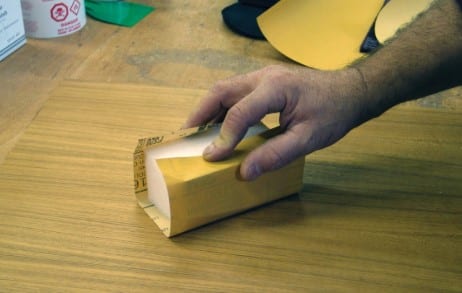
Sand the project surface if it has a shiny finish. If the project is unfinished or untreated, do not sand it. Remove dust and residue with a rag.
Source: https://www.boatus.com/magazine/archives/wood-interiors-need-tlc-too.asp
Step 3
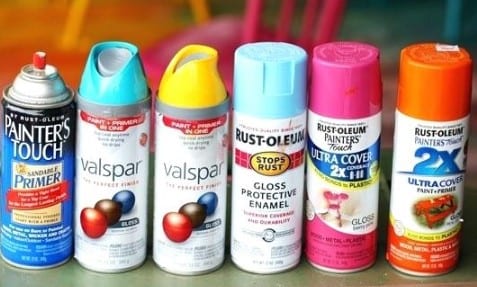
Shake the spray can for a minute or two, or according to the manufacturer’s instructions then spray over the stencil until all the cut-away areas are covered in paint. Spray thinly going back and forth over the design until you have completely covered the design. You may remove the tape after 30 minutes or when the paint has completely dried.
Source: http://hugohd.com/editor/
Conclusion
It’s very easy to paint stencils on wood. You may use either premade stencils or you can make your own. And when it comes to the wood you would like to work on, make sure it’s smooth, easy to use and capable of handling paint to properly set your stencil.

