Are you wondering how to turn the dark wood paneling into a washed out whitish or grayish hue? If your rooms need a little brightening up, then you want to know how to pickle wood paneling.
On another note, whitewashing wood with the use of water and white latex paint is not a bad idea, too. However, in the easy-to-follow tutorial below, we are focusing on the pickling technique.
Admittedly, I had to go through some trials and errors before figuring out the best way to apply a pickling stain correctly and efficiently. So save yourself some time and try out the tips we provide in the step by step instructions guide below.
What You Will Need To Follow This Tutorial
- A drop cloth
- 120-grit sandpaper
- 150-grit sandpaper
- Pole sander (optional)
- A paintbrush
- Rags
- Chemical stripper (optional)
- Pickling stain
- Clear finish
Pro Tips
1 – Consider opting for a drop cloth’s alternative
A drop cloth will help you cover the floors and avoid blotchy spots left behind while paint brushing the wood panel with pickling stain. However, drop cloths tend to be costly. If you are looking for a cheaper option, a plastic drop cloth can do the trick.
On the other hand, mind that rosin press works best when it comes to protecting the hard surfaces, such as tile, vinyl, or hardware floors.
2 – Mix your own pickling stain
Pre-mixed pickling stains are widely available at the stores. On another note, mixing your own pickling stain is easy. Nevertheless, opting for creating the mixture yourself can also save you money.
For this purpose, you need a white wood primer. Depending on the type of wood primer you choose, you will have to mix it with 50% water or 50% mineral spirits. Finally, you have to add pigments to achieve the desired hue.
The texture of the pickling stain you mix should be runny. However, you also need to preserve some of the thickness to ensure the primer binds well when you dip the brush and start applying it on the wood paneling.
3 – You need proper ventilation
The room you work in needs to be well-ventilated. On the one hand, proper ventilation helps to speed up the drying process. On the other hand, it helps to protect your health, and especially in the case you are using an oil-based pickling stain which emits more odor than a water-based pickling stain.
Step By Step Instructions For Pickling Wood Paneling
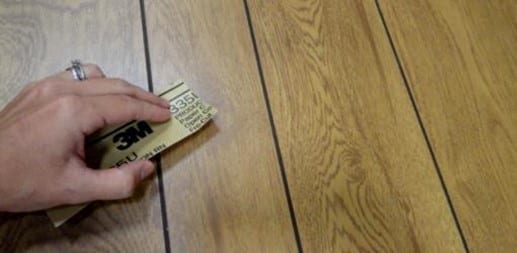
Step 1 – Cover the floors and start sanding the wood paneling
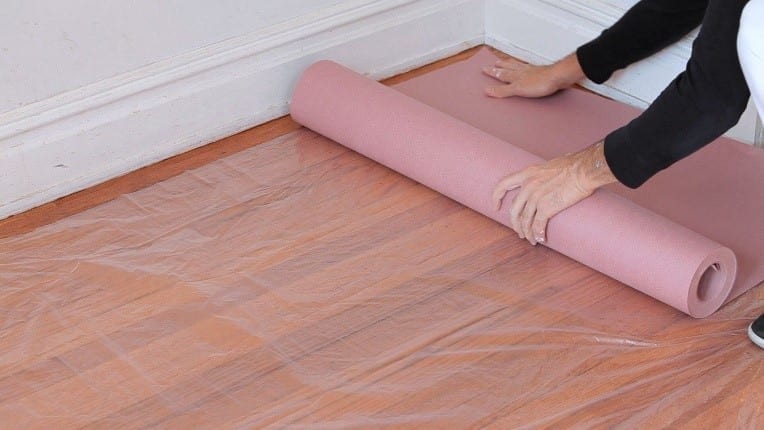
Image Credit: Youtube.com
Make sure to protect all of the exposed surfaces before you get started. Next, you may need to strip off the old finish on the wood paneling with a chemical stripper. However, this may not be obligatory, depending on the condition of the upper layer on the paneling.
Afterward, you can start sanding the surface with a 150-grit sandpaper. Make sure you follow the grain of the wood.
In the case you had to strip the old finish and then follow up with an orbital sander, you should go for a 120-grit paper before you go through the surface once more with the 150-grit sandpaper.
Step 2 – Proceed with the pickling stain
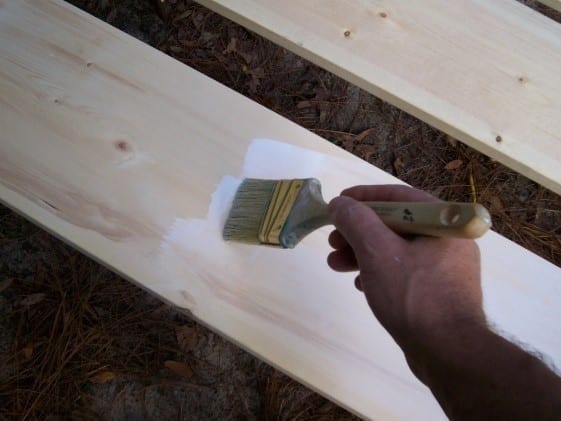
Image Credit: homefixated.com
If you choose to work with readily available pickling stain, all you have to do now is to start applying it. However, if you prefer mixing your own pickling stain, the time to start stirring the mixture has come.
Don’t forget to go along the grain of the wood. Brush the strain carefully but don’t waste too much time.
Step 3 – Wipe off the excess stain and wait for the stain to dry out
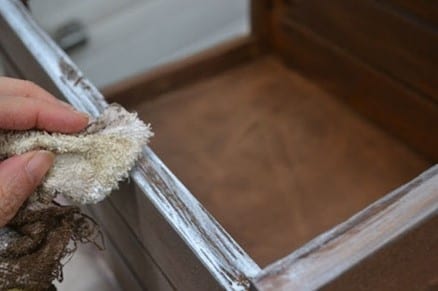
Image Credit: icavid.com
After you have covered a 4-foot section of the wood paneling, go over the surface with a clean rag. Keep following the grain of the wood. You need to wipe the excess stain before it dries out.
When the stain is fully dry, go over the surface of the wood paneling again to remove any residues. If the effect isn’t as whitish or grayish as you wish, you can repeat the pickling.
Finally, apply a protective layer for a clear finish. Polyurethane varnish works like charm. Can you believe you are all done in as little as 3 steps?
Pickling wood paneling is effortless, as long as you know the right tricks! That’s what we were aiming to achieve through creating this article – an enjoyable, friendly-beginner tutorial for professional results.
Did you find this article useful? Show us some support by liking and sharing this piece and join us in the comment section below.

