Who says that splitting wood has to be a backbreaking task? Well, the truth is, it can be quite exhausting. However, that’s only if you don’t know the right tips and tricks!
Do you want to find out and experience the rewarding, easy way to split wood? Then it’s high time you learn how to split wood with a wedge.
You will need the right equipment which we are neatly listing below, as well as the best tiny hacks, which we are (fortunately) not selfish to keep to ourselves. Just read on and don’t forget to thank us later, OK?
Splitting wood has always been and will always remain, a fine art and a labor of love rather than some form of a twisted, wicked, bone-smashing, followed up with a couch-locked state of full-body fatigue gig.
What You Will Need To Follow This Tutorial
- Chopping block
- Splitting Maul
- Wedge (it’s best to have 2 wedges handy)
Pro Tips
1 – Use a 15-inch rubber auto tire to keep your logs handy
I bet you are familiar with the annoying feeling of reaching out to grab a log in the case you have missed splitting it right away; as well as getting frustrated over picking the wood sticks left behind.
Due to the great force applied in order to split wood, you are pretty much forced to keep bending over and over again. Doing so increases the pressure on your lower back and knees, doubles the chances of injury, and makes you lose time, energy, and temper.
Use a 15-inch auto tire to keep your logs handy by setting it on top of your chopping block. You can use any other auto tire, even if it doesn’t measure at 15-inches, as long as you find it suitable for you.
2 – Know when to stop
One of the trickiest things about splitting wood is that at some point, no matter the exhaustion, your mind starts playing tricks on you. You know you are tired but simultaneously, you want to get the job done.
So you keep going despite the fatigue, despite the lack of energy, and what’s worse – despite the increased chances of injury. Instead of being harsh on yourself, remember that practice makes perfect.
Then again, splitting wood is not about playing the angry HULK; it’s about precision. And you cannot possibly be precise when exhaustion takes place. Know when to stop and you will be able to finish much faster than in the case you keep working recklessly.
Step by Step Instructions for Splitting Wood With a Wedge
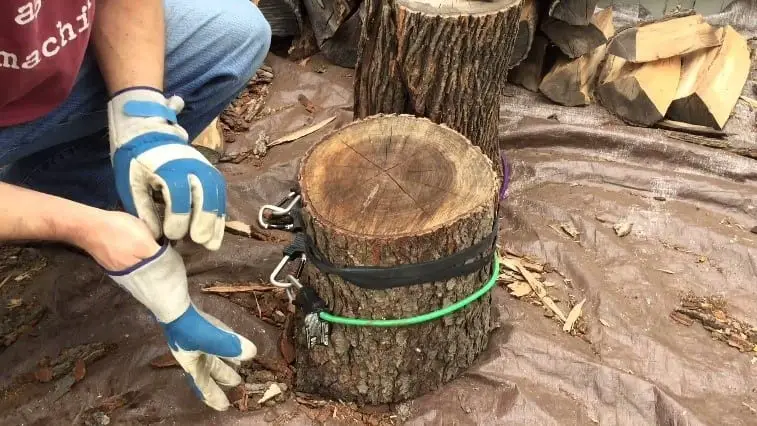
Step 1 – Prep yourself, as well as the work area

Image Credit: youtube.com
Put on safety glasses and comfortable, sturdy boots to prevent injuries. Pick a chopping block which is wide enough to take up the pressure from chopping the wood effectively. Place an old rubber auto tire over the chopping block to tidy up your working place. That will help you to avoid unnecessary bending, as well as to minimize the waste of time while you are working with the chopped pieces of wood.
Step 2 – Find the weak spots of the wood

Image Credit: eatbettercheaper.blogspot.com
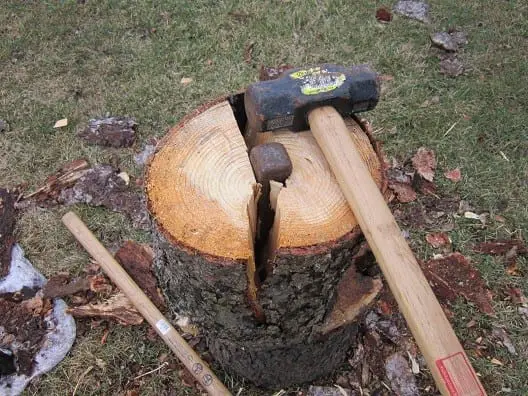
The ideal strike should aim straight at the weak points of the wood, where it will be naturally prone to splitting. Examining and finding the weak spots before you hit with the maul will save you tons of efforts. Swing with your feet shoulder-width apart and your arms fully extended for maximum precision.
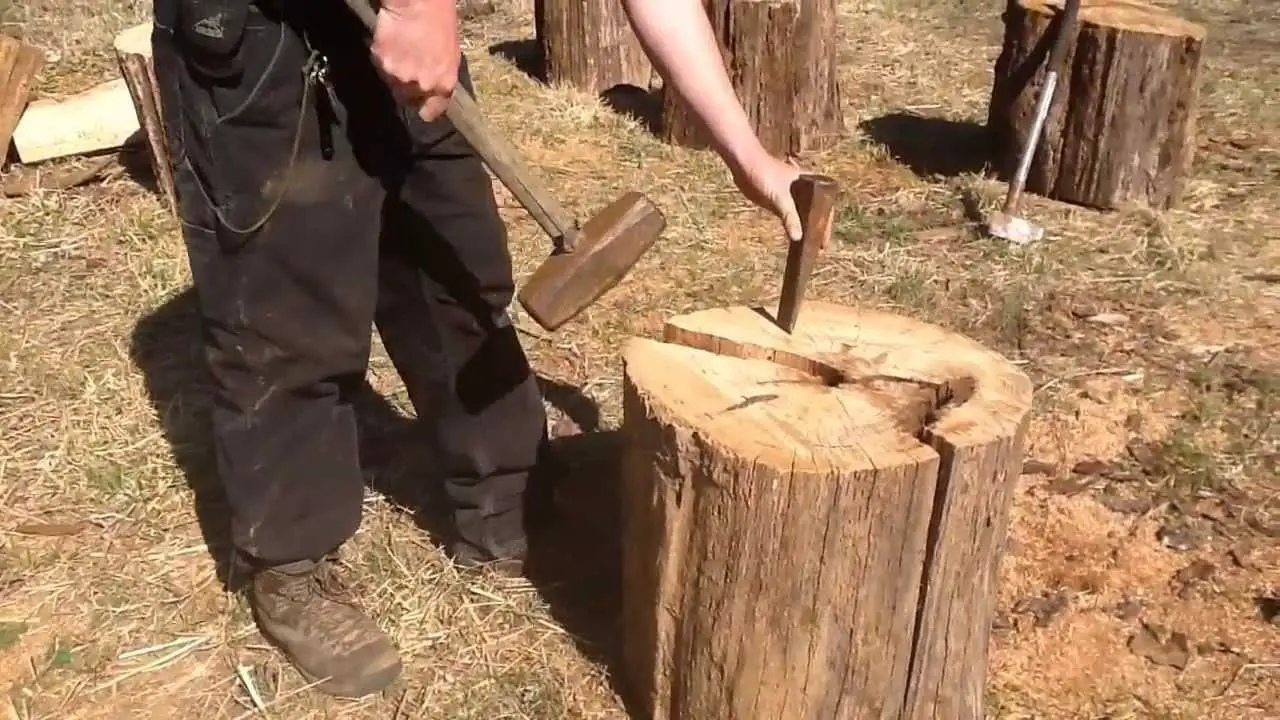
If the wood refuses to give up after the first few hits, use a wedge to split it. Your goal is to drive the wedge down the crack, using the flat face of the maul (or a sledgehammer). If one wedge doesn’t do the trick, use the second wedge and drive it from the opposite side. That will create another splinter, and wood will be split successfully.
Did we help you learn how to split wood with a wedge? Did you find this tutorial useful? If so, then we have succeeded in our mission! But in order to keep going, we need your assistance, too.
Like and share this article so that we can reach out to more people who are in the need of accessible cheat sheets for all things woodworking related. We’d love to hear from you at any time!
Comment below with any questions, suggestions, or extra tips you might be hiding in your sleeve to nurture the DIY community!


