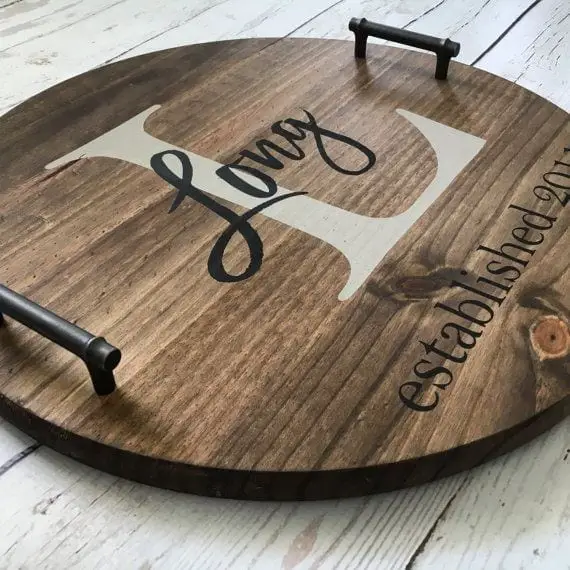
Stenciling on wood should be an easy-peasy, fun, and enjoyable step of any DIY project. However, by the fact you are reading these lines, I can already guess that you might have ended up quite frustrated while trying to prevent the bleeding under the stencil.
Cheers up, fellows DIYers! You are not alone. No matter how precisely you work with the stencil, and even though if you do use a very light hand, it might be the case that you just don’t know the magic trick we are about to share on how to stencil wood below.
Yep, it is painfully effortless to stay away from those blotchy, blurry lines which break your mood. Read on and you will be ready to stencil on wood like a pro!
What You Will Need To Follow This Tutorial
- Wood board
- Foam brush
- Stencil
- Matte Pod Podge
- Acrylic paint
- Fine-grit sandpaper (optional)
Pro Tips
1 – Smoothen the surface of the wood for best results
If you are planning to stencil on rough wood such as pallet wood, your best move is to smoothen the surface in advance. Doing so will help to finish stenciling better and easier, with less bleeding of paint underneath. Use fine-grit sandpaper and remove any dust left behind with a dry paintbrush.
On another note, working directly on a piece of wood which has not been sanded is also possible. In the case you are more experienced with stenciling, you stand a greater chance for success when working on unfinished wood.
2 – Sand after stenciling to fix any possible mistakes
Okay, so what happens if you somehow fail to stencil on wood without the annoying bleeding underneath? What if you fail to get those professional-looking, crisp lines you were determined to achieve? No worries! Just sand the surface of the stenciled wood sign with sandpaper. Doing so will give the wood a rustic touch so you will be able to turn the imperfection into an impressive effect!
Step by Step Instructions for Stenciling On Wood
Step 1 – Prep the wood and attach the stencil
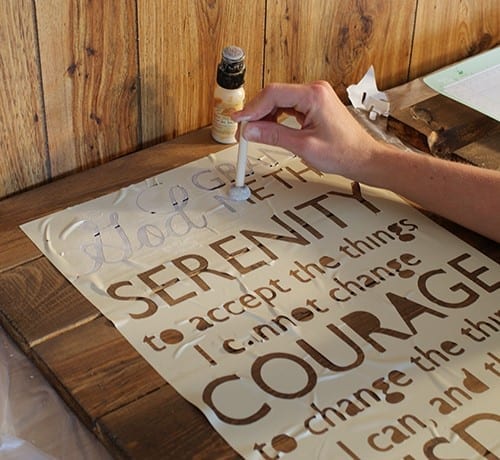
Image Credit: Pinterest.com
Sand the surface of the wood depending on your personal preferences. In any case, make sure the piece of wood is clean and dry. Next, attach the stencil by peeling it off first. Press hard and hold for a few seconds to make sure it sticks well. Use your palm to apply some extra pressure and then go over the surface with the tip of your fingers.
Step 2 – Seal and paint the stencil
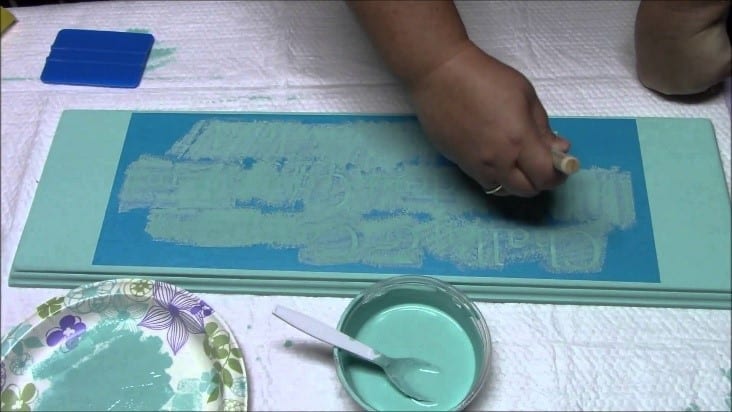
Image Credit: youtube.com
And here is the little secret of a perfect wood + stencil combo: Mod Podge! You only need to apply a thin and even layer, using a foam brush.
Let it dry for 15 minutes and you are ready to proceed with painting.
With a clean foam brush, apply acrylic paint and don’t forget to use a light hand. You can add extra coats of paint, depending on the final nuance you want to achieve.
Once the paint gets dry to the touch, peel off the stencil carefully, always starting at one of the edges.
Can you believe it is so easy to stencil on wood minus all the fuss? Have you tried or heard of this amazing hack before? Personally, I adore sharing this tip with other DIYers and see the expression on their face as they end up in an AWW.
Yes, it is THAT simple to stop dealing with the annoying bleeding under the stencil which ruins your masterpieces. It’s time to get this party started!
Show us how this cute trick worked for your DIY crafts by joining us in the comment section below. We’d love to hear from you with any other hacks, questions, or suggestions you may have.
If you did find this article useful, show us some love and support with your likes and shares!
