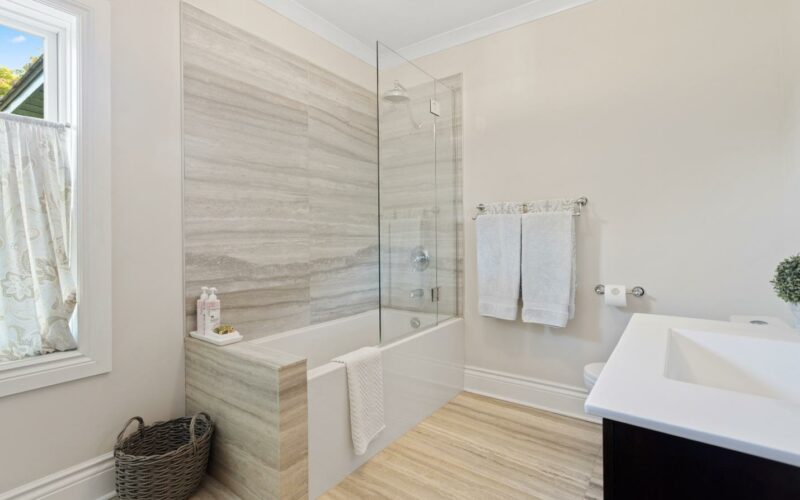
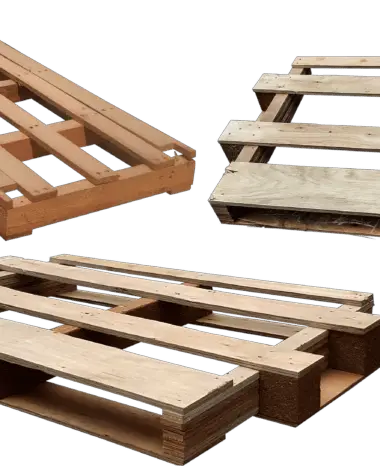
Wood has been an ancestral fascination for ages when it comes to furnishing. A wooden finish makes your bathroom look lively as well as comforting. But, your bathroom is a space where water is the prevailing monarch. No matter however water-resistant your wood material is, eventually water will take over it.
We all know wood is not compatible with water. Thus, it needs obvious protection so that the all-pervading water, moisture & humidity do not destroy it leading it to swell and warp.
In such a scenario, the potential question hovers: how to waterproof wood for bathroom?
Well, this definitive guide is designed for answering this inevitable question.
How to Waterproof Wood for Bathroom?
There are four effective methods to waterproof your bathroom wood using three different categories of materials. Before we start with the methods, there are certain steps to follow –
Step 1: Getting Required Materials
First off, you require gathering all the requisites for the whole process of waterproofing your bathroom wood. Here’s the list of those materials and equipment–
- Sandpaper (2/3 different grits)
- Broom/cleaning brush
- Lint-free cloth
- Vacuum/dustbin (optional)
- Paintbrushes
- Waterproofing agents
Step 2: Safety Measures
Before you start applying the waterproofing agents, make your protective gear handy lest the chemicals affect you in any probable way –
- A protective mask that protects you from inhaling toxic or harmful elements.
- Protective glasses to keep your eyes safe.
- Safety gloves (a pair of rubber or silicone gloves is preferable)
- Protective boots or shoes
- Long-sleeved clothes and long pants
Step 3: Preparing the Wood
Now you are ready to prepare your wooden surface for waterproofing. This step is necessary, as the coatings will work efficiently when your wooden surface is completely dry, clean, and oil-free.
So, let’s get started –
- At first, sand down the wood surface removing any stains, paints, or previous finishes. You can start with 150 or 180 grit sandpaper with rough surfaces. Following that, sand the surface with 220 grit sandpaper allowing it a smooth finish.
- After a thorough sanding, clean the surface further with the cleaning brush or broom.
- Now, wet the lint-free cloth in water and clean the wood surface with it removing any remnant of dust or dirt.
- Finally, use a vacuum or a dustbin to clear the mess.
Step 4: Get started with the Coatings
Now that you have prepared the wood surface and yourself too, you are ready to go. Before undertaking these further processes, make sure that the space is completely clear and has proper ventilation. As some waterproofing agents contain toxic elements, it can cause uneasiness.
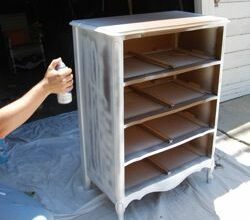
So, choose your waterproofing material, and get started. A paintbrush will come in handy to apply the coatings. Take just a sufficient amount of the material and apply a thin, even coating on the wood surface thoroughly. After applying the first coating, let it cure. Now, do the required cleaning and then go for the second coating. You have to repeat this process to apply the further coatings.
Coating processes are the same with every agent. Remarkably, you should let one coating dry completely before you apply the next. Otherwise, your finish will not reflect the desired results being uneven.
No matter whatever agent you choose, it will require multiple layers. It depends entirely upon the material you use how many coatings will be necessary. Because every agent maintains a unique curing time.
The Four Methods:
The four methods regarding how to waterproof wood for bathroom indicate the coating processes using four different categories of agents.
Now, let me introduce you to the four agents.
1. Sealants
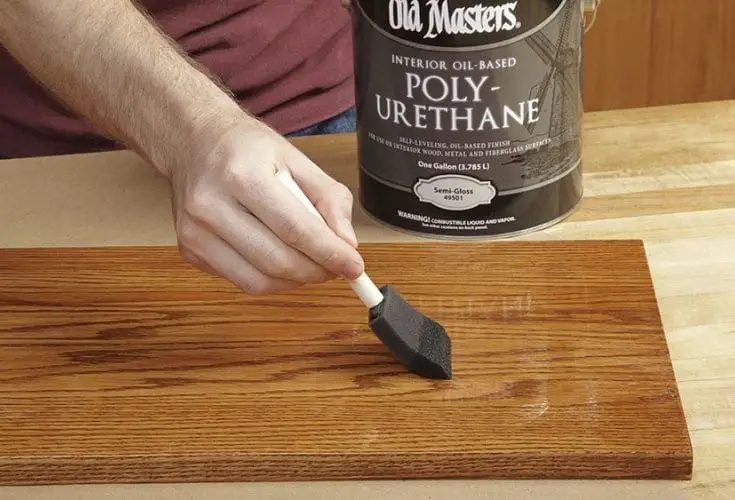
Sealants in this regard are certain materials used to seal the wooden surface to make it waterproof. Regarding how to waterproof wood for the bathroom, these wood sealants are generally considered an excellent solution. Comparatively quick cure-time (usually 24 hours, sometimes even 15-20 minutes) and reasonable pricing are two advantages of sealants.
According to the rule of the thumb, usually, three types of sealants are used with this purpose –
- Polyurethane
- Varnish
- Lacquer
While using these sealants, make sure that the temperature of your surrounding is normal, lest the efficiency of your sealant is affected. They don’t require stirring or shaking. If stirred, small bubbles form on the surface of the sealant, and they remain even after the sealant is dry, thereby resulting in an uneven surface.
2. Using Oils
Waterproofing bathroom wood using oil is equally effective as sealants. One positive point about using oils is that they are cheaper compared to sealants. But, you might need comparatively more coatings with oil. Another inconvenience is that oils usually take a much longer time to cure can be six to seven days approximately, or even more.
The primarily used oils with this purpose are –
- Linseed oil
- Teak oil
- Tung oil
- Hard wax oil
While coating with oils, you can choose to mix your picked oil with turpentine and apple cider vinegar to boost its strength, effectiveness, and durability.
3. Using Stain and Sealant
The combination of stain and sealant is considered to be the most effective way to the age-old question: how to waterproof wood for bathroom. Rather than using alone, the combination of the two can be a game-changer.
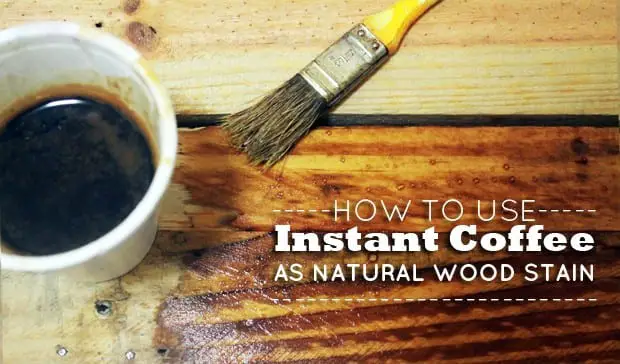
Coming in different colors, they help maintain the aesthetics of your wooden surface too. Stain-sealant oil-based combos with color pigments and binders are preferred when it comes to the wood in your bathroom.
4. Using Resin and Acetone
A waterproof coating of resin and acetone has the potential to last up to five years. Besides, the combination of polyester resin and acetone cures really fast.
However, it is necessary to pick the right resin and acetone. As for resin, you get to choose between laminating and finishing resin. Using polyester resin can help restore damaged wood.
Conclusion
Even though we have answered how to waterproof wood for bathroom, the choice of the agent depends upon your necessities and preferences. But, before applying any of the materials, especially the chemical elements, always go through the instructions written on the container.
However, these solutions will definitely help you in solving the problem of your bathroom wood decay. Still, to get a lingering effect, you must repeat the process after certain years.
