If you are new to woodworking, a bookcase is one of the best things you can build. First of all, it is relatively easy to put together. You do not need to take complicated measurements or make difficult cuts (unless you are making an exceptionally ornate bookcase, of course).
You also do not need too many tools to produce something like this. While you are always free to use expensive power tools that can do the job faster than we did, you can pull this off even with only the basic tools in even the barest basement woodworking shop.
Second, it is versatile and highly useful. A well-built bookcase can serve as a divider that showcases books and various things such as photos, toys, memorabilia, music collections, and more.
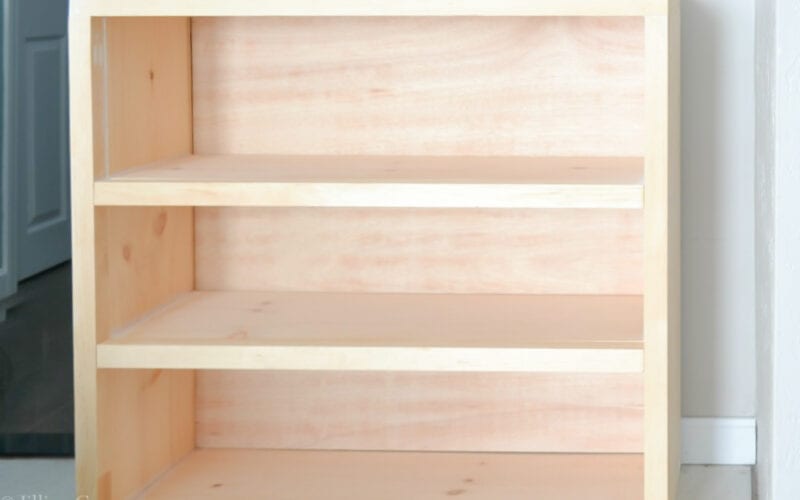
However, before you drive to the nearest hardware to grab some boards, let us show you how to build a simple bookcase. This is a plainly designed case. No frills, all function.
This was built for a school, who had specific requests (such as having a shelf that could fit a 15-inch book) about the design. The good thing about this, though, is that you can easily tweak the design to match your application.
Items Needed for this Project
Here is the list of materials and tools you will need to complete this DIY woodworking project.
- Router
- Electric drill
- Power sander
- Cutoff saw
- 1 pc 3” x 4” birch plywood
- This is the back of the bookcase.
- 5 pcs 1” x 12” pine shelving
- These measurements are what you need to look for in the store. However, after you do the planing, you are most likely going to have a ¾” x 11-⅕” panel. Nearly the entire shelf is made out of the pine shelving. The only exception is…
- 1 pc 1” x 4” board
- This smaller board goes to the bottom of the bookcase.
Step 1: Cut the dado slots
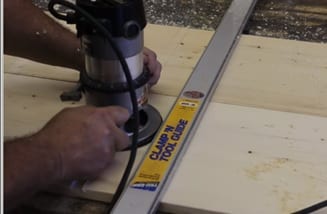
The first thing you will be working on are the two upright boards. Cut dado slots measuring ¾ inch wide and ¼ inch deep. These are where the widths of the shelves are going to go in later, and the purpose of the dadoes are to make the shelves stand in the wood. You can choose to skip this part and just put screws on the sides to hold the shelves in, but having these slots in place is more secure. The dadoes do not have to be so deep. ¾ inch is just right for the boards we are working with. Use a router and a reliable straight edge to cut the dadoes.
Step 2: Start putting the shelves in
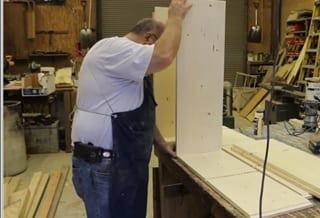
Sand the upright boards you just worked on and apply glue to the dado slots. Spread the glue with a brush and quickly put the shelves in. It will take a bit of work to get the shelves to go in, though. You may have to wiggle or hammer them in place. If you decide to hammer, make sure to put a scrap piece of wood over the area you are hammering on to avoid damaging the board.
Step 3: Clamp the shelves together
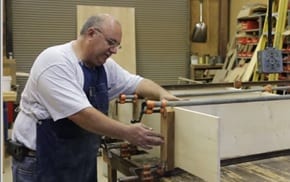
After all of the shelves have been put into the dado slots, clamp them in and let sit overnight to dry. You may want to use clamping blocks in addition to just the clamps themselves. The good thing about using clamping blocks is that they allow you to press the ends and the centers of the shelves equally.
Step 4: Screw the sides
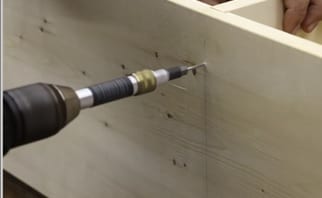
Drill holes into the sides and start screwing the shelves in. you want to use a drill with a countersink so that you can drill holes that can be plugged later on.
Step 5: Put the top and bottom on
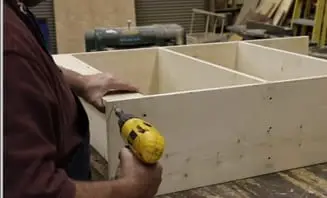
Glue the top board on the bookcase and screw securely. Along the bottom, put the 1” x 4” board so that it covers the space between the ground and the first shelf. This is really only for aesthetic purposes. It covers up the useless space left under the shelf and gives the bookcase a more finished look.
Step 6: Plug the holes on the sides
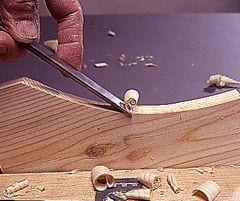
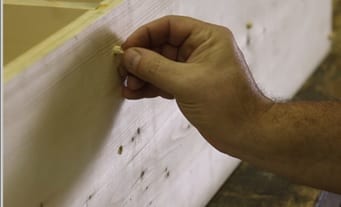
Cut out the plugs for covering the screw holes on the upright boards. Many people use dowels to cut out plugs, but we realize that a dedicated plug cutter is more convenient and beneficial in the long run. Also, this method does not leave ingrain, like dowels do. Then, simply plug the holes and saw off any part of the plugs that stick out. You want to use a flush cutting saw for this step. Saws like that have blades that are cut only one way, so they don’t destroy wood surfaces even as they are moved back and forth along the surface of the wood.
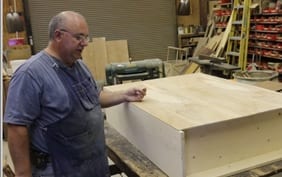
Step 7: Sand the bookcase and put the back on
Sand the structure that you have so far, and then nail the back on. The purpose of the plywood that goes to the back of your cabinet is mainly to provide stability. It keeps the bookcase from getting rocked side to side.
Step 8: Finish
Finally, sand your bookcase and apply finishing. You can stain or paint it as you like. Just make sure the product you use for staining or painting matches your wood.
Helpful Material
If you prefer to learn by watching, feel free to watch this video tutorial from the very cool Keith Rucker of Vintage Machinery, on which this guide is based. Keith is into restoring vintage machinery, such as steam locomotives.
Conclusion
There you have it. These are the simple steps to building a simple bookcase. We hope you enjoyed going over this tutorial as much as we did making it. Let us know what you think in the comments and share this article if you liked it!
