There’s something so captivating in the charm of antiques. The old-aged look of a particular item adds a one-of-a-kind appeal, which brings pleasure to the senses.
When I started experimenting with the antique style and wood DIY projects, I did tons of research before I was able to build my strategy well. After all, a dollar saved is a dollar spent on something you like, right?
With this in mind, the how to antique wood with stain tutorial we are sharing won’t break the piggy bank. Instead, get ready for a lot of fun with our easy and beautiful DIY guide below.
What You Need To Follow This Tutorial
We decided to share 2 techniques which will help you antique wood so that you can achieve 2 different aged looks as opposed to a single one. Who doesn’t love double win-wins?
The Colorful Antique Wood Style
- Latex paint/Craft paint
- 220 grit sandpaper
- Acetone
- Cotton Balls
- An old piece of cloth/ An old sock
The Distressed Antique Wood Style
- Weathered grey stain
- Gel stain
- A dust sheet
- Gloves
- A lint-free cloth
- 220 grit sandpaper
- Poly (optional)
Before we get down to work, here’s a few quick Pro Tips we have compiled for you.
Pro Tips
1 – Skip the rush
In order to antique wood beautifully, you need to forget about the hurry. Choose a moment when you feel inspired and relaxed to enjoy the process. As easy as it sounds, doing so will make a HUGE difference on the final outcome of your DIY project.
2 – Don’t be afraid to experiment
While many DIY techniques do require a lot of attention to the detail as well as precision, achieving a weathered look on wood differs on that note. It is not about following strict guidelines but about letting your imagination get a bit wild. So after skipping the hurry, drop your worries, too. You don’t need to strive for perfection.
Step By Step Guide To Antiquing Wood With Stain
The Colorful Wood Style Tutorial
Step 1 – Sand and Paint the Wood
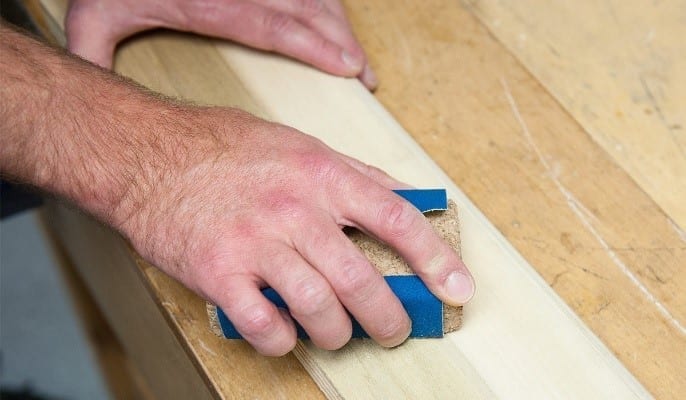
Image Credit: knowledge.axminster.co.uk
For a start, you want to sand the wood surface with the help of the 220 grit sandpaper. Once done, you can proceed with painting the wood. Forget about the rules. Just paint it in an unbalanced way. It’s the time to use your imagination now!
Step 2 – Apply the Gel Stain
Dip a clean piece of cloth or an old sock into the gel stain. The thicker the cloth, the better protection it will provide against getting your hands dirty. Also, you don’t need to put too much stain. Next, go over the edges of the wood, as well as anywhere you prefer around the paint. In the case, you put too much stain and you wish to remove it, simply wipe it off with the using a cotton ball and acetone.
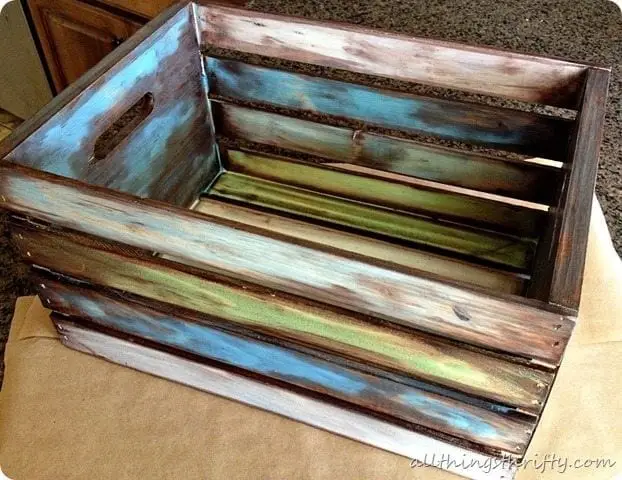
Image Credit: allthingsthrifty.com
The Distressed Wood Style Tutorial
Step 1 – Prep the Wood and Apply the Gray Stain
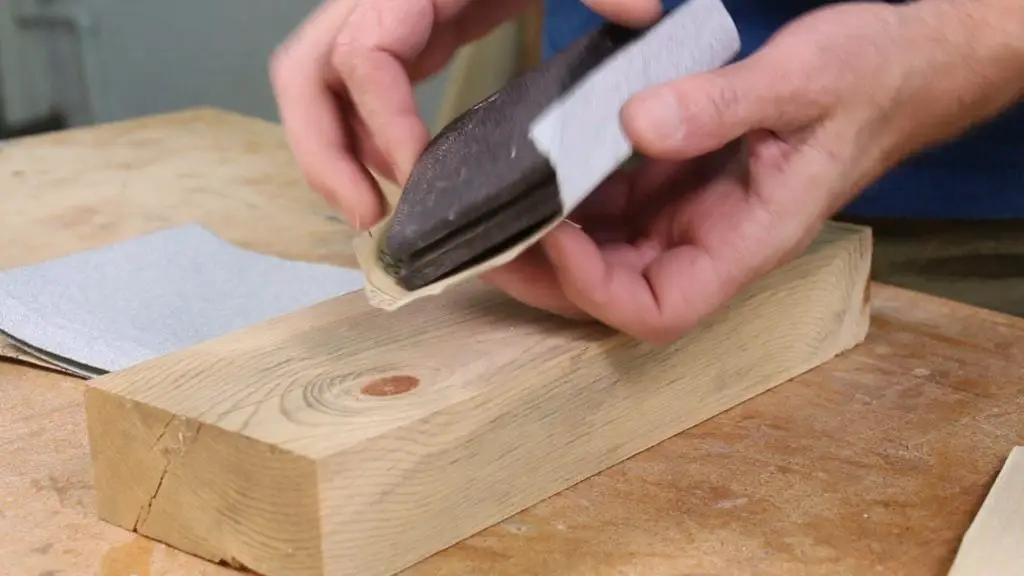
Image Credit: bobbypinsboardwalk.com
You want to sand the surface of the wood carefully. Afterward, remove any excess dust with a lint-free cloth. Then it’s time to apply a layer of gray stain by dipping a clean lint-free cloth in the container. After only a few seconds, you can wipe off the surface of the stained wood once more to make sure there will be no uneven traces. Let the first layer dry out for an hour.
Step 2 – Add the Final Touches
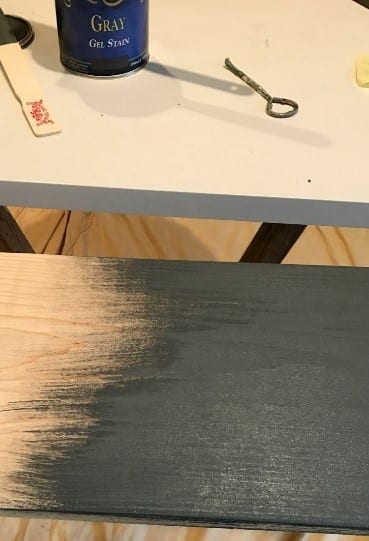
Image Credit: repurposelifeblog.com
It’s time for the artistic part! Go over the edges of the wood with a 220-grit sandpaper. Doing so will help to give off that wonderful distressed look you are aiming for. Make sure you go over the surface of the wood once again with a clean cloth to remove any particles left behind after sanding. Finally, dip a clean lint-free cloth in the gel stain and go over the distressed patches. After an hour, you can apply poly to protect your antique wood masterpiece.
Isn’t it simply amazing how you can add a touch of exquisiteness to just about any wood surface or object with as little as a few bucks and some enthusiasm? After many experiments, I can firmly state that the 2 techniques on how to antique wood we shared above are my favorite ones. They are thrifty, smart, incredibly easy and enjoyable.
So how about you? We’d love to hear more of your favorite DIY tips and tricks. Join us in the comment section below and if you find this article useful – don’t forget to hit the Like and Share buttons!
