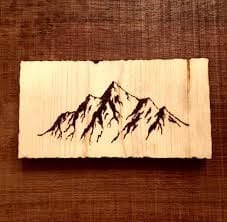
Burning designs in wood is a great weekend project to indulge in. It is a unique way to turn ordinary wood into a work of art. Wood has a nice surface that you can work on. It is perfect for staining, painting, and sanding.
You can also burn it, or char it a little to create different designs, shapes, and figures. This guide will help you create designs on the surface of wood by burning.
Wood burning for art
It’s a guarantee that you will find a wood burning interesting. The steps we have here is for making different impressions on wood by burning using a wood burning pen. And since you will be working with heat, you need to be very careful. Wear protective gear and always work in an area where there is adequate ventilation.
Things you’ll need
- Wood burning pen.
- Assorted wood burning tips
- Strop and aluminum oxide to clean the pen
- Pliers
- Clay pot or pen holder
- Get a hold of some nice wood for the pyrography (pine, basswood, birch, ash or maple)
- 320-grit sandpaper
Instructions
Step #1
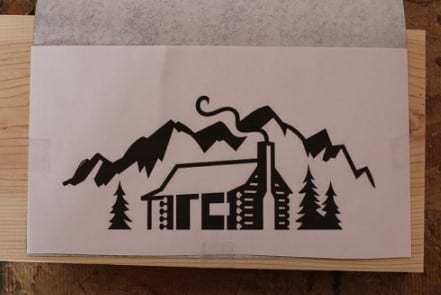
If this is your first time to make different designs on wood by burning, you may be more comfortable following a pattern. Create simple drawings on paper; use shapes and figures that have distinguishable forms and contours. Working on simple figures will help you perfect the craft. After successfully completing a few drawings and you have chosen the figure you want to draw, you may now etch this on wood by burning.
Source: https://www.artofmanliness.com/articles/a-beginners-guide-to-pyrography-aka-woodburning/
Step #2
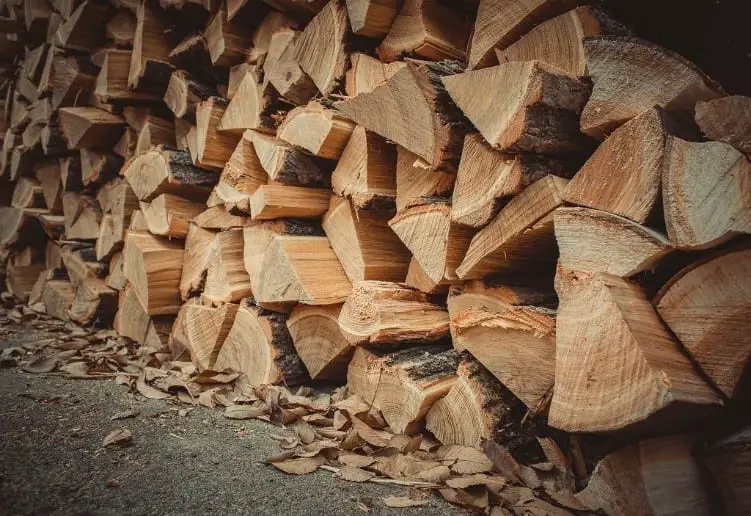
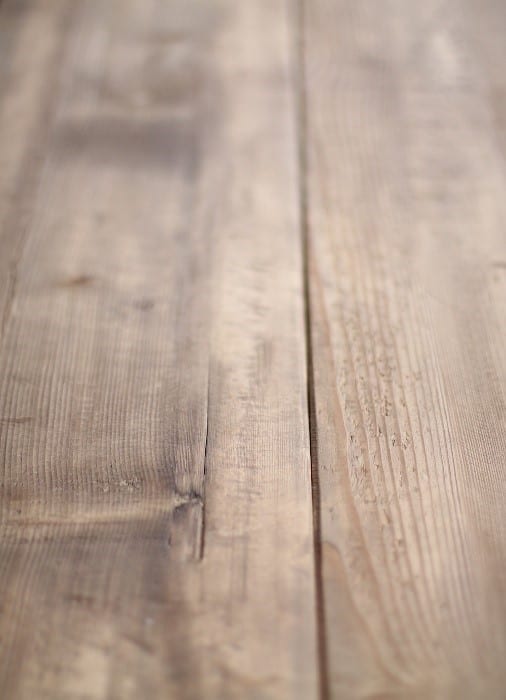
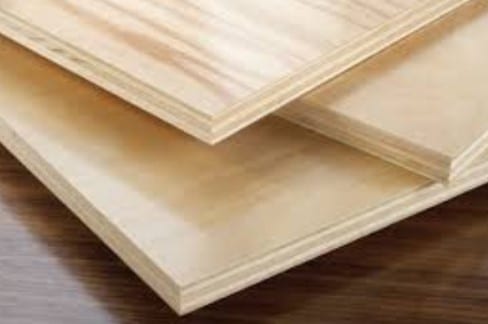
Select wood that is flat, easy to work with and should be enough to accommodate the size of the figure or image you want to impress on wood.
Source: https://www.columbiaforestproducts.com/2018/03/08/choosing-best-type-plywood-cabinets/
Step #3
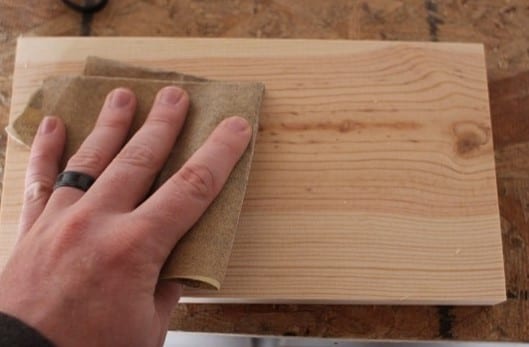
Sand the surface of the wood you will work on. Sand along the grain to prevent scratches and burrs which may affect your project. When you are done sanding, wipe the surface with a damp towel. This is better than a dry towel because it can pick up all the dust and residue that usually remains on the surface after sanding.
Source: https://www.artofmanliness.com/articles/a-beginners-guide-to-pyrography-aka-woodburning/
Step #4
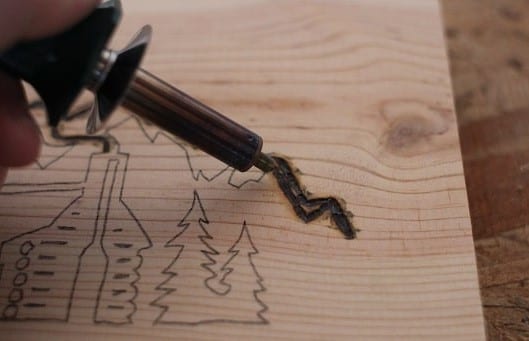
Use the heat pen to draw your figure on wood. Don’t press too hard on wood with a pen because you don’t actually need to apply a lot of pressure to create an image.
Light strokes are better so you can guide the pen across the surface. Pressing into the surface or using a heavy stroke also increases the chance of burning wood. Keep in mind that the longer you let the pen stay in the area, the darker and deeper the image will be.
Source: https://www.artofmanliness.com/articles/a-beginners-guide-to-pyrography-aka-woodburning/
Step #5
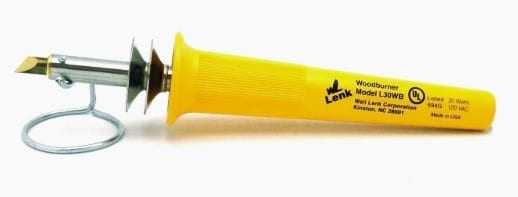
After use, clean your heat pen tip with strop and aluminum oxide. Practice with different heat pen tips. These tips usually come with the product when you purchase it. You may need to loosen a screw at the tip of the heat pen to remove the current tip and replace it with a new one.
Source: https://www.mostcraft.com/5-best-wood-burning-tools/
Transferring your designs on wood
There are different ways to transfer your design to the wood surface using burning. You can draw the image using freehand (using the heat pen as your “pen,” using graphite paper and using a transfer tip.
If you are an artist then you may find freestyling a better way to transfer image in wood. This may not be the easiest technique but it is the quickest plus will help you practice making different strokes as well.
Another technique is using graphite paper where you will draw an image on graphite paper and then this will be transferred to the surface instantly.
Finally, you can use a transfer tip or a flat tip that transfers the ink of a printed image on wood. Heat the transfer tip then brush the back of the paper where the ink is with the transfer tip. The image will be transferred to wood instantly. Afterwards, you may now check the design you have made.
Conclusion
You can burn images or designs on wood using a heat pen. This pen has special tips that can easily scorch the surface of the wood. There are many ways to transfer the images on wood as well. Choose one that works with your level of experience with this form of wood art.
