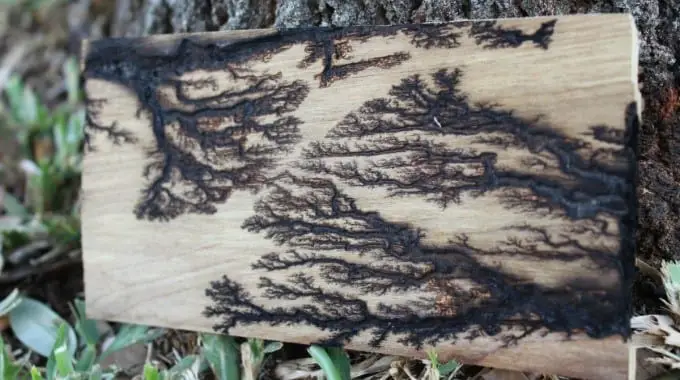
Wood is so versatile you can create all kinds of things from it. And possibly one of the oddest ways to work with wood is to electrify it. Do you know that you can actually burn wood with electricity to create different images and designs? You can electrify wood to make amazing fractals. This guide will show you how it’s done.
Applying electricity to wood basics
Because you will be burning wood using electricity, you must keep safe and exercise extreme caution when using this technique. This is not for someone who does not know how to work a simple electrical wiring diagram. Work in an area where there is ample ventilation and always have a fire extinguisher handy in case of fires.
You’ll need the following
- Fan
- Small Water Container
- Brushes
- Microwave Transformer(s)
- Extension Cords (Optional)
- Jumper Cables
- Bucket or Stand
- Electricity Supply
- Wood
- Water
- Baking Soda or Salt
Instructions
1) Maintain safety at all cost
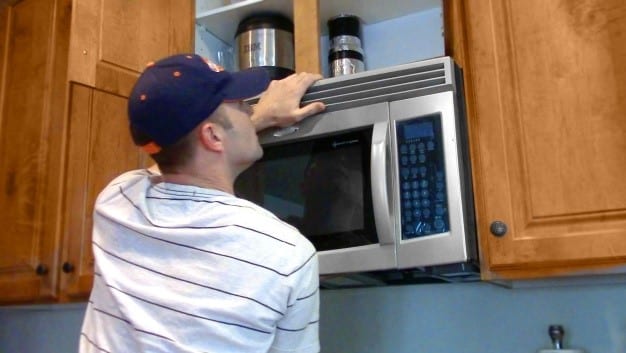
In this project, you will be harvesting a microwave transformer from an old, but still working, microwave oven. If you are unsure about this step, ask a professional to do this for you. When it comes to wiring, presume that your wiring is made of bare copper which can burn easily. Also, if you can, work outside because your project could generate hydrogen and may cause an explosion. Take note that this project is dangerous for someone who is unaware of the risks.
2) Prepare your power source for the project
Source: https://www.mostcraft.com/5-best-wood-burning-tools/
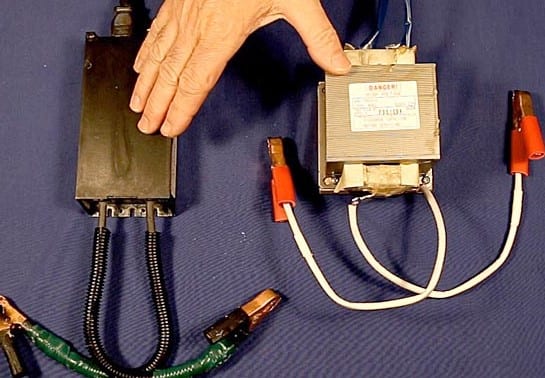
Any high voltage power source can be used for this project and not just a microwave transformer. Find out more about how to dismantle this from an old microwave from online guides and videos.
Use two transformers especially when you are working on larger pieces. You can look for diagrams and guides to wire the two transformers together to create a stable and safe power source.
3) Choose the best kind of wood for the project
Source: https://www.mostcraft.com/5-best-wood-burning-tools/
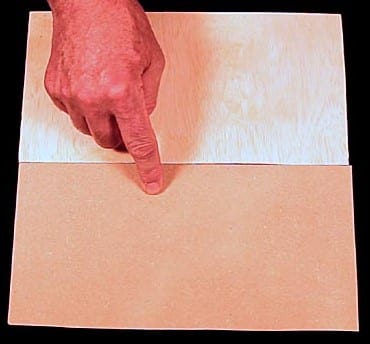
Not all types of wood make great surfaces for this electrifying project. Wood have varying thickness, species, and grains which can result in a variety of designs and shades. Most woodworkers who use this technique choose thin plywood or underlayment. The thin layer of wood found at the top and at the bottom makes a good surface to imprint fractals and other designs using electricity.
4) Improve the conductivity of wood

Source: https://www.mostcraft.com/5-best-wood-burning-tools/
Keep in mind that electricity will move to the path of least resistance or towards the grain so don’t work against the grain with this project. You can improve the conductivity of the material by using baking soda mixture.
Use one tablespoon of baking soda per cup of water. Baking soda is a chlorine component of salt, therefore, this can be detached from the rest of the compound to make a highly-poisonous gas. This is the reason why you must work in a well-ventilated area.
Apply the baking soda and water mixture on the surface of the wood. Saturate the piece using the mixture. Remember that you can get varying results depending on how much water you add.
5) Wiring your project
Source: https://www.mostcraft.com/5-best-wood-burning-tools/
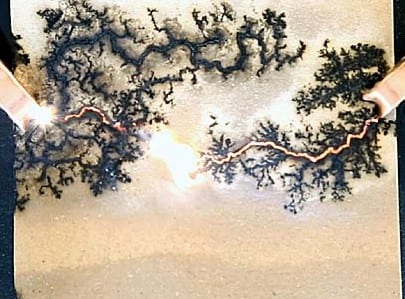
After applying the solution to wood, it’s time to wire this up. Connect the positive and negative leads of the transformers to the ends of the wood. The leads are connected to let the electricity flow through the grain. Plug in the transformers to start the flow of electricity to the piece. You will immediately see electricity burning wood. You can turn the power off when you are satisfied with the results.
6) Cleaning and finishing
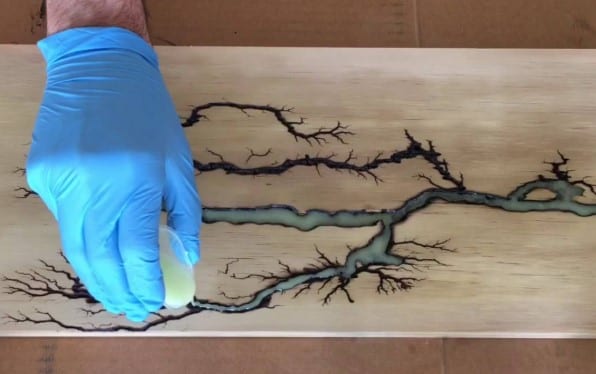
The design is now seen from the surface of the wood. It’s now time to clean the wood. Use a soft brush to remove the burned pieces from the surface. Hose the surface down with water. Don’t use pressurized water on the project because this may damage the pattern. Just let the water flow from the hose slowly. You may use a brush to remove bits and residue inside nooks and crannies of the design. Coat the project with a thin layer of polyurethane. This will seal the pattern and protect wood from moisture and the elements.
Conclusion
Electrifying wood is a completely weird way to create burned or charred patterns on the surface of the wood. You will be applying live electricity to draw intricate details and designs. Exercise caution when working with fire and heat. This project is not for anyone new to electrical wiring and using transformers and other electrical components.
