If you’ve got wooden furniture, cabinets, flooring, and other wooden items at home, you’ll notice that the sheen is lost after some time of use. Polishing wood is an extremely important way to maintain the enhanced appearance of your new wooden pieces or even old ones that have been used for a while.
There are many different methods of polishing wood that will help you add extra glow to your finished wood pieces. Burnishing is one such procedure that will help you achieve some much-desired results with your wood.
This finishing technique is meant to add a smooth and shiny finish to wood, similar to what is achieved if you were to use lacquer or polyurethane. This is normally the procedure used to get a chemical-free finish on your wood.
In the process of burnishing, two wooden pieces are rubbed together to create heat from the friction. This heat then helps to get rid of the soft, dried cell walls to expose the hard cells. The hard cell walls create a glossy finish, making it unnecessary to use any other finishing product on the wood. It works on the concept of compression, where constant rubbing smoothens out the fibers of the wood so that a glossy surface is created. Chips and small shavings can also be rubbed on the wood for burnishing. It’s the perfect finishing touch for all wooden structures in your house.
The good news is, burnishing wood doesn’t require a lot of skill. It just requires some time and effort to understand how to burnish wood properly. You won’t need any extra tools for the classic wood burnishing technique, although more tools are becoming available today for those not burnishing wood in a conventional manner. You will improve the appearance of the wood and can flaunt it anywhere. Burnishing will help you create a smooth, shiny finish for your wood which will enhance its appearance.
Burnishing may seem like a fancy term, and you may be wondering if you can do it. Don’t be intimidated by the term – burnishing wood is easy and makes for an excellent DIY job. Here’s an easy guide on how to burnish wood to help you out.
How to burnish wood: tools and materials needed for the task
Before you learn about how to burnish wood, you need to know about some common wood burnishing tools and materials that will come in handy. Smoothness is essential in any burnishing tool. If you use abrasive materials, they will only end up removing wood from the wooden piece instead of carrying out the compressing and burnishing function.
- Cloth or denim fabric
This is the typical wood burnishing material you will need. The denim fabric is folded into a small pad and then rubbed on the surface of the wood in an oval motion. When the surface of the wood becomes warm, you can rest assured that the finish will blend into the wood pores.
While burnishing creams and wax are available today, conventional burnishing takes place without the use of these materials. It’s important for the wooden piece to be sanded first and then cleaned to get rid of any debris.
- · Hardwood
Hardwood such as oak or maple can also be used as a wood burnishing tool, although the use of the hands is more conventionally practiced. When block-shaped hardwood is rubbed against the wooden piece being worked on, it results in compression of the fibers and gives it a glossy shine. This results in the grain patterns seen on the finish.
· Ultra-fine sandpaper
Ultra-fine sandpaper that has over 1200 grit does a great job of producing a rubbing effect instead of removal of material from the wood. If you have sanding equipment, you can attach some ultra-fine sandpaper to it and use the same for burnishing your wooden pieces.
- · Metal burnishing tools
Metal tools that are smooth do well as burnishing tools. These could be metal balls or metal rods. By rubbing these tools quickly over the piece of wood you want to work on, you will be applying pressure and generating heat. Smooth metal burnishing tools such as metal rods and metal balls also don’t scratch easily, unlike the many hardwood burnishing tools used.
Step by step procedure on how to burnish wood
Now you know what burnishing is and what wood burnishing tools and materials are commonly used. But what about the actual process of burnishing wood? How do you go about doing it in a step-by-step manner? Should you take any precautions during the process of burnishing? This method is typically done by hand to create a hand-rubbed finish that is like no other on the wood.
Read on to find out details about the process so that you can go about doing it in a step-by-step manner. It really is a lot easier than you think.
Step 1: Make sure your wood is clean
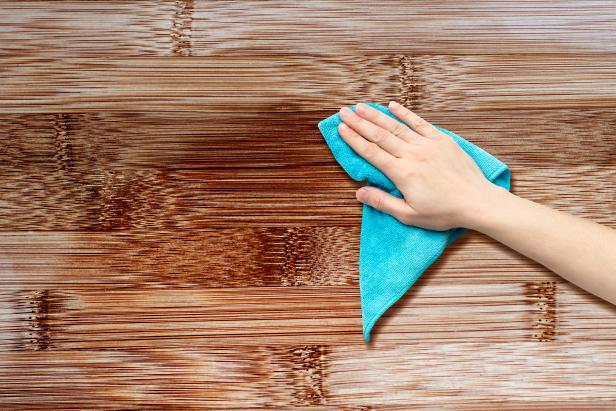
Before you start burnishing your wood, you must ensure it is clean. This is applicable whether it’s a wooden cabinet, furniture, or your floor. Get rid of the dirt and dust or even loose pieces of wood that have gathered around your wood. You must ensure that your wood is completely dry before you start any burnishing.
Step 2: Roll your denim pad and rub

Making use of denim from your old denim pants or jacket can help you perform burnishing more easily. Make a small burnishing pad by folding the denim piece. Then use your fingers to hold the pad and rub it over your wooden piece vigorously in circular motions. This must be done on a lacquer finish that is already dry to touch. You can even wrap the denim sheet into a small sheet and roll it over the lacquer finish using your fingertips in repetitive motions.
If you’re working on a round wooden piece, try swirling the denim pad around the spindle or leg using the palm of your hand. Follow this up with straight strokes moving in an up and down direction. You will have to use a new denim piece if it becomes filled with lacquer dust.
Step 3: Continue rubbing for 6” in diameter

Make sure you rub vigorously in one spot with 6” in diameter till you can feel the surface turn slightly warm. The surface should feel smooth and warm.
Step 4: Overlap the first pattern with another rub

Rubbing for 6” in diameter once isn’t going to do the job of wood burnishing. You need to continue rubbing so that you overlap the first pattern rubbed. Make sure for the overlapping rub, you move in the same direction as that of the grain.
Step 5: Check for the light reflection
When you’ve rubbed your wooden piece vigorously enough over an area, lean down to check whether the light reflects off the lacquer surface. What should you look for in this step? It’s simple: you need to be able to see a brighter, polished region in the area that you rubbed. If you don’t notice a brighter, polished look, make sure you rub the wood again.
Step 6: Rub till a blend is achieved
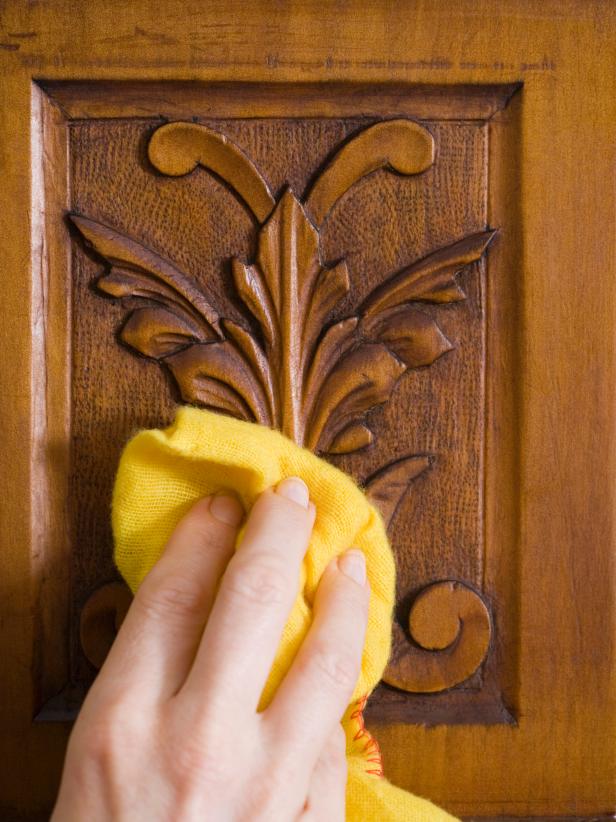
Continue rubbing your wooden piece in a back and forth straight motion with the grain. This will help in blending the circular swirls and help to create straight lines. Smoothening out the circular swirls is necessary to achieve the desired finished look.
Step 7: Rub in circular and then straight patterns
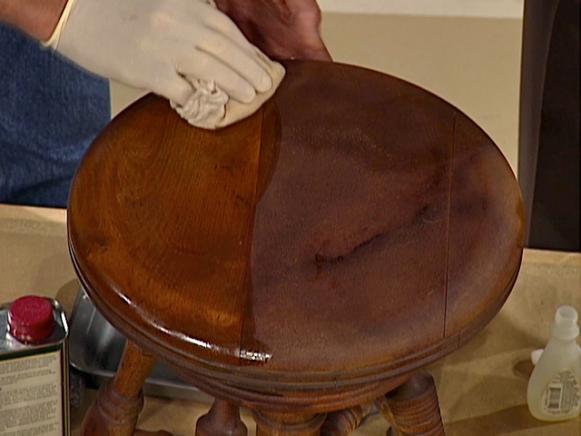
Rub the end to end of the wooden piece using circular motions and then switch it up for straight patterns on top of the circular ones. Continue to do this section by section till you have burnished the full wood.
Precaution
It is essential that the lacquer be dry before you start. The room must also be free of any fumes when you’re performing wood burnishing. If it isn’t, be sure to use protection for breathing when you follow the above steps on how to burnish wood.
By following these simple steps, you will be able to give your wood the perfect finish to enhance its appearance. It will level up not just the wood but also the regions of the house where the particular wooden item is displayed. Follow the steps with the required precaution, and you’ll see just how it is to burnish wood as a DIY job.
What is burnishing cream?
Burnishing cream can be used to polish wood surfaces to give them the desired finish. Using a polish remover or wax will help you maintain clean paint on your surfaces. Make sure you give it a good shake before using it. Then, soak a cloth in the cream and use it to carefully rub the surfaces that you want to work on.
If you’re using a burnishing cream, you will need to test it on the furniture first. Don’t apply it directly without testing. The cream does tend to create broken finishes, though, when it is freshly applied.


