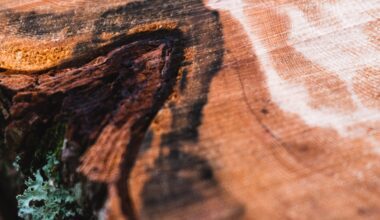
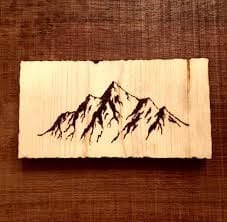
Wood charring is a method of timber coloring and preservation, which involves applying fire to the surface of wooden planks and boards.
Charred wood provides a beautiful and rustic feel to any piece of furniture. Aside from its aesthetic capabilities, charring wood results in a stronger and more durable board. Once the piece of wood is thoroughly charred, it is wrapped in a carbon layer due to the burning process. Charred wood is resistant to fire, insects, water, etc. However, it is still advisable to learn how to seal charred wood, especially if the wood project is for outdoor use. This process will increase the longevity, appearance and durability of the wood. Additionally, it will also provide an extra layer of protection against chips, peels and cracks.
Choosing the right sealant for the charred wood:
Most woodworking enthusiasts use polyurethane sealant. It is available in a water base and in an oil base. The oil base is more waterproof and is therefore the more desirable option for outdoor woodwork. With regard to indoor furniture, the prudent decision would be to opt for safe and non-toxic sealants like shellac sealant. Remember that shellac does not respond well to water and can absolutely not be used outdoors.
How to seal charred wood: A Step-By-Step Guide
The thumb rule to preserve any piece of woodwork is to seal it. The same applies to charred wood. Hence, it is essential to understand how to seal charred wood.
Items needed to follow this Step-By-Step Guide
1) 2-3 Brushes
2) Sealant
3) The charred wood
Step 1: Brush down the charred wood
Gently brush down the wood without applying too much pressure, to create minute openings in the charred wood. They need to be just enough for the sealant to permeate through the charred wood. Make sure to dust off any residue pieces of wood before moving to Step 2.
The application of the sealant will be completely useless without this step. This is a preparatory step by which the wood is readied for the sealing process. This step is essential to ensure that the sealant is able to penetrate through the charred wood’s surface.

Step 2: Staining the charred wood
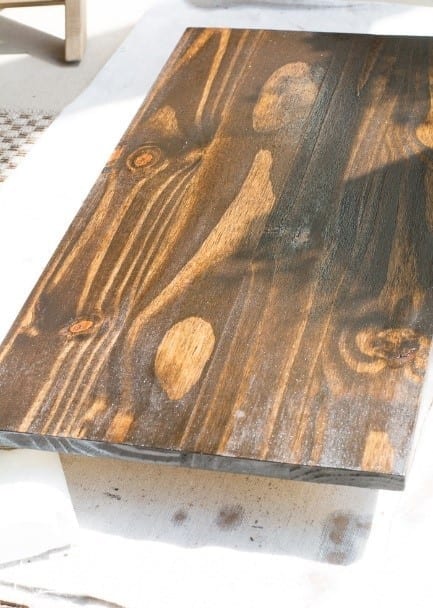
This step is to be avoided if the charred wood’s color and texture is appealing as it is. If not, any alterations in color are to be made at this step. Alterations in the visuals of the wood can be made by using any staining agent or paint. Ensure that the paint or staining agent is completely dry, before proceeding to Step 3.

Step 3: Applying the sealant on the charred wood
This step of how to seal charred wood probably requires the most attention.
After brushing down the charred wood and staining it, it is finally time to understand how to seal charred wood. Remember that a little sealant goes a long way. Ensure that too much sealant is not applied.
Make sure to not use the same brush used in Step 2. Use a fresh brush. Dip it gently in the sealant. Wipe off any excessive globs on the paintbrush and gently apply a thin coat of sealant on the charred wood. In case the coat of sealant is not even, try applying a second coat of sealant to even it out. Make sure the additional coats are applied only after the initial coat is completely dry. Every sealant has its own properties and protocols. Read the specific instructions of the sealant before use.
Ensure that no foreign object or substance touches the charred wood while the sealant is drying. Sealants harden with prolonged exposure to air, making the charred wood even more durable.

In theory, that is it on the step-by-step guide on how to seal charred wood. In practice, there are some tips that could prove to be helpful, especially for unseasoned woodworking enthusiasts.
Tip 1: Test the sealant on a small patch of wood before applying it to the main project.
Prior to applying the sealant all over the surface of the charred wood, it is recommended to test the sealant first. This can be done on a piece of spare charred wood or on an inconspicuous spot on the woodwork project. Test out the sealant to find out how it reacts with wood, before applying it to the main project.
Tip 2: Less is more when it comes to applying the sealant on charred wood.
Apply only a thin layer of sealant on the charred wood. Charred wood has a very distinct color and texture and using excess sealant can alter its appearance. Additionally, increasing the amount of sealant makes no difference to the durability of the charred wood.
Tip 3: Work on the woodwork project in a well-aired out and well-ventilated area.
While working with chemical substances like sealants, it is recommended that it be done in an open space or a ventilated space. Certain sealants that let out very strong fumes can prove to be detrimental. Some sealants contain acetoxy and give off a strong acetic acid smell. They can lead to light-headedness or dizziness after prolonged exposure.
Charred wood is known to last a very long time. About 2 millimeters of unsealed charred wood usually lasts for 5 years minimum. Choosing the right sealant and methodology can be pivotal for charred wood. Be it indoors or outdoors, the right sealant will increase the look, durability and shine of charred wood. With proper sealing and care, charred wood will last for decades. For best results, re-apply the sealant every 10 to 15 years.

That is it on the guide on how to apply sealant on charred wood. Make sure to share it with woodworking enthusiasts or anybody else who is looking to seal charred wood. Leave any thoughts, suggestions and tips in the comments. Do remember to share woodworking stories with the community!

