If you are doing remodeling then you will need that it be durable and fire resistant. One of the unconventional ways to do it is by burning it.
Yes, you heard it right.
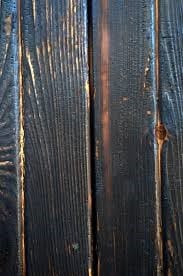
This age-old Japanese way of preserving wood is known as ShouSugi Ban or simply charing wood.
If you want to know how to get it done, read on its article and find out more.
Materials needed:
- Wooden planks to be charred
- A blowtorch
- Safety gloves
- Safety mask
- Brush
- Vinegar
- Oil
Instructions:
1) Set the workplace
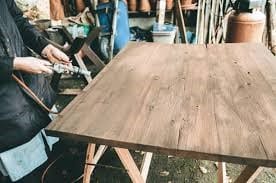
Image credit: Architectural Digest
If you plan on doing this process then see to it that you will have enough space. You will need to make sure that you can hold the blowtorch around 5-12 cm above the wood. This will also help you apply the flames along the whole length of the plank. You need to make sure that you will be doing this one away from any elements like a strong breeze. You need to do set up your blowtorch first. This will help you determine the length of the pipe. You need to make sure that the peep will be free from actually setting it on fire.
2) Ready the planks
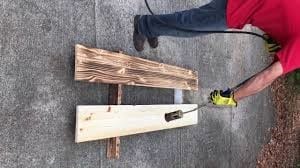
Image credit: YouTube
You need to ready the planks out especially if you are using a large number of it for your project. It will be much easier and more energy efficient. You need to remember that once the planks have been charred, they will need a few minutes for them to cool down. You also need to use gloves to prevent your hands from getting burned.
3) Start the fire
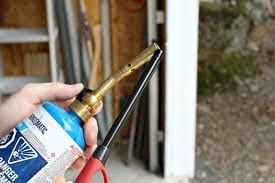
Image credit: Dans le Lakehouse
You need to light the fire using your non-dominant hand. Turn the propane slightly open. Always see to it that you will keep the point of the blowtorch away from your face and or anything that it can damage. Take a lighter and light the flame. Initially, the blowtorch will give you an orange flame you need to adjust the propane in order to get that bluish jet. Fine tune the propane so that it will have a good balance of propane and oxygen.
4) Determine the distance and start charring
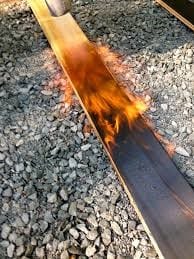
Image credit: chasing home
You always have to do the charring around 5-12 cm. Charring your wood will depend on your own preference. You can choose to concentrate the flame in a smaller portion or you can also spread it out with less force. You are able to know that you have the flame that the right distance once you will have a blue flame that is able to spread out when it hits the wood. This will create an orange star effect.
You will also see sparkling orange charcoals forming. The moment that you have determined the right distance, move the torch starting from the bottom going up the plank. Once you will do this one then you are able to methodically char every part of it.
If you are planning to place the planks on the wall and the side can’t be seen, then you don’t have to char the sides of it. You only need to char the parts in which it will be visible to the naked eye. It is also this portion that will be exposed to the elements and will need the protection.
If you are just starting out, you might over char your wood. You don’t have to worry about this though as you can remove ash patches using a brush.
5) Allow the wood to cool
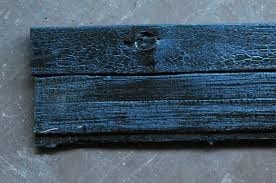
Image credit: Woodworking Network
Once you are done charring your planks. Then it is now time to let them cool down. This is important before you will be moving them.
6) Brushing the planks
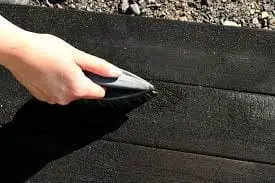
Image credit: Dans le Lakehouse
You need to do this one in order to remove the excess burnt parts. You have to brush and rub the charred planks vigorously to do this one. If you are doing this process, see to it that you will be wearing a mask so that you will not be inhaling the burnt parts.
Once you will see the grain of the wood then that is enough.
7) Oil the planks
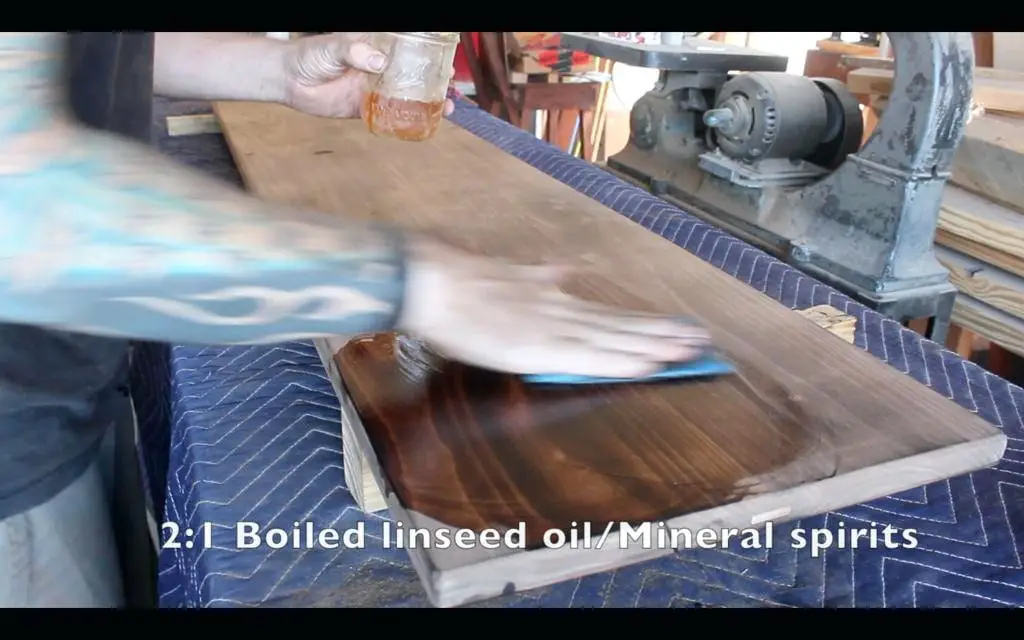
Image credit: ceepackage
Once you will do this process, see to it that you will have the oil in a suitable container. You also need to mix one part of vinegar with 5 parts of oil. Use a used cloth and dip it into the oil. Squeeze it out and rub it over the planks.
This mixture will create that subtle sheen. This will depend on the type of wood that you are using as well as the type of oil that you utilize. Applying oil will give your planks that impressive color effect. Once the planks are coated with oil, leave them to you and apply another coat after.
Conclusion
Charring wood might seem unconventional but they are also very effective. If you want your house or any part to be durable and fire resistant then you can always consider doing this process. Asking guidance form professionals thing is recommended especially if you are doing this one for the first time.
