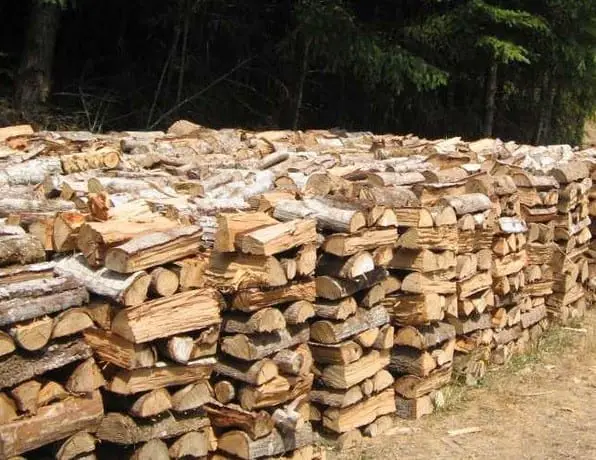
Having a wood project that is finely designed but still elegant? You are at the right place. There are a lot of ways to make designs for your wood. Whether you coat it, paint it, and so on.
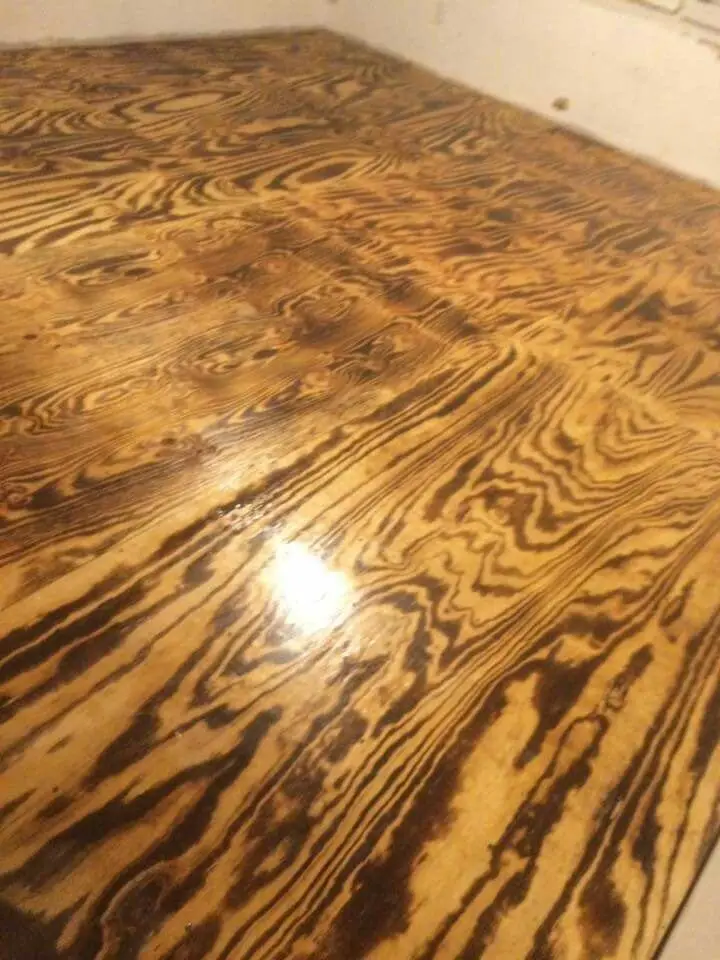
But I was thinking of a vintage look of a wooden cabinet. The best that I could think is to torch it, to have a rustic and dramatic design to see.
In this tutorial, we are going to learn how to torch the wood. But don’t worry, we are not going to make heavy flaming here, we don’t want to burn our precious furniture here.
This will be fun and exciting in just a few steps and a quick easy guide, you will eventually love this amazing craft. So grab your things, set up the working place, prepare the necessary tools and materials, then let’s start.
What You Will Need To Follow This Tutorial
- Wood
- Safety gloves
- Safety goggles
- Damped cloth
- Paper sand
- Propane Torch
- Finish coat
For the wood, you can choose the softwood because for me it is easy to flame and you don’t need so much refrain. But for heavy furniture, you may use the hardwood. That really depends on your choice. In this tutorial, I am going to use softwood such as pine for a better refined look.
Step By Step Instruction To Torch Wood
Now, put on your goggles and gloves and follow these tricks. To sort this out, I am going to make this simple. Follow this 3 light easy steps: torch it, sand it and coat it.
Step 1: Torch the wood
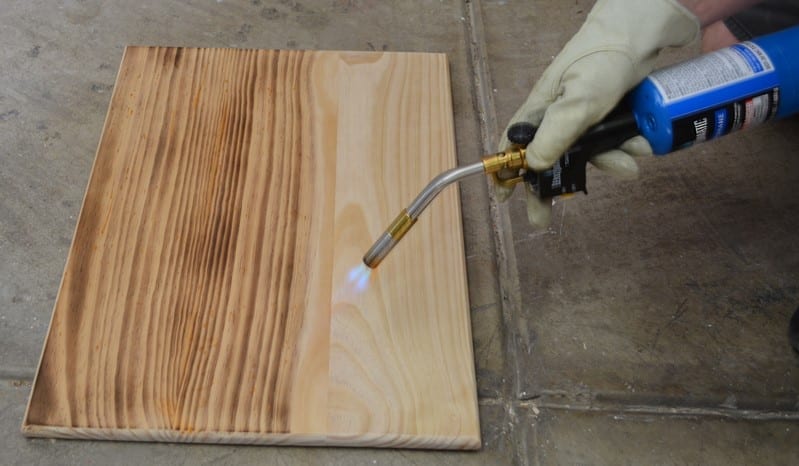
Make sure that the wood that you are going to use is already smooth. Then lightly torch the wood.
Don’t strike it to close to the wood because we don’t want it to burn much. Just point it about 4 to 5 inches above the surface.
Let the torch do the work and keep the flame moving on all the edges as well as the whole surface.
If there is a large burn on a specific spot, make sure that you make it even on all the surface and edges. And also let the surface cool before you proceed to another torching process.
Credit Image: azdiyguy.com
Step 2: Sand the whole surface of the wood
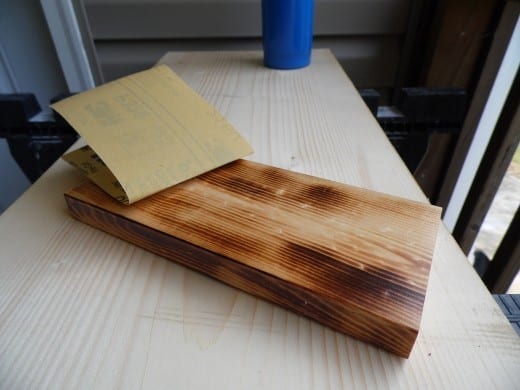
After you have done the flaming process, you may now proceed to the sanding and smoothing the surface.
Using the sandpaper, lightly scratch the surface to get rid of the burned areas. To make it more appealing.
Do the whole surface as well as the edges. Then use the damped cloth to remove the excess from sanding.
Credit Image: FeltMagnet.com
Step 3: Use the finish coat to seal in the texture
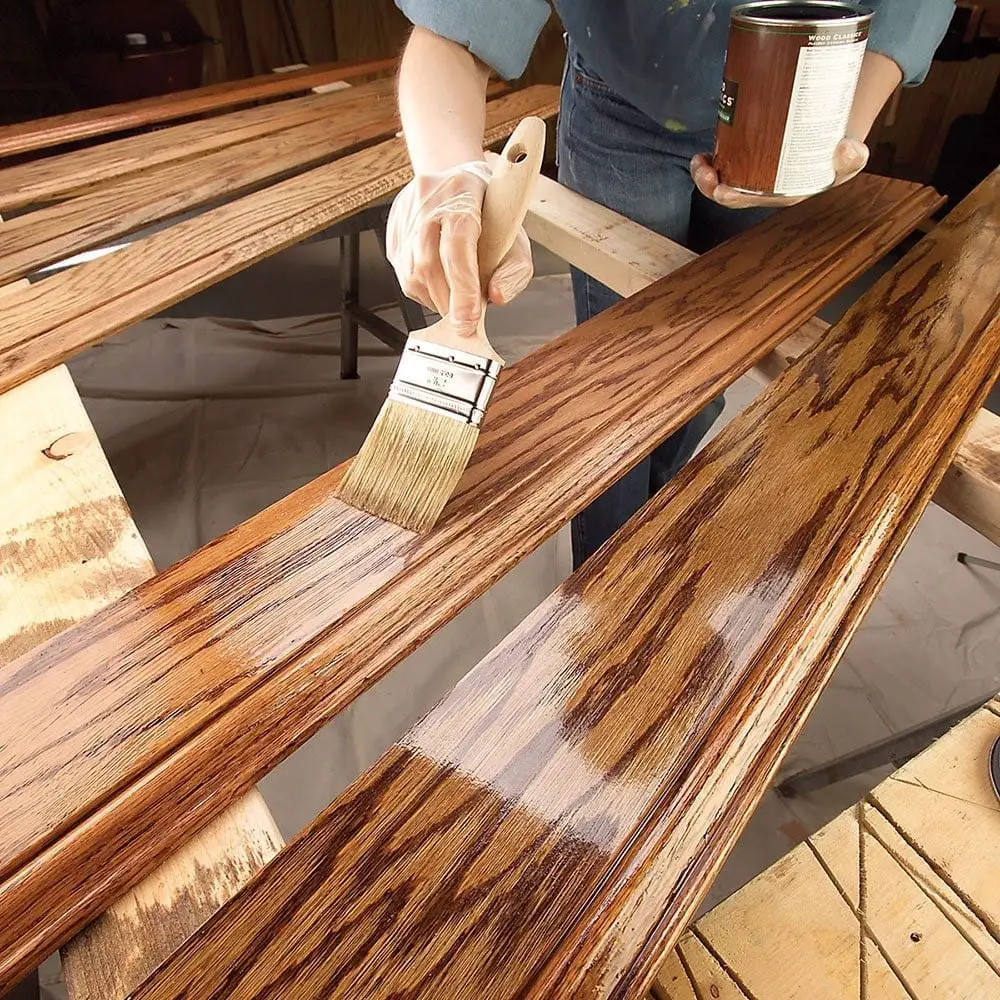
You may now apply the finish coat to seal in the texture. This will also help make the material more durable. It will make your project more appealing and more stylish because of the polish.
For me, I prefer to coat it in double, but if you want it more rustic you may do your own trick, coat even more until you are satisfied with the color and texture. Then let it dry for a few hours.
Credit Image: constructionprotips.com
And there you have it, you are now ready to proceed to your next masterpiece. Isn’t it easy and fun? You get to have a durable and stylish piece without compromising the fund.
Did you enjoy this tutorial? Please don’t forget to hit the like and share button to have more fun ideas. And don’t forget to subscribe!
