Staining wood gives it a splendid shine, preserving the natural beauty especially its lovely grains. Staining will also seal the wood so that it’s protected from water damage, from molds and also from pesky pests. But staining is not merely swathing liquid stain all over your furniture or wooden décor. You need to prepare the surface of your furniture or your wood before you apply a stain.
How to prep wood for staining
There are a few ways to prepare a wooden surface for staining. You must never overlook these or else your work will end up looking subpar.
Things that you will need
- Wood to work on
- Sandpaper or power tools (#120 to #150 grit)
- Sanding blocks
- Tack cloth
- Using sandpaper or power tools
The grade or grit of sandpaper is according to the number of sand granules per square inch of paper. The higher the grade, the finer the paper. Lower-numbered grades mean that the paper is coarser. You will find the grit number at the back of each sheet of sandpaper.
Usually, medium and fine grades of sandpaper are for refinishing furniture and antiques. Coarser grits or paper under #100 can damage a fine wood finish. Medium grits like #120 and #150 can be used to remove old finish or scratches. Finer grits like #220, are for final light sanding just before applying a stain to the surface of the wood.
You can also use power tools to make sanding go faster like a palm sander or a lightweight rotary sander.
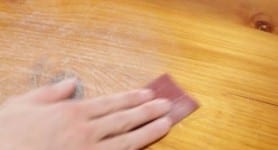
1) Sanding wooden furniture
Source: https://www.videoblocks.com/video/hands-holding-and-sanding-wooden-furniture-using-sandpaper-schcm_yxeiusbxvmw
Tear sandpaper sheets into fourths then fold these into small pieces just big enough to hold with your three fingers. Create a makeshift sanding tool by wrapping a piece of sandpaper around a block of wood. This is a sanding block that will simply fit the palm of your hand.
2) Sanding with a contoured sanding block
Source: https://knowledge.axminster.co.uk/hand-sanding/
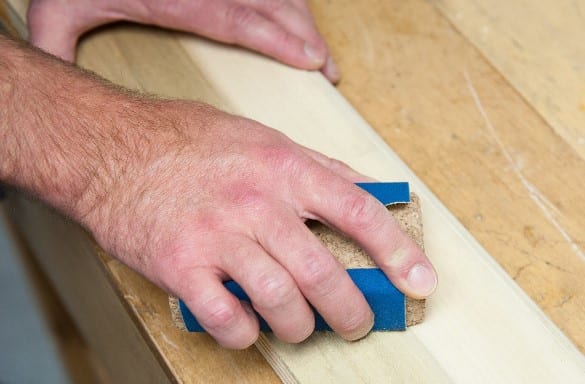
Use a contoured sanding block which is available at hardware stores, that allows you to attach sandpaper.
Sand with the grain. Inspect a piece of wood to check the pores in the surface that form a pattern or a grain. Be sure to sand in the direction of the grain and never perpendicular to it or at an angle. Position the piece so that the surface that you are working on is horizontal and at a comfortable height.
To create a clean finish, hold the sanding block flat and grasp it and apply even pressure as you move it back and forth in the same direction as the grain. Never exert so much pressure on the corners of the sanding block because this will create unwanted depressions in the wood surface.
These same steps are used when you are working with a palm sander. Sand with the grain and hold the sander against the wood as you apply even pressure.
3) Always remove dust
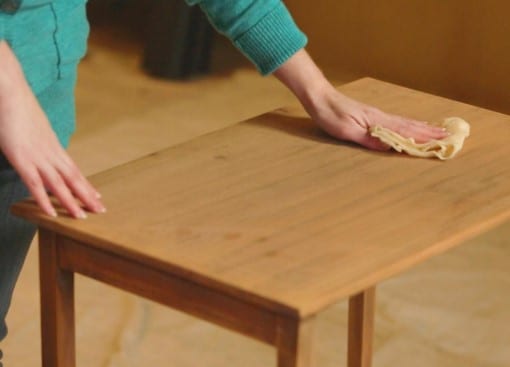
Source: https://www.diynetwork.com/how-to/skills-and-know-how/painting/sanding-and-preparing-wood-before-staining
Wood dust that accumulates the area you are working on because of sanding will cause a lot of problems if you don’t get rid of it. Dry rags or brushes are not the best tools to remove dust. Some of the wood dust from sanding could also become airborne, therefore you need to use a face mask when you remove dust or when you cut wood.
Use a tack cloth to remove dust. This is a sticky piece of cheesecloth made especially for removing dust. Fold the tack cloth to a small piece of cloth. Wipe this across the wood to remove dust. As the sides of the cloth become accumulated with dust, fold and refold the cloth to expose a fresh surface.
You can make your own tack cloth by soaking a 12″ piece of cheesecloth in a small amount of tung oil. You can store tack cloths in a sealed plastic bag to prevent these from drying out.
Staining dramatically and permanently changes the appearance of wood so it is recommended that you test it first before applying it to furniture. Test stain on an area of the piece that won’t show like the back or the bottom of a wooden dress. You can also take a sample of the wood and use this as a tester.
Conclusion
Staining should be done in a clean, dust-free environment. The wooden furniture or surface that will be stained should be carefully prepared by sanding and dusting. Testing the stain is also part of preparing the wood to be treated.
