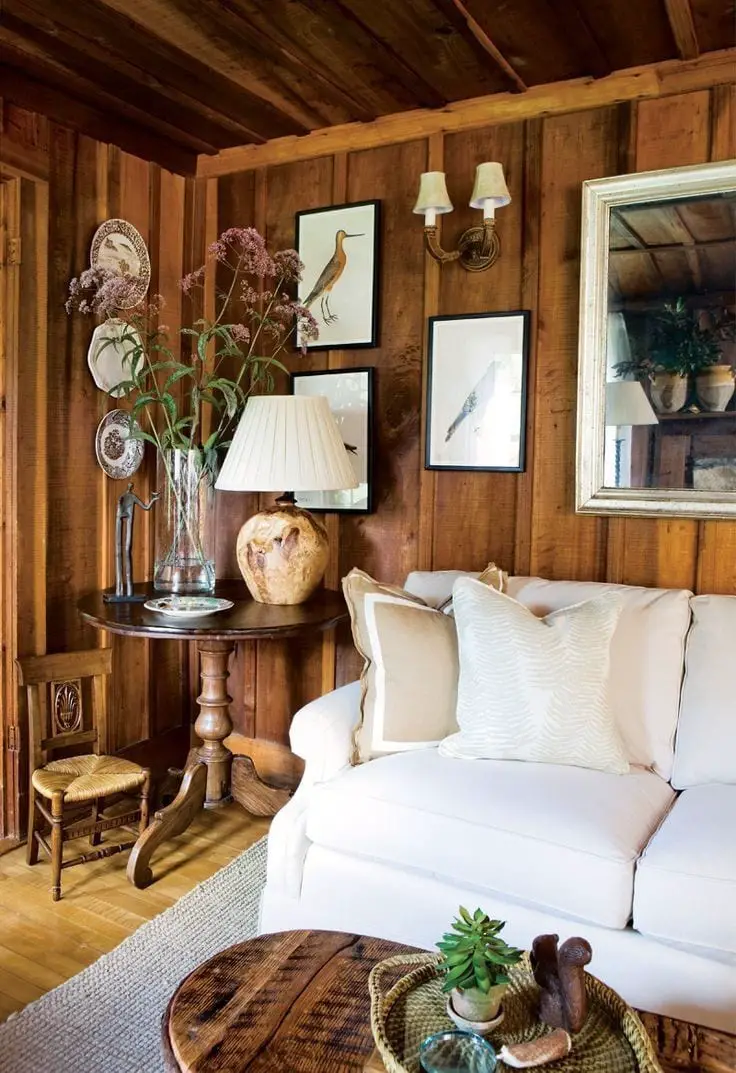
So many people have outlived the wood paneling which was the trademark of the 70s. And no matter how hard you try to make the interior of a room look fresh and modern, wood paneling may keep tearing your heart apart. Does this start to sound like you?
But when you start searching for tutorials, you stumble across the same information spinning around: paint over wood paneling; redecorate the rooms by accentuating on modern features and eye-catching designs; huh? Enough!
Below, we are sharing the easiest step-by-step guide which will help you learn how to cover wood paneling without painting like a real pro! Already excited? Great, because so are we!
What You Will Need To Follow This Tutorial
The Modern Version
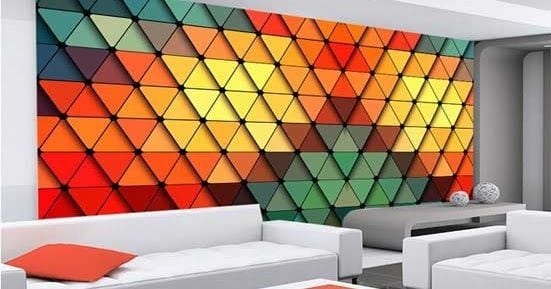
- Paintable wallpaper or 3D Wall Panels
- Adhesive glue and/or a hot glue gun
- Tape measure
- Pencil
- Level
- Large, sharp pair of scissors
The Rustic Version
- Logs
- Adhesive glue
- Electric sander
- Gel stain
- Polyurethane (optional)
- Table saw
Pro Tips
When working with paintable wallpaper, it’s best to have a partner who can help you out during the installation. It can be tricky because of the wide sheets which need to stick to the surface of the wood paneling without becoming bumpy or curvy.
3D wall panels will change the interior of any room and erase all traces of the old wood paneling with 100% efficiency. However, you’d better prepare for some hard work because adjusting the panels perfectly might get exhausting and time-consuming.
Step By Step Instructions To Covering Wood Paneling Without Painting
The Modern Version
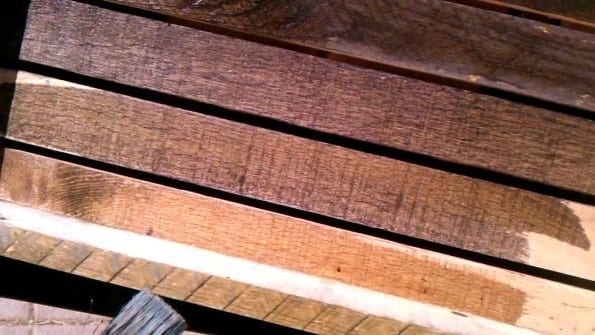
Step 1 – Always start with measuring the walls precisely
Before you pick the paintable wallpaper or 3D wall panels, you need to know the measurements of the wall you are about to cover. Make sure to calculate the dimensions very carefully to avoid issues.
Nevertheless, it’s always a wise idea to order an average of 10% more as opposed to strictly sticking to the measurements. After all, the final results will be worth the extra investment!
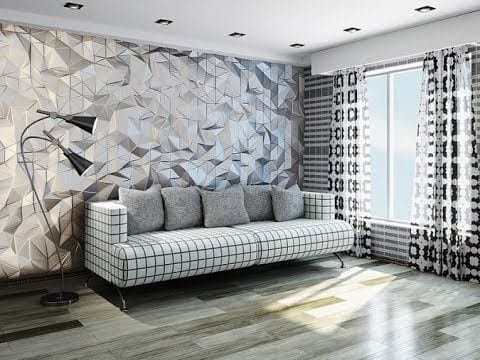
Image Credit: youtube.com [EXPO NEWS]
Step 2 – Proceed with the installation process
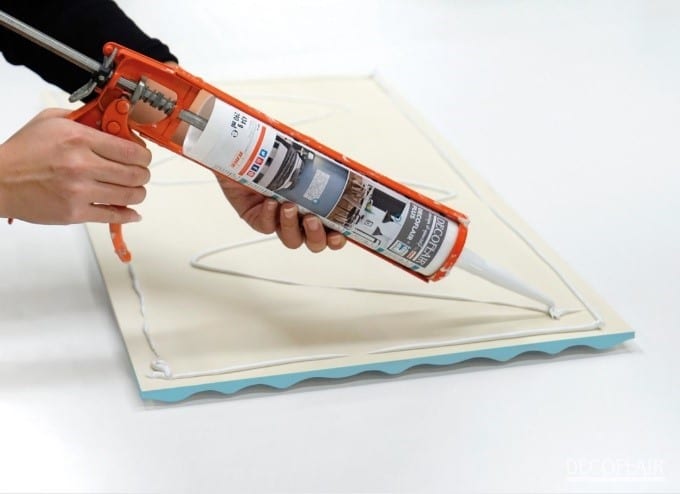
Image Credit: blog-decoflair.com
All you have to do next is to install the 3D wall panels or the paintable wallpaper by using adhesive glue or a hot glue gun. A hot glue gun can work excellently when it comes to 3D wall panels although adhesive glue can also do a decent job. However, opting for a hot glue gun is NOT a good idea when you are dealing with printable wallpaper.
You may need to cut excess parts of the covering materials as to match some temperamental curves on wood paneling. Don’t be afraid of some possible mistakes. Work with large and sharp scissors. Think twice, cut once.
The Rustic Version
Step 1 – Prep and cut the logs
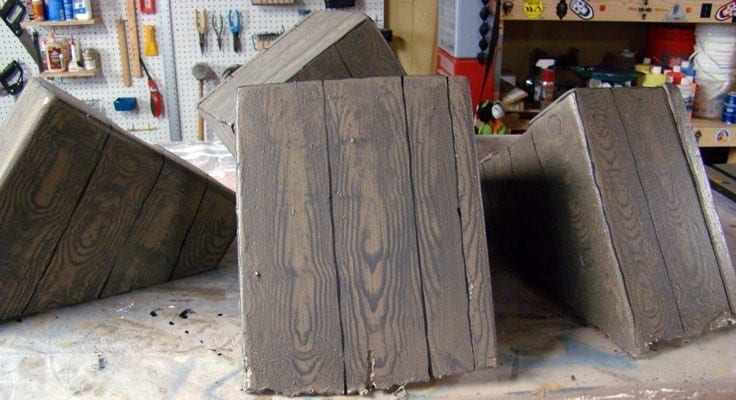
Gather all types of different wood logs and cut these into thin pieces on a miter saw. Sand of the surface of each piece of log carefully with an electric sander.
Go over each of the pieces with gel stain and let them dry out completely. You can finish with a coat of polyurethane to increase the logs’ durability and aesthetic appeal.
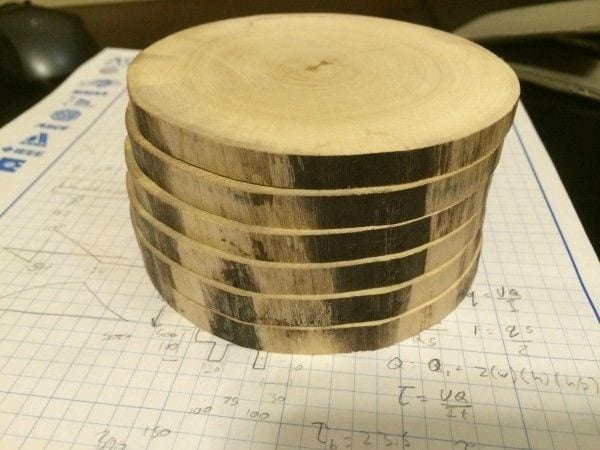
Image Credit: Pinterest.com
Step 2 – Glue the logs to the wood paneling
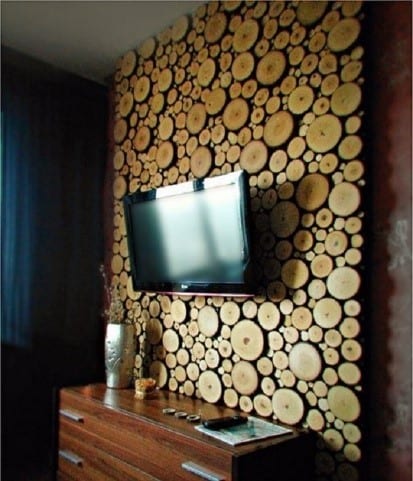
Image Credit: prom.ua
Start gluing the thin pieces of logs to the wood paneling, just as if you are painting a picture. Start with the bigger pieces and proceed with the smaller ones to fill in any gaps later on. Press each piece for a few seconds to make sure it will stick well.
Did somebody mention wood paneling + problems in the same sentence? We sure hope that once you have read this article you won’t have to associate wood paneling with any unpleasant issues or memories.
After all, isn’t it beautiful to live in the 21st century when the useful information you need is only a click away? Hooray for sharing! Did you have a good time? Will you try out the ideas we listed in this how to cover wood paneling without painting tutorial?
We’d love to hear more from you in the comment section below. Like and share this article to help us reach more people with a healthy dose of inspiration and easy-to-grasp instructions.
