When working with wood, one of the first things to you need to learn is to cut a notch. Adding a notch to wood will make projects stronger, more durable and will also make projects more presentable and decorative. Notches are very easy to do if you have all the materials you need handy and you have a good place to work without any disruptions.
Cutting notches in wood
Most woodworking techniques like cutting notches in wood may look intimidating to beginner woodworkers. But to properly make different wooden projects, you need to learn how to efficiently make notches using simple woodworking tools. The following steps will help you become a pro in notch-making in no time.
Gather all the materials you need
There are so many tools and woodworking equipment you can use to make a basic notch but for this tutorial, only the basic ones will be used. You may even have some of these tools around if you have worked with making furniture or woodworking projects before.
- Hammer
- Chisel
- Saw (a chop saw, or miter saw is best, but a trusty hand saw will do the rick, too)
- Workbench
- Vise
- Safety goggles
- Carpenters pencil or marking knife
- Set square (or ruler)
1) Preparing your wood
Source: https://www.popularwoodworking.com/article/and-now-for-the-chisel/
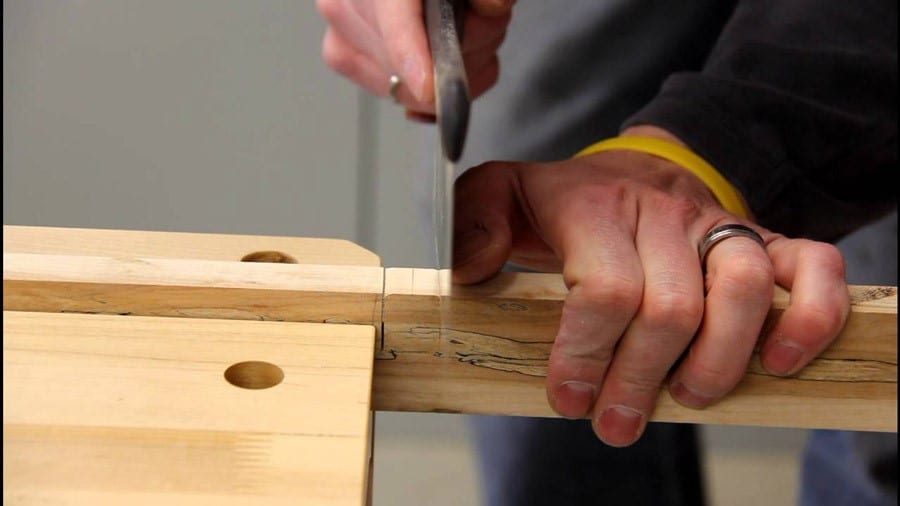
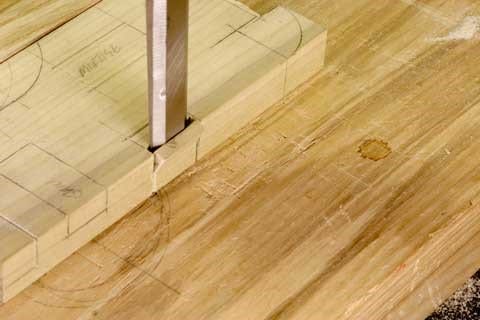
Measure the notch and mark the measurement on the wood. You must have an idea of how large you intend the hole would be. When you are satisfied with the size or dimensions of your notch, use a marking knife to transfer your marks to the wood. If you don’t have a knife then you can also use a pencil.
Once you have the marks ready, use a chisel to define your marks. The chisel will be able to create a good starting point for your saw.
2) Cutting the notch
Source: https://www.popularwoodworking.com/article/and-now-for-the-chisel/
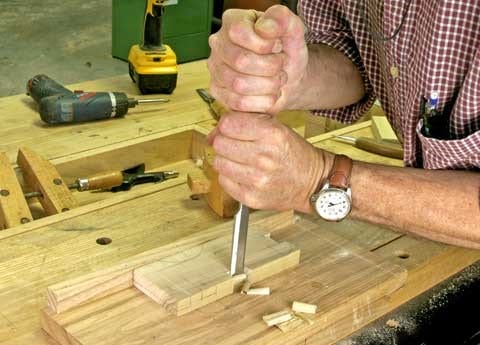
Use a hammer and chisel to start cutting the extra pieces of wood. However, this notch-making technique is slower compared to a motorized cutter or a saw. You will be able to save a lot of time and effort by using a saw.
Repeat the process for the other vertical line you will be cutting. Use your hammer and chisel to remove the wood at the middle of your notch.
Work slowly and efficiently. Place the wood flat on your working table and start chiseling from the top going down to the middle of the notch.
You may also cut notches by using a chop saw or miter saw. These power tools come with special attachments that you can use to create the perfect notch. First, hold the wood against the saw’s fence and start the first cut on one of the marked lines. Do this until you reached the ideal depth of your cut.
Move your wood about ⅛” and repeat the steps. Continue moving the wood and making a cut until you have reached the other line you have marked.
You need to cut a bunch of “teeth,” while the rest of your wood will look something like a comb.
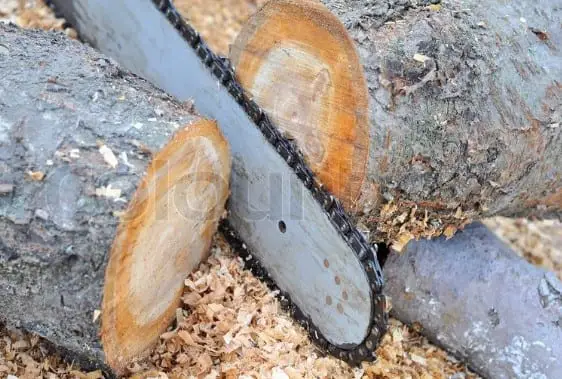
An electric saw is certainly more efficient than using a hammer and chisel and also wood. An electric saw also has several attachments and accessories that you can use to cut notches more efficiently
3) Cleaning up
Source: https://www.popularwoodworking.com/article/and-now-for-the-chisel/
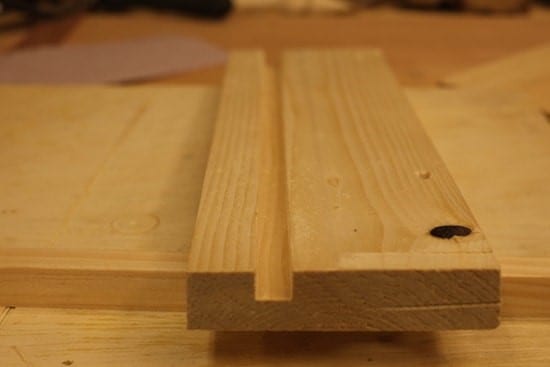
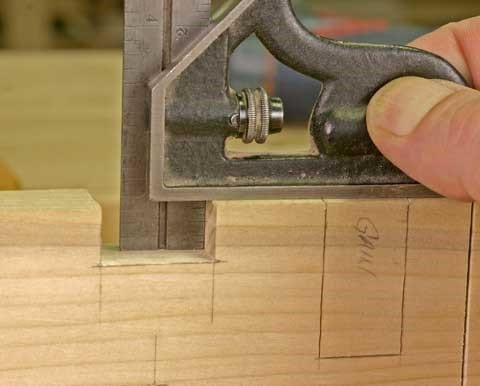
Once you have removed most of the wood in your notch, it’s time to polish up your work until you have a perfect square notch. A smaller chisel will help you clean up a rough notch. Use a hammer and chisel to remove any additional wood from your notch.
4) Fitting the pieces
Source: https://www.thesprucecrafts.com/doweling-woodworking-joinery-3536612
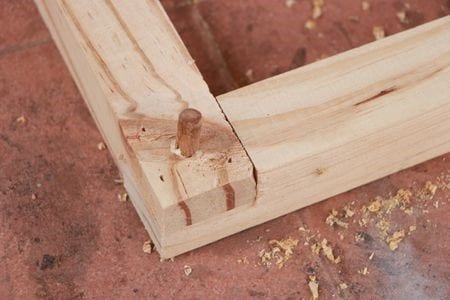
After your notch is complete, check if the adjoining piece of wood fits by checking it out. You need a very snug but if the notch is too narrow, remove more wood from it using your chisel and hammer.
But if the notch is too wide then you may need to start all over again! This is why you need to specifically measure your notch on wood.
Once everything is in order, you will repeat the entire process on another piece of wood so you can join the two notched sections together.
Conclusion
Notching wood improves structural integrity and creates a polished look to woodworking projects. Making a notch on wood can be an overwhelming experience but no doubt you will get used to doing it with constant practice.
