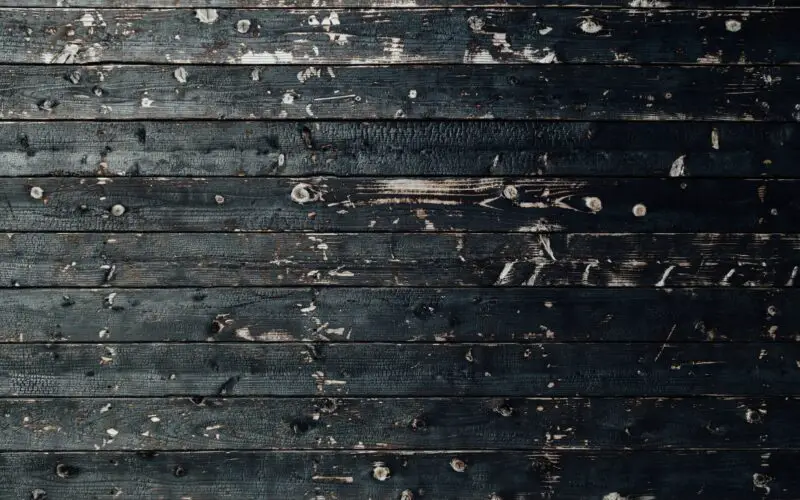
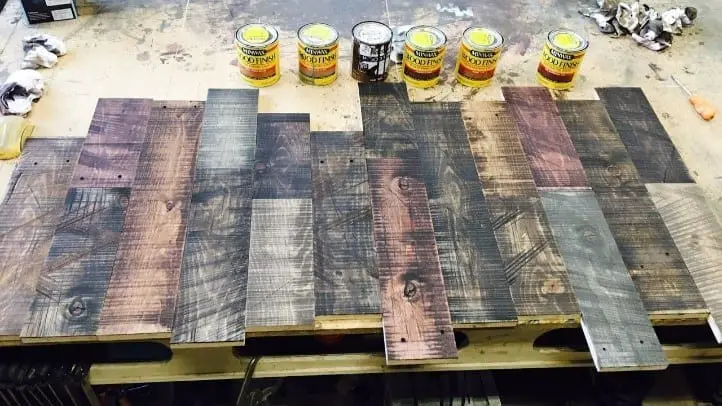
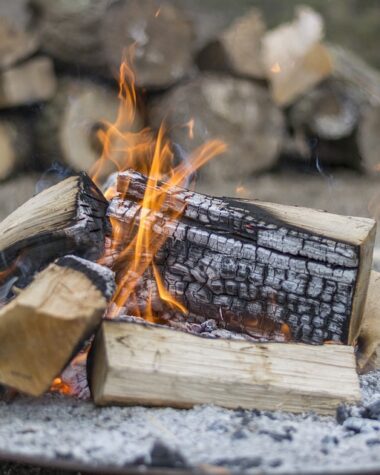
Wood burning to make it stronger is an age old process. In fact this process has been around for centuries. The Japanese mastered this craft during early days and now this practice is prevalent across the globe. Burning the wood not only makes it stronger and makes it uninhabitable for vermin but it also gives the wood an aesthetic look. Burnt wood finish is a very popular finishing step in modern furnishings.
You can give a single piece of furniture this burnt wood finish or you can choose an entire wall for this effect. Burnt wood finish is minimalistic and does not require a lot of ingredients either.
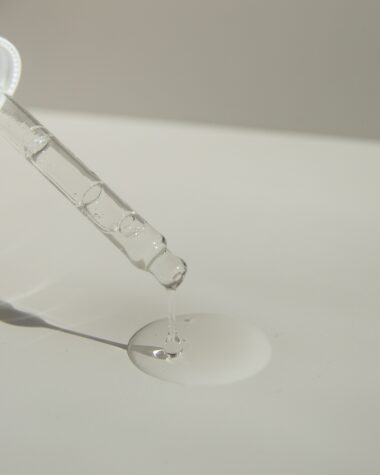
You will need a well ventilated work area and some protective gear. The most popular method used to get this burnt wood finish is by actually using fire from a blowtorch. Another recent innovation to get this effect is the use of a chemical called Charred wood accelerator. If you are using a charred wood accelerator you will not even need a blowtorch.
The Japanese called this burnt wood finishing, Shou sugi Ban. They use this technique for wood used in the interior and the exterior of their homes.
Considerations before beginning the burnt wood finishing process
The type of wood used for this procedure dictates the kind of finishing your how to do a burnt wood finish project we will end up with. Generally, softer woods like pine, cypress and cider are preferred for this procedure. These woods absorb heat much better and also can form wonderfully detailed patterns on their surface.
Hard woods like Cherry and Oak will not provide similar color contrasts but they can be used if that is all the wood you have available.
Apart from the wood itself, the kind of torch you will be using to char the wood also makes a huge difference on how the finished product looks like. If you are using plumber’s torch which are generally handheld, they do not provide a lot of coverage. But they are the most affordable. Because of their low coverage these handheld torches also prevent excessive charring.
If you have the resources for a roofer’s torch or a weed torch, then you can cover a larger area much faster. But they also run the risk of excessively charring the wood because of the higher heat delivered.
A brush to remove the char and soot is required. A wire mess brush or a stiff bristled nylon brush will do the job.
Safety
Since we are dealing with fire it is always better to be safe while attempting the burnt wood finish. Ensure, you are working in a well ventilated area with easy access to water. A fire extinguisher must also be kept handy in case of a fire. Work gloves must be worn at all times along with a face mask and safety googles.
Now, as mentioned before the how to do a burnt wood finish process can be achieved using a blowtorch or by using a chemical called charred wood accelerator. We will look at both techniques in detail.
How to do a Burnt wood finish using a blowtorch

Step 1: Prepare the working space
You will need a stable fire resistant surface on which the wood needs to be placed. You can use concrete blocks or even something rudimentary like bricks.
Step 2: Prepare the wood for the process

Clean and sand the wood before burning it. It is also advisable to complete any drilling and cutting before charring the wood. The wood will harden after this process is completed. So, it is always better to these things out of the way before starting out.
Step 3: Wood burning

The torch must be lit and the flame applied to the wood. Choose a pattern you want for the charring and move the torch consistently in the direction of the grain. Stop the flame once the desired level of charring is achieved.
If you want to retain some of the textures of the wood itself, then go with a light burn. But if you want a deeper more consistent burnt look, you might have burn the wood for longer and for more times. Turn the wood around and repeat the same on the other side as well. In between runs spray some water so that the wood doesn’t wrinkle and doesn’t start cupping.
Step 4: Using the brushes

Once the desired burn is complete we need to rid the wood of any loose soot and ash. Invariably, once you brush the wood down, the shade of the burn will turn lighter. The more you brush the lighter the burn will be. So, depending on what degree of burn you want brush accordingly.
Once brushing is done, wipe the wood with a damp cloth to remove any loose materials from the board.
Step 5: Finishing

The process of how to do a burnt wood finish is complete. An optional step is apply a finish layer for added protection. This layer could be any of the following: linseed oil, wood sealer or stain or simply a wood dye for added color.
How to do a Burnt wood finish using a Charred wood accelerator

The charred wood accelerator can be applied to any kind of wood. The absorption properties of each wood varies from the other. So the final effect will depend on the type of the wood used. The below steps explain how to do a burnt wood finish with a charred wood accelerator.
Step 1: Preparing the wood
Before applying the accelerator, sand the wood to remove any loose dust and also make it more receptive to the accelerator.
Step 2: Applying the charred wood accelerator

Use a brush to apply the accelerator evenly over the entire surface of the wood. Ensure there are no areas with more accelerator than others. Because this will result in those areas having a darker color than the others. Wait for about 2 hours for it to dry and apply a second coat if required. Before applying the second coat, sand off the dust.
Step 3: Sealing the charred wood

In the How to do a burnt wood finish process, while not mandatory, it is recommended that you apply a layer of lacquer to seal the burnt wood. It adds a sheen to the wood and also prevents dust from settling in.
Whichever method in the How to do a burnt wood finish procedure, you use, the result will be pleasing to the eye and will also add to the strength of the wood itself.
