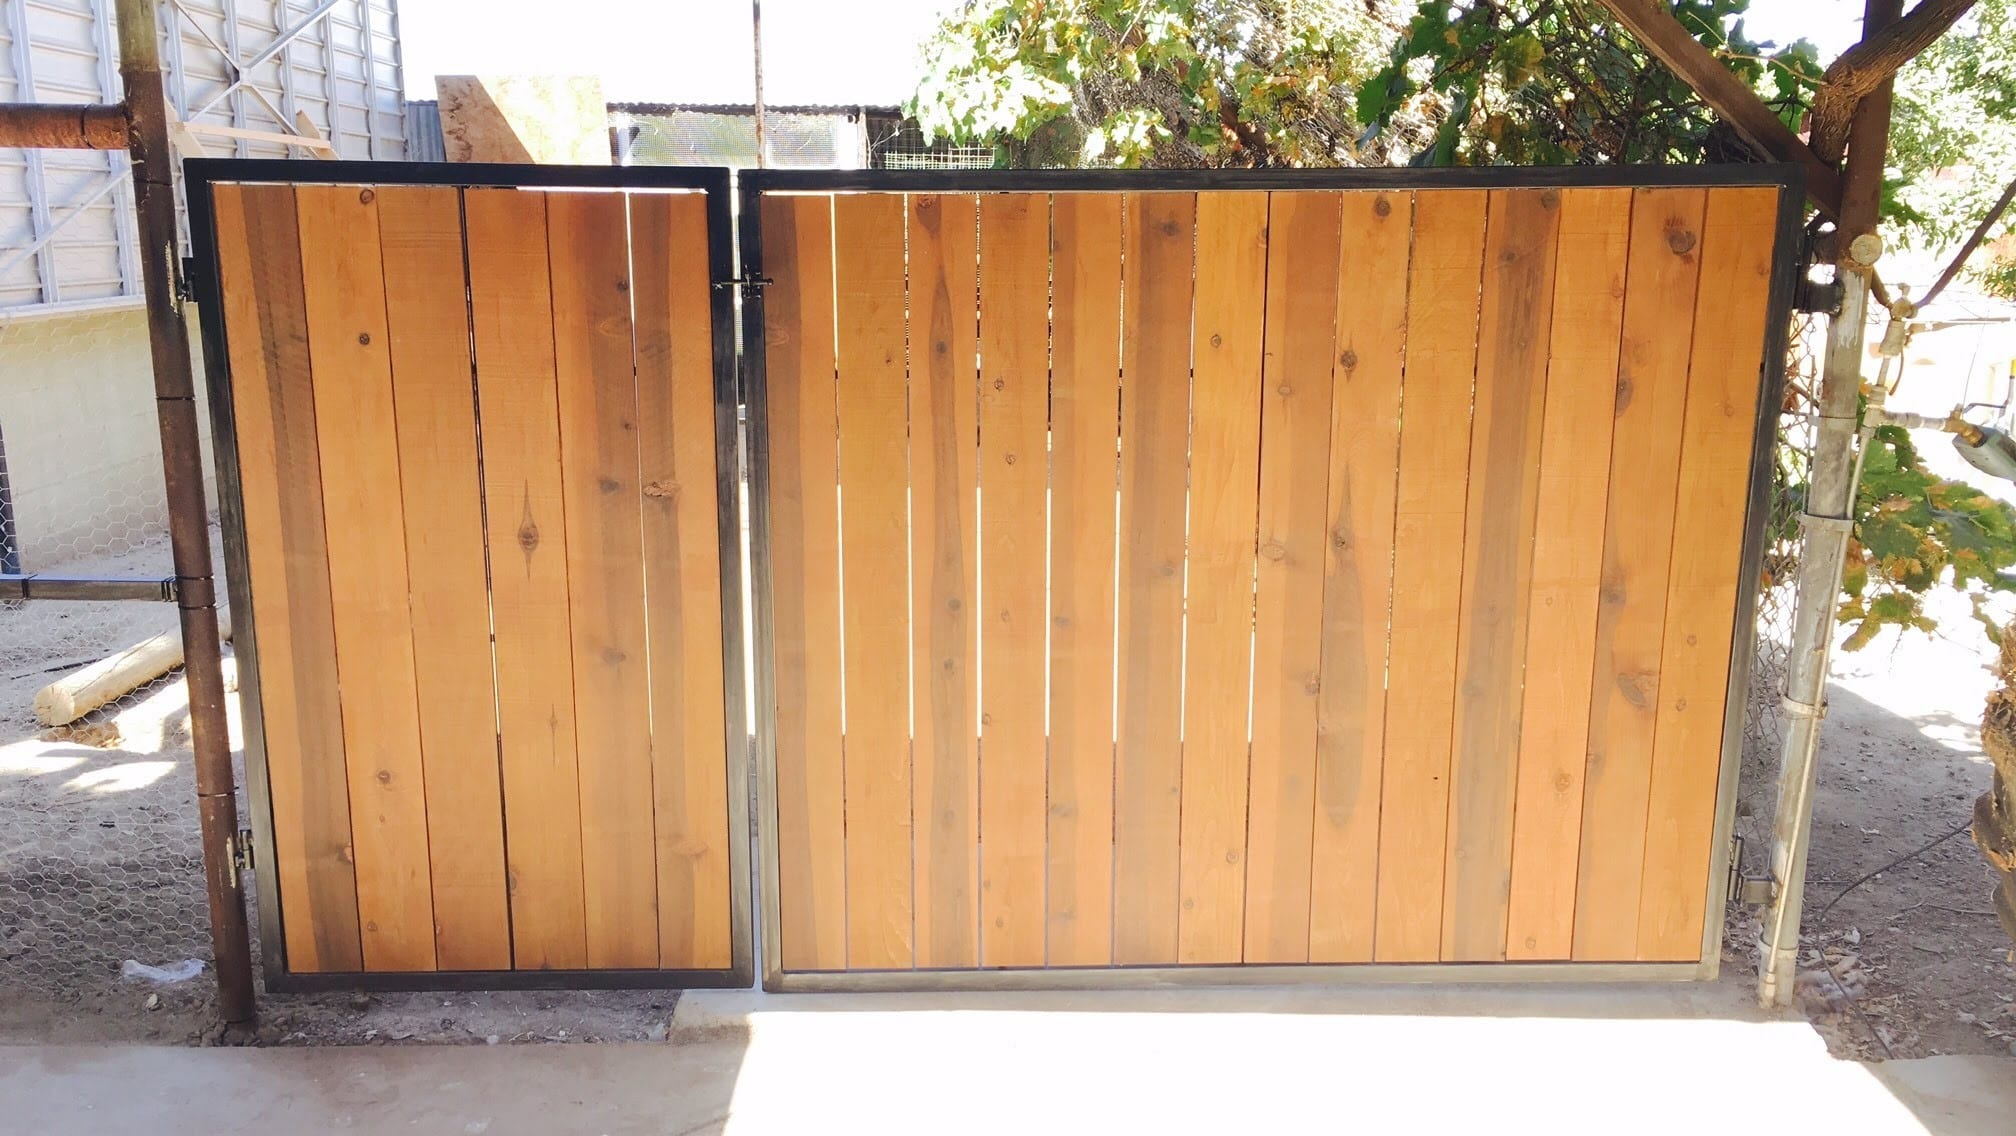
Wood is an appealing material. One of the best things about woodwork is that it is impressive in looks and adds a particular kind of appeal to your space.
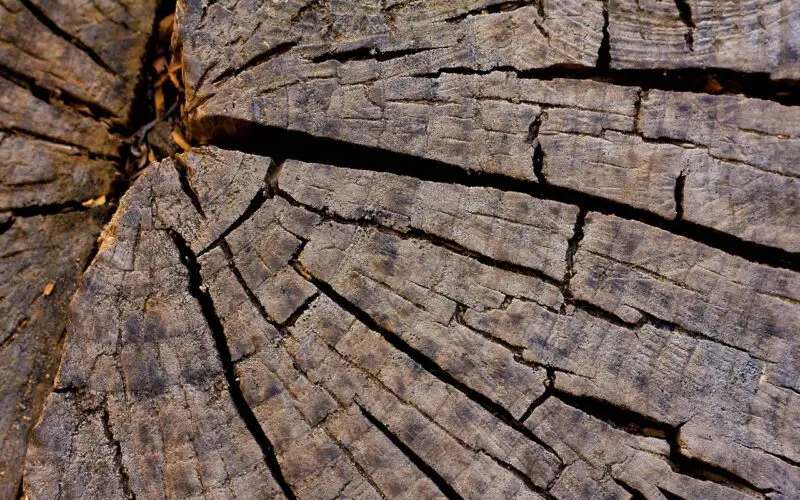
As beautiful as it is, there is always the possibility of wood becoming damaged. Whether you have a finished product, or you have been working on a project, cracks are natural.
Sometimes, before you see a crack, you may see a split in the wood. The thing with wood is, the earlier you catch these problems, the faster you can find a cure.
Gouges, pockets of emptiness, cracks, and splits in wood are very common. Similarly, fixing these problems is also very easy.
With that said, if you have been looking for answers to how to fix cracked wood, this blog has all the answers you need!
Steps to fix cracked wood: A guide

Before we dive into a variety of ways, let’s discuss the easiest solution to our how to fix cracked wood problem!
Here is what you will need:
- Resin (polyester)
- A plastic bag.
- Color (pigment) of your choice.
- Tape
- Chisel
Step 1:

First things first, you should clean the space you will work in. clear off the table, and remove anything that can be caught in the process of fixing your wooden piece.
Next, keep everything from the list above within reach. This will make the process of fixing a crack easier and better.
Step 2:

The second step for the cure to how to fix cracked wood is to clean the piece of wood. If the cut is large enough for you to use a damp rag, do so.
But if the space is small, use a Q-tip to clean the surface. Since we are using resin, the dirt will flow in and pop out. This can lead to a distasteful look.
Step 3:

Next, you can add color to resin. Adding color pigments to the resin is not a necessary step.
If you prefer a clear look, you can skip the colors. The choice of pigment is also something that you can experiment with. There is no barrier to the colors you can use.
All you have to do is add the color pigment to resin, and mix. Usually, a little drop of the pigment works well and gives deep color.
Step 4:

The next step in your how to fix cracked wood steps is to add the resin to the cracked part.
But before you pour it in, you should tape up the sides. Taping the sides means the resin solution will not spill out. Also, keep your plastic bag close. You will need it to finish the step.
Remember taping is required only when the cracks are deep and on the edge of the wooden piece. If it is in the center and is surrounded by wood, you will not need to tape it up.
Once the sides are secure, pour in the resin mixture. Pour until the crack begins to overflow. Once done, use a plastic bag around it and tape it up.
Confine everything in the bag.
Leave it for 24 hours. Depending upon the type you use, the time can differ. To be safe, anything above the 24-hour mark is good enough for the resin to set in.
Step 5:

All that’s left to do is unwrap the plastic bag and see how it turned out. Be prepared to see the resin everywhere.
Since you pour the resin until it overflows, you can expect it to be smeared around its surface.
But fret not, you can clean it up. Use a chisel or bandsaw to take the excess out. Polyester resin is easy to work with most woodworking tools.
Be careful with the resin, it pops out as glass-like shards.
Once the excess is clean, you will see the finished product. You can even sand the edges to make the cracks look better. But then again, that’s a choice, not a compulsion.
Other ways of fixing cracked wood
Using resin is not the only answer to your how to fix cracked wood problems. You can make use of the following methods as well:
Wood putty
Wood putty is a thick paste that can be found in stores. You don’t have to do much with this. You buy it, take it out and use a knife to put the putty in the cracks. Use the knife to shift the putty around as well.
You can find this in different colors.
Glue and Sawdust
This can be used when you’re in a hurry and want to finish a project fast. You won’t need to buy anything extra for this method.
All you need is wood glue and sawdust. Mix sawdust in the wood glue, and pour it in the hole or split.
This method has some benefits, one of which is that the color of the repair remains the same as the woodwork.
Wood Glue
For this method, you will need a toothpick because it is most suited for splits in the wood only.
If you see a split, all you need to do is fix a toothpick in the middle of the split. This will help you keep the split open and leave room to work with it.
Once you have some space there, all you need to do is add the wood glue in the split.
This easy how to fix cracked wood solution only needs you to push the split wood in place and hold it for sixty seconds.
Clear out the glue from the surface, and you’re good to go!
Conclusion
When it comes to finding the right answers for how to fix cracked wood, you will have to gauge the damage first. For some shellac sticks and wax sticks do the job, while for others you need to work with sawdust and glue.
Expoxy and resin are good options to fix cracked wood for those who love creative wood projects. These two options add vibrance and colors to any wood project.
