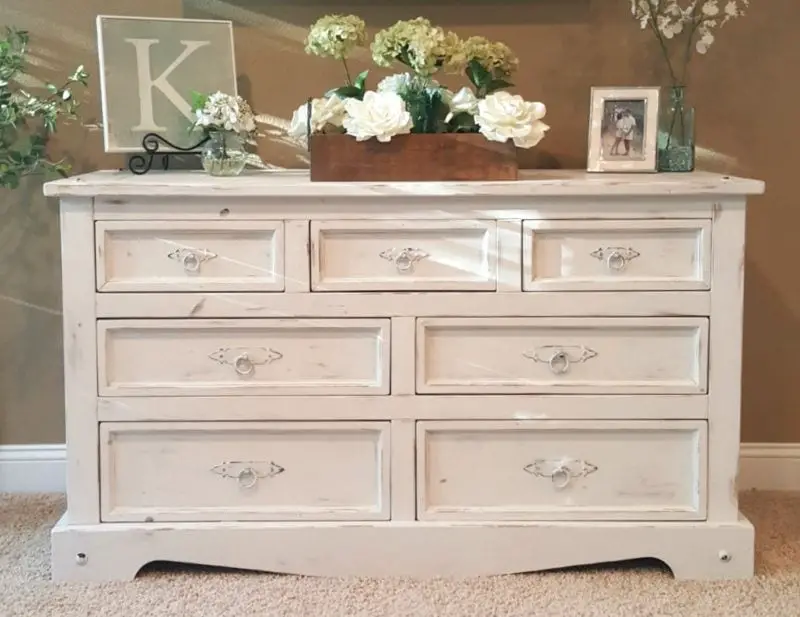
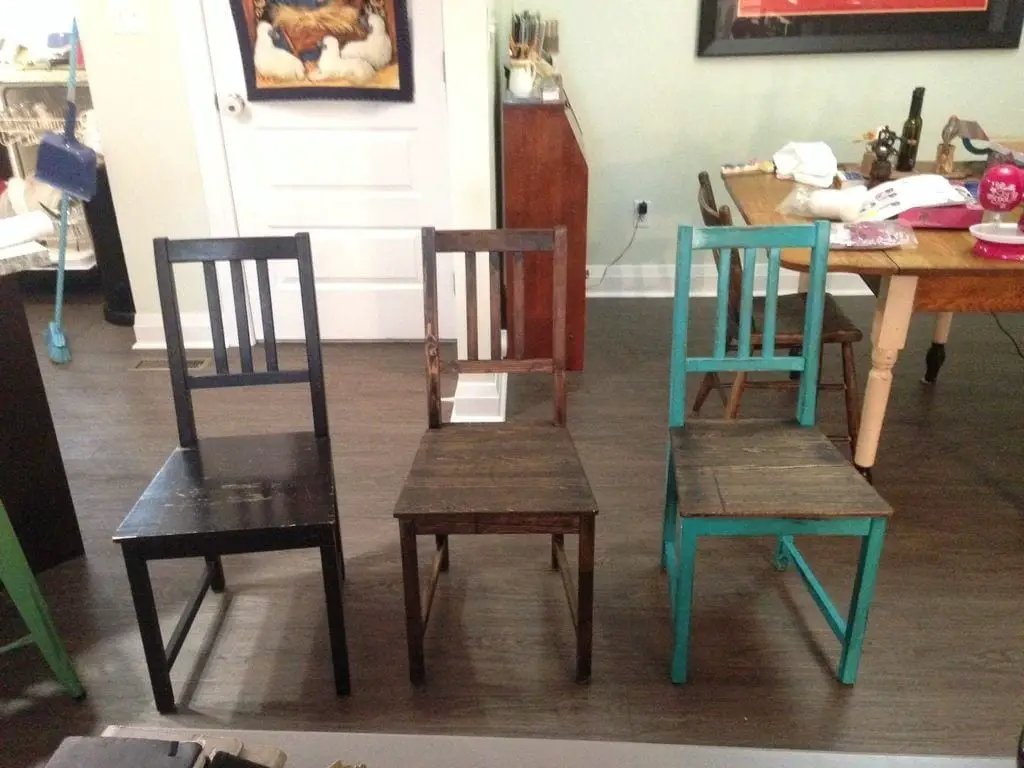
In order for you to be able to have a high gloss finish on your wood then there are simple steps that you can follow. You need to remember though that if you want to do this then you will need a lot of prepping, sanding and waiting for multiple coats to dry.
There are some people though that will think that sanding might be an opposite of what you want it to achieve but it is one way of achieving the results that you want. If you do want to achieve that high gloss paint finish on wood then read on this article and find out.
Materials needed:
- Sandpaper or rotary sandpaper
- Flat paint
- Foam roller
- Vacuum cleaner
- Poly-water base sealers
- High gloss clear enamel
Instructions
1) Sand, fill, and prime
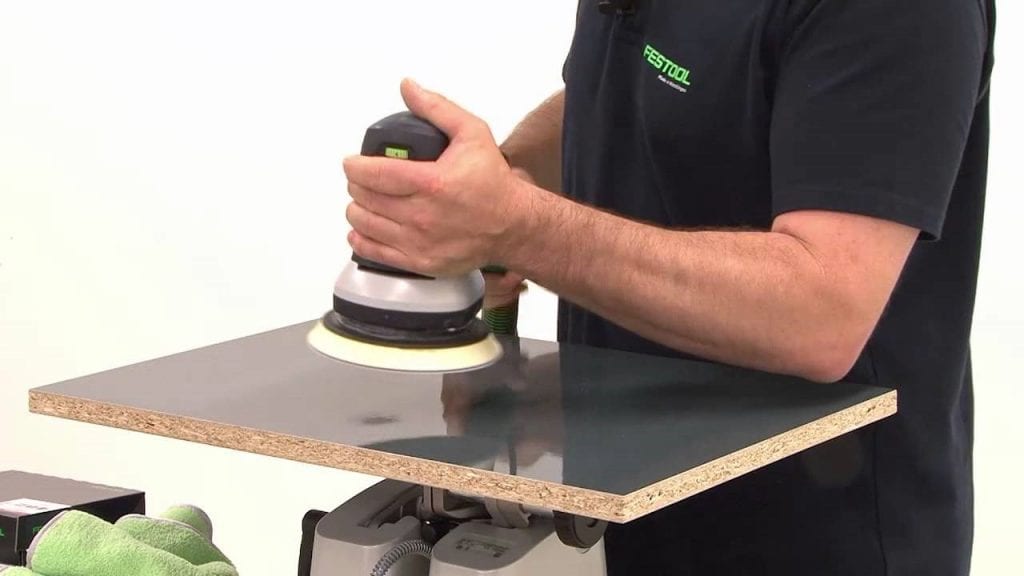
Image credit: YouTube
You need to determine the condition of your piece first before starting the work. It will not matter if you will be using a rotary sander or a sandpaper to get it done. You need to make sure that the surface that you have is free from any ding or scratches. You need to use a wood filler once you will have dings that are too deep.
If you have applied a wood filler, allow it to dry first and then sand and wipe to afterward. You might need to use 2 coats when you are transforming a dark coat into a lighter one. This step might not be fun since you will need a lot of elbow grease but this is one of the most important steps to get the finish that you are looking for.
2) Put on a flat paint
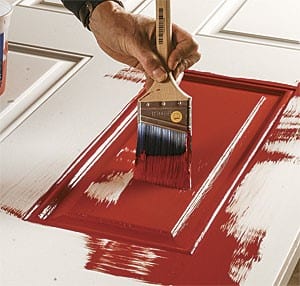
Image credit: Fine Homebuilding
Once you have achieved a clean and smooth surface then it is now time to start painting. You can choose to create your own color by letting professionals mix the paint for you. You also need to make sure that you will be choosing a flat paint and not the high gloss one.
Flat paint is the one that will provide that maximum adhesion for your high gloss finish later on. Use a mini foam roller and a light touch. Apply multiple thin coats on the surface.
3) Sanding it lightly
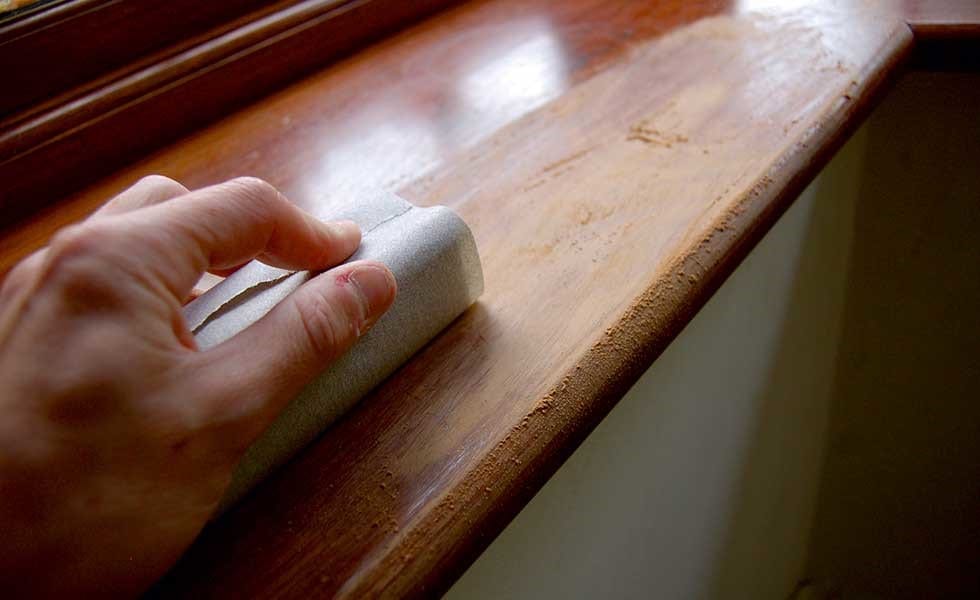
Image credit: Homebuilding & Renovating
You need to go over the entire piece in between the layers of your flat paint. See to it that you will have the right coverage. You can go over with a super fine sandpaper which is a 400 grit. This will help in removing any brush strokes and brush bristles that were stuck in the surface.
All these things will keep your surface form having that totally flat and motion surface. You might actually sand too much and right into the paint to get the right smoothness. Once this happens, just touch it up and wait for it to dry and sand it again. Once the surface has dried, wipe it with a damp cloth. You can even use a vacuum cleaner to clean the nooks and crannies.
4) Seal it
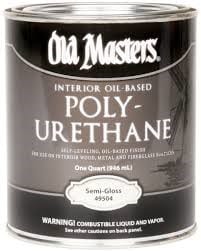
Image credit: Old Masters
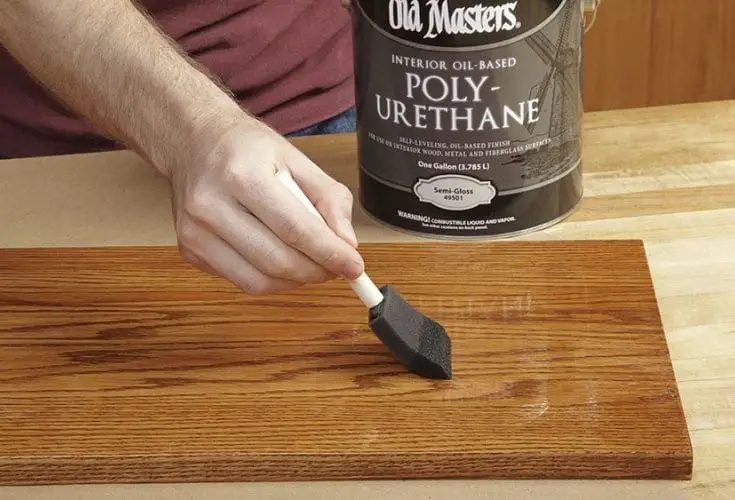
Once you are done with painting then it is now tome to seal and protect it. One of the methods that you can use in the order to do this one is the oil based poly sealers. This material will give you a great shine but you have to know that it can turn amber in color over time. That is why if you are painting with a light color then make sure that you will stay away from this one.
A water-based poly is much easier to work with. It also dries quickly and will be less toxic. You need to make sure that you will be using at least 2 thin layers of polycrylic. Sand the surface in between coats. This will help you achieve that smooth and perfect surface.
5) Make it glossy
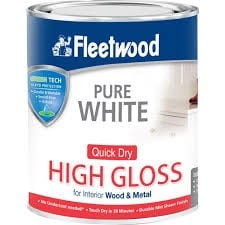
Image credit: www.topline.ie
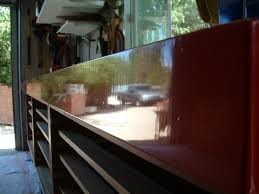
Once you are does sealing the surface then it is now time to get that gloss that you are looking for. This one is very important to that you are able to achieve that lacquered look that you are after. You are able to do this one once you will be using a crystal clear enamel in a gloss finish.
Once you will be applying this one then see to it that you will be working in a well-ventilated space. Using a clear enamel will help you achieve that crystal look that you are looking for. These enamels come in cans and most of the time, you will be needing to use at least 4 cans depending on the surface that you are working on.
Conclusion
Achieving a high gloss look on your wood surface might need a lot of effort in your part especially if you are doing it on your own. Getting it done right though will make all the effort worth it.
