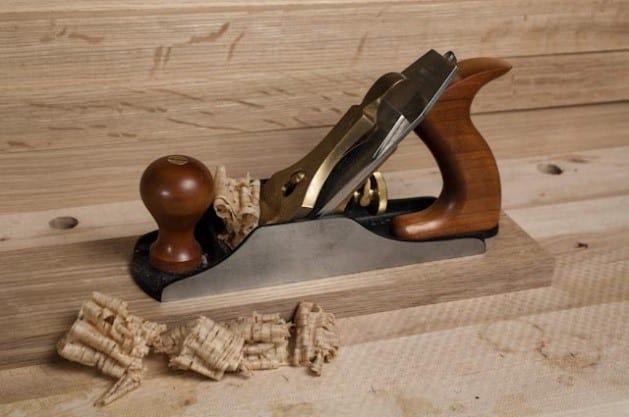
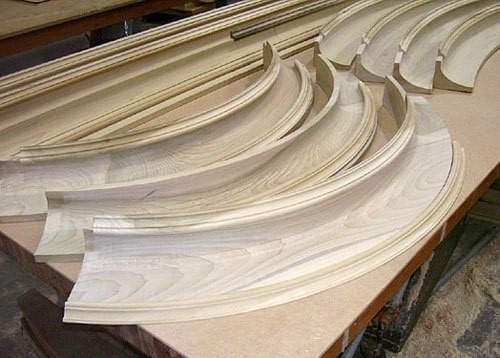
Possibly one of the basic things you need to learn during the early stages of woodworking is how to use a hand plane. This tool will be able to help you shape, form and finish wooden pieces.
Using a plane is easy once you know how. Aside from using a plane, you must also learn how to maintain one for optimum use each time. This guide will show you how to hand plane wood.
Hand plane basics
Hand plane brings out the natural beauty of wood. It removes large slices of wood compared to using sandpaper or a grinder which will remove bits of wood.
Considering this fact, you need to be very careful when using a planer to prevent slicing off large pieces of wood and affecting the size of the finished piece.
Things you will need
- Wood you will be working on
- Plane
- Sandpaper
- Straight edge
Instructions
1) Sharpen the blade of the plane
Source: https://www.finewoodworking.com/2009/07/01/round-the-edges-of-every-plane-blade
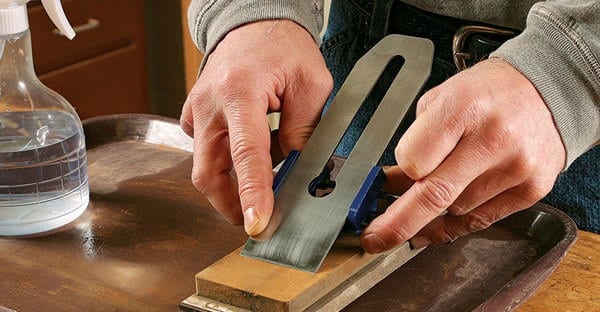
The blade or the iron of the plane should always be razor sharp before use. If not, you won’t be able to make the most of your tool. To sharpen the iron, place a piece of 220-grit wet/dry sandpaper on a flat surface.
Hold the blade at a 25 or 30-degree angle; the bevel should be flat against the sandpaper.
Rub the blade around the sandpaper forming a circle while applying steady downward pressure. When you notice a burr accumulate under the plane, the blade is sharp and ready to use. Wipe the blade with a clean piece of cloth.
2) Adjust the angle of the blade
The angle of the blade tells you how thick the shavings you’ll get from the surface of the wood. If the blade angle is too deep you might end up jamming the plane or tearing wood. Adjust the blade angle, turn the depth adjustment wheel or the small wheel behind the blade assembly. Adjust the angle until the tip protrudes below the sole of the tool.
3) Plane the surface of the wood
Source: https://www.pinterest.com/pin/473089135826589685/?lp=true
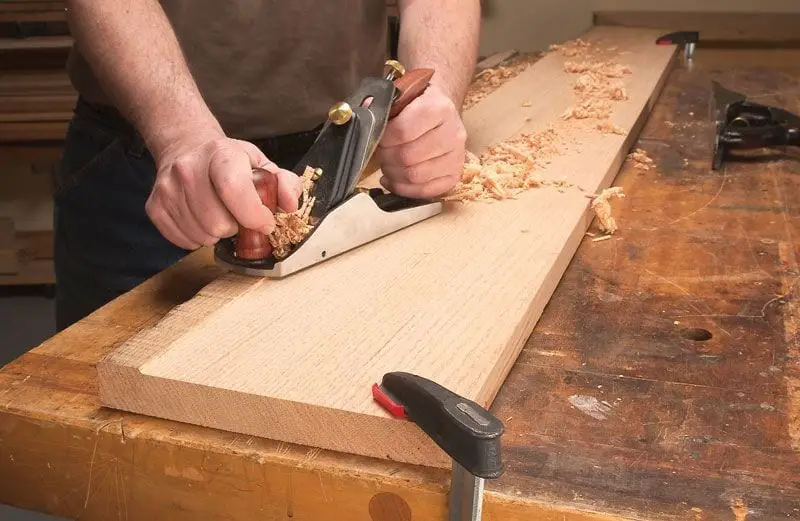
Start smoothing and flattening your wood by placing the plane along the edge of the surface of the wood. And as you start to apply downward pressure on the front knob, press forward with the back handle. Push the plane across the surface of the wood in a simple and smooth motion.
Work across the surface of the wood, back and forth, pay extra attention to any high areas or uneven spots on the surface of the wood.
Use a level or straight edge to find uneven spots in your wood. Prevent tear-outs by cutting along the grain of the wood. To be able to create a smooth surface, you may need to plane in multiple directions.
But avoid planing directly against the grain because this can make the blade catch minute imperfections on the surface of the wood. If this accidentally happens, the plane can tear small, chunks from the surface than shaving the surface uniformly. This is what they call tear-out.
To fix tear-out, try re-planing the rough spots along the grain of the wood or sanding it.
4) Check the accuracy of your planning
Source: https://www.rexkrueger.com/new-blog/2018/4/13/straight-edges-no-jointer-no-jig
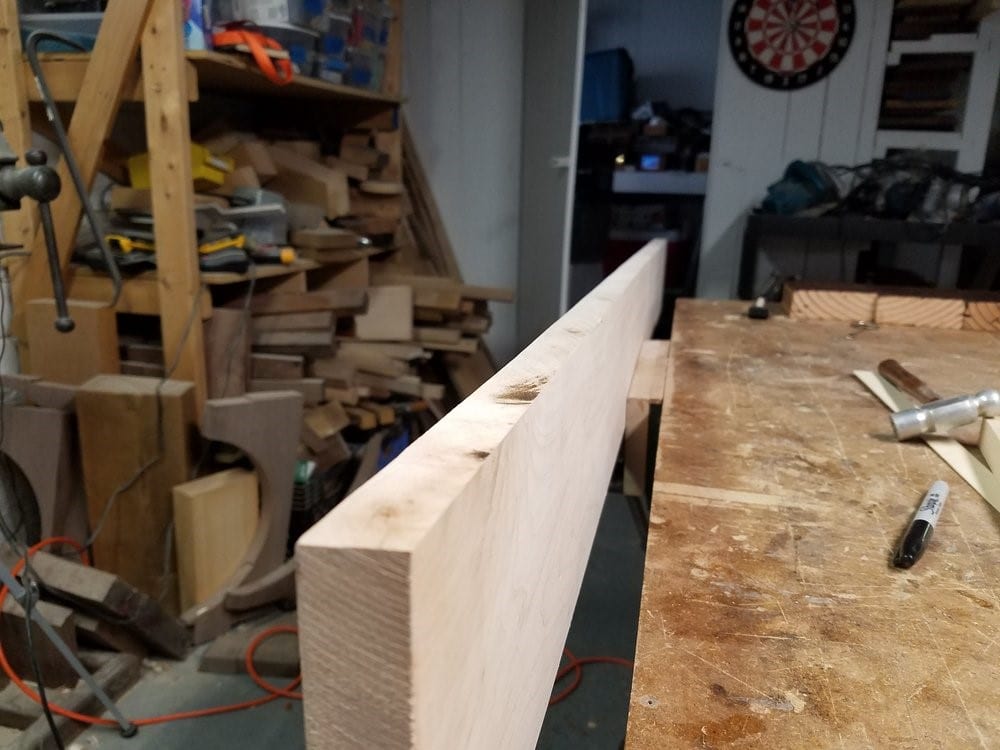
After planning your wood, you’ll have a smooth and flat surface that will sit flushed from other nearby wood. To find out if the surface you are working on is flat, lay a straight edge along its surface.
The straight edge must sit flush against the face of the wood regardless of where it is placed. If your straight edge sits on the wood in a way that leaves gaps underneath it, it is making contact with is a high spot.
You can use a try square to check the angle between two adjacent faces of the wood to make sure that these are on a perfect right angle.
Post planning maintenance
You must take care of your plane after it is used. Bits of wood should be removed inside the plane body. If you have time, sharpen the blade so it can be ready the next time you use it. Keep your plane in tip-top shape by storing it in a safe place.
Conclusion
A hand plane will help you form, finish and shape wood. This is a basic woodworking tool that any novice worker learns earlier in his career. Learning to plane is not just about shaping wood but also about maintenance and aftercare of the tool for the best woodworking experience.
