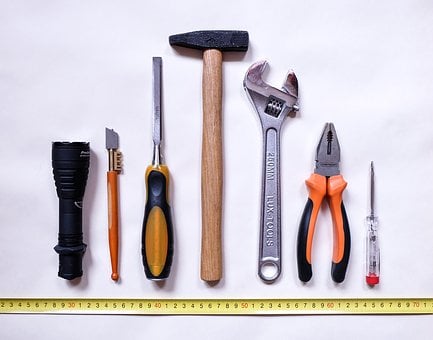
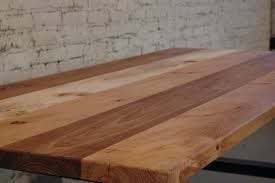
By hollowing out different things made of wood, including cardboard, tree logs, or any other such items, you can enhance its use. For instance, you can hollow out any wood item and fit things into it to improve its functionality. Whatever the need be, at times, you may need to hollow out wood. The only question is, how do you do that?
How to Hollow Out Wood
There are several ways to hollow out wood. However, the most common and convenient ways include the help of chisels, drill bits, and plunge routers. So, let’s find out how to hollow out wood using these handy tools.
How to Hollow Out Wood Using a Chisel
A chisel has a sharp end and a wooden handle, much like a knife, and comes in handy for cutting wood, metal, and stone. Chisels consist of two parts: a wooden handle and a sharp metal blade. You can use the chisel to cut things by hand or with the help of a hammer, or even by using mechanical power.
You can follow these steps to use the chisel to carve out wood:

1. Sharpen the Chisel
Before you can begin working on the wood item, you must first make sure that the chisel is sharp. If not, you can sharpen the chisel by following these steps:
- a. Rub the metal end of the chisel on a sharpening surface, such as a stone.
- b. Then, rub the angled or beveled side of the chisel on the same sharpening surface.
- c. Finally, keep the chisel flat on its face and rub it against the sharpening surface.
So, now that you have sharpened the chisel, it is time to move to the next step in the process.
2. Clamp the Wood Piece
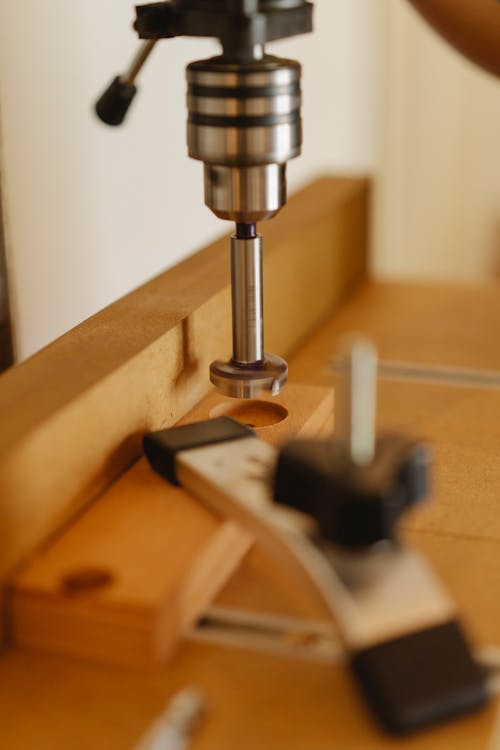
In this step, you must clamp the wood piece with the help of a vise so that it doesn’t move as you rub the chisel against it. So, by securing the piece of wood, you are making the chiseling process easier.
3. Angle the Wood Piece
Clamping the piece of wood makes the process easier. However, if you want to make it even easier, you can angle it per the chisel blade. Ensure that this part (the angled part) of the chisel faces downwards at the wood item. Also, remember that the more you bend the chisel to align it with the wood piece, the deeper you can cut into it.

4. Hollow-Out the Wood
Now comes the part where you must hollow out the wood using a mallet. To do this, you can:
- a. Bend the chisel towards the piece of wood so that you can control your hits better.
- b. Use your other hand (the hand without the mallet) to hold the chisel. Make sure that you grasp the wooden part of the chisel tightly during the process.
- c. Remember to use only a rubber mallet and not a metal hammer.
- d. If you find it hard to break through the wooden surface, you can use a knife to carve out a small hole into it and then carry on with the hammering.
- e. Also, it would be wiser to chisel in the same direction as the wood grain flow to get a cleaner break and reduce the chances of the wood piece cracking.

5. Remove the Wood Pieces
Once you have chiseled through the wood piece, you can then remove it by doing the following:
- a. Hold the chisel straight and near to the end of the wood piece.
- b. Hit the chisel with the mallet to cut about half an inch deep.
- c. Then, toss the chunk of wood aside.
Ensure to wear glasses and other protective gear during this process, as chunks of wood tend to fly out in all directions. Remember to cut the wood only at its ends and not at the center, leading to cracks. Also, be sure to use only a sharp chisel as you get a better, deeper cut.

6. Make Grooves
The last step in this process is to make grooves with the help of a circular saw and a chisel. To do this:
- a. Make grooves of the desired depth with the help of a circular saw by running it through the wood piece. It would help if you got an outline of the cut when you run the saw against the wood piece.
- b. Then, using a chisel, chop off the wood piece by holding it against the outline and tapping it with a mallet.
How to Hollow Out Wood with a Drill Bit
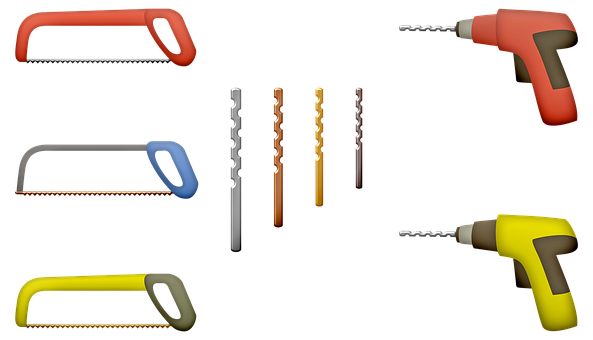
You can also hollow out wood with the help of a drill bit by following some simple steps as outlined below:
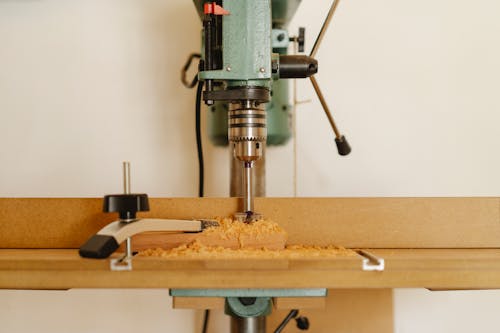
1. Placement Marking and the Guide Hole
The first step is to mark your drill bit on the board and drill a guide hole. To do this, you must:
- a. Mark your placement of the drill bit by drawing a small circle with the help of a pencil.
- b. Then, make a shallow hole by drilling into the wood piece with the help of a drill bit.
Remember that your guide hole should be as shallow as possible. Also, note that you don’t need a guide hole using a soft or unfinished wooden board.

2. Selecting the Bit
There is a wide range of bits that you can choose from, including spade bits, Forster bits, and hole-saw bits. The drill bit that you use depends on the wood type and the depth of the cut.
So, for example, if you want your cuts to be deep, you can use spade bits that come in different sizes. Here too, the size of your spade bit depends on the depth of your cuts.
Similarly, if you want your hollows to be flat and precise, you can use a Forster bit, or you can also use hole saws for getting those larger hollows.
So, remember that the bit-type that you will need depends on your project.
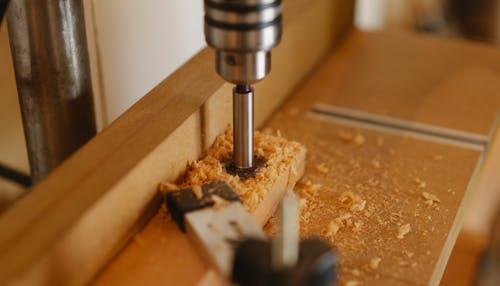
3. Drilling the Hollow
So, now that you have selected a drill bit for your project, it is time to start the process.
- a. Place the tip of the drill bit inside the guide hole that you made in Step 1.
- b. Then, bore a circular hole by pressing the trigger and applying some pressure.
Be sure to have glasses and other such protective gear on you every time you do this. There will always be sawdust and other small wood particles that fly out during the process.
Also, you won’t know how much you have drilled unless you pay attention to how deep the drill bit is going into the wooden board. So, to make judgment easier, you can place a piece of tape on the drill bit. That way, you will know when the tape reaches the bottom of the hole that you have reached the end.

4. Chiseling
Once you finish drilling the hole, you can then chisel out the wood. Do remember that drilling more holes makes it easier.
Note that, here too, you may find it difficult to judge the depth of the holes you should create. So, you can use tape like you did when drilling the first hole to know how much you have drilled into the wood piece.
How to Hollow Out Wood with a Plunge Router
You have now learned how to hollow out wood with the help of a drill bit and chisel. However, there are more ways to do this, including using a plunge router. You can hollow out wood pieces using a plunge router by following these steps:
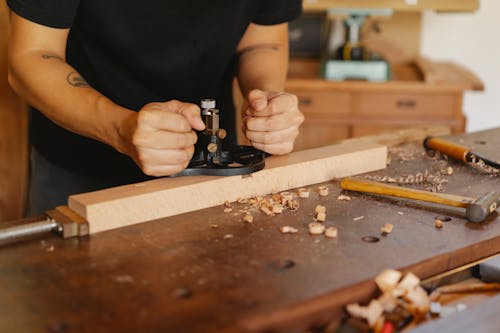
1. Drilling a Guide Hole
In this technique, you must first drill a guide hole using a drill bit, as you did in the last process. Note that most plunge routers come with a ‘width guide’ that you can use to drill holes and mark your placement. You also have routers that come with a host of adjustable attachments, including ‘width guides’ that help you to mark your placement.
You can even set the dimensions or make various other shapes besides the standard shapes.

2. Clamping the Guide
During the process, to prevent the wooden block from moving, you can secure it with the help of the width guide. To do this, you must clamp the guide firmly onto the wood piece using several clamps.
3. Selecting the Bit
As mentioned earlier, you have various bits that you can use to hollow out wood. For instance, spiral bits make some of the cleanest cuts. The bit that you use depends on the wood and the project. Also, note that you can set the depth of the bit with the help of the width guide. So, make sure that you set the center you need before you can use the router.
Don’t set a depth thicker than the piece of wood that you are using. If you do so, you will end up cutting through to the other side.

4. Hollowing Out the Wood
So, now that you have the bit you want to use with you, it is time to hollow out the wood piece. To hollow out the wood piece:
- a. Trigger the router with the help of the handles so that it lowers the bit down into the board. Do this until the bit reaches the set depth.
- b. Then, trigger the router backward to pull the drill bit back.
- c. Repeat these steps until the wooden board hollows out.
When doing this, don’t forget to wear glasses and other protective gear, as the machine tends to spew out small wood chunks. Also, note that different routers come with different specifications and uses. So, make sure you know how to use the router or read the manual before using it to hollow out wood.
Alternatively, you can also make several smaller holes around the circumference of your hole, and through the center, with the help of a router, and then remove large wood chunks using a chisel.
Final Thoughts
Sometimes, you may need to hollow out wood as part of your job. For example, you may need to do this as part of your daily life if you are a carpenter. At other times, you can also do this as a fun-filled activity. Whatever you do this for, remember to follow these simple and easy-to-do steps.
