So, you are wondering how to install wood paneling on walls, huh? The good news is you are in the right place! The bad news is that installing wood paneling on walls is not the type of easy-peasy, breezy task which you can accomplish without a proper preparation. And a few awesome expert tips!
But then again, we are here to help you out. I am excited to share with you that I have just recently finished installing my first wood paneling.
Being a woman (and the truth is, I am not the most gifted or experienced DIYer out there), the fact that I managed to install the paneling on the walls of my kitchen and bedroom makes me proud.
If I can do it, I bet anyone can! Let’s get down to work, shall we?
What You Will Need To Follow This Tutorial
- Measuring tape
- Pencil
- Level
- Miter saw
- Wood glue
- Nail gun
- Finish nails
- Paint (optional)
- Brush (optional)
- Wall trim molding
- Wooden panels
Pro Tips
1 – Choose the most suitable wooden panels
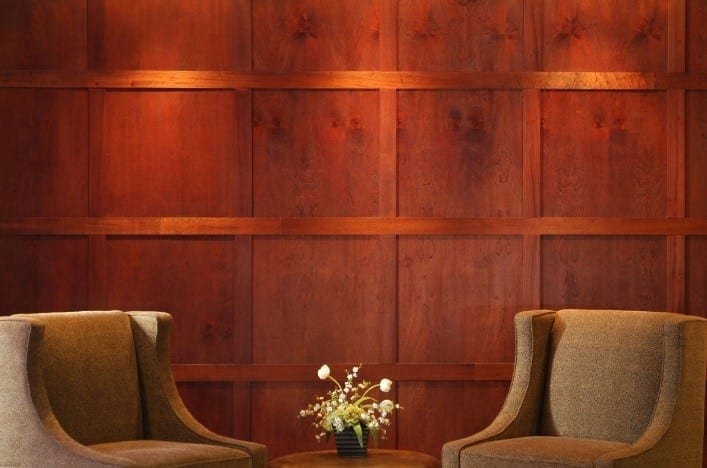
It goes without saying that the type of wooden panels you pick is a matter of personal preferences. However, it’s best to skip the hurry. After all, once you install the wood paneling to your walls you want to enjoy the final result for a (possibly) long, long time. Take a look at all the different versions of wood paneling which include the ones listed below.
- Vertical paneling
- Horizontal paneling
- Board and batten
- Bed board paneling
- Abstract paneling
- V-groove paneling
- Wainscot paneling
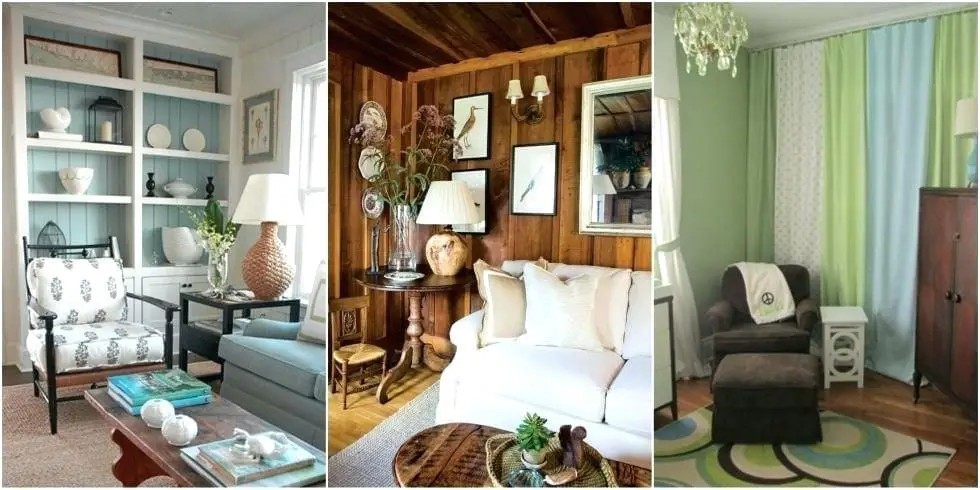
Take a look at the pictures and/or videos to make sure the paneling you choose makes a perfect match for your taste and interior.
2 – Don’t rush when considering the room measurements
Even the professionals may have a hard time when taking the measurements of the room precisely. But before you order and install the wood paneling, measuring the walls is the most crucial step of the process.
Your wisest move is to opt for 10% more when you finally order the wood paneling. Doing so will help you stay away from unpleasant surprises.
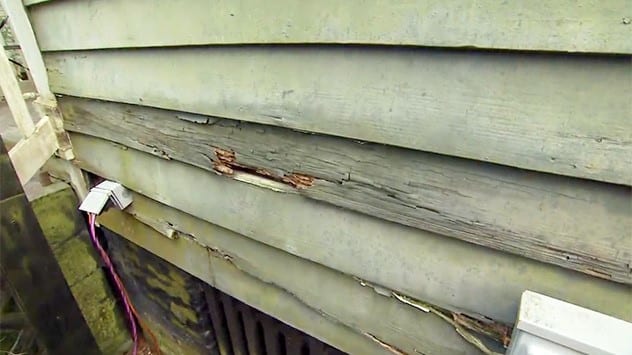
Don’t forget to inspect the condition of the wall very carefully. You must deal with possible issues such as a leaky pipe, flaking on the wall, or uneven patches first. Afterward, you can proceed with choosing the wood paneling.
Step by Step Instructions: Installing Wood Paneling On Walls
Step 1 – Start by understanding the Big Picture
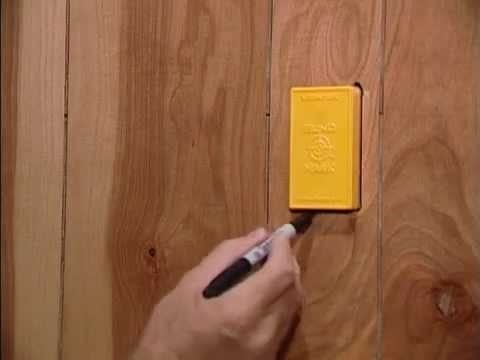
Image Credit: youtube.com
So, you are done with the measurements and calculations, and it’s time to start with the real work, right? But what is important to do once again is to take the time to consider every little detail before you cut the wood paneling.
For example, what about the sockets and switches? These need to fit the appropriate panels. How about the wall decoration you have planned?
Remember that you don’t want to deal with mistakes when it comes to cutting wood paneling. It’s annoying, and it’s also a waste of time and money. Take a deep breath and understand every little detail of the Big Picture first.
Step 2 – Measure, cut, and fix the panels
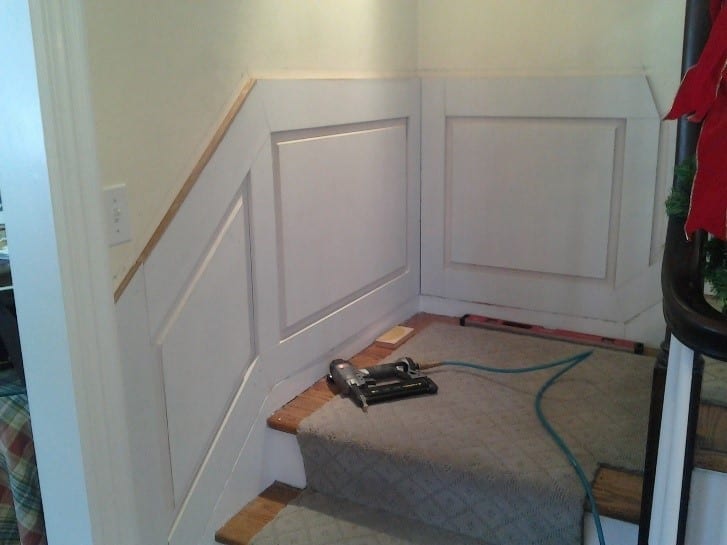
Image Credit: hudsoncabinetmaking.com
Okay, you are ready to proceed with the final measuring and cutting! Remove the excess wood by using a miter saw. The most famous (and beginner-friendly) method for installing wood paneling to walls is by the use of wood glue. Apply the adhesive according to the manufacturer’s instructions and wait until it dries well. Secure the panels with finish nails and a nail gun.
Ultimately, all that’s left to do is to finish the wood paneling by painting the surface and bringing some life into the room. However, this step is optional as it highly depends on the paneling you choose and the final results you wish to achieve. Now, you can simply enjoy your brand new interior design!
Did you enjoy reading this tutorial? Because we did enjoy every step of creating it! You can help this content reach out to more DIYers by liking and/or sharing the article. We appreciate your support and we’ll be so happy to hear from you in the comment section below.
