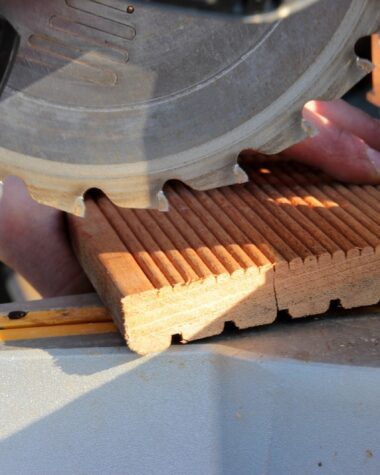
You are able to create beautiful objects once you will be constructing projects that are made from wood. If you are also able to do these things well then they can also last for a very long time. And in order for you to achieve these things then you might need to join pieces of wood together. And if you want to know how to join 2×4 wood at the corner then read on this article as I will be teaching you how.
Materials needed:
- 2×4 wood
- Biscuits or spline
- Screws or nails
- Wood glue
How to join 2×4 pieces of wood at the corner
Step 1
The very first thing that you will need to do is to draw a 45-degree line. This needs to be done on the area to where you will be making the connection. If you are using a drop saw or a sawing block though then you will no longer need to draw the lines.
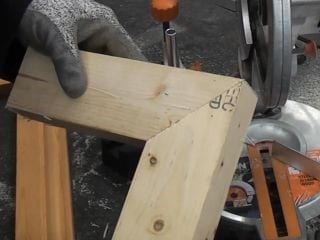
Image Source: http://www.ultimatehandyman.co.uk/how-to/woodworking/mitre-joint
Step 2
Once you have already drawn your 45-degree line then it is now time to cut it using a hand saw. If you are using a drop saw though. You can actually adjust it to a 45-degree angle. It will have a 45-degree slot for corner joints.
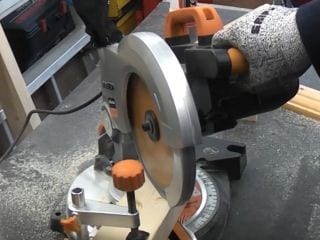
Image Source: http://www.ultimatehandyman.co.uk/how-to/woodworking/mitre-joint
Step 3
Once you have already made the cut on the wood, make sure that they are accurate. If they are, join the joint together using an adhesive. Leave the wood to dry. You need to remember that once you will not have an accurate angle on the cut that you made and it is in the wrong angle then the ends will not fit properly together.

Image Source: http://www.ultimatehandyman.co.uk/how-to/woodworking/mitre-joint
Important considerations to make the perfect joint
Match Wood Grains
Regardless if you are working on a tabletop or a frame, you still need to make sure that you will match the wood color and grain pattern of the wood. See to it that it will match the miters. It is also imparted to select the matching wood before buying them. This will only take a few seconds of your time but will give you better results.
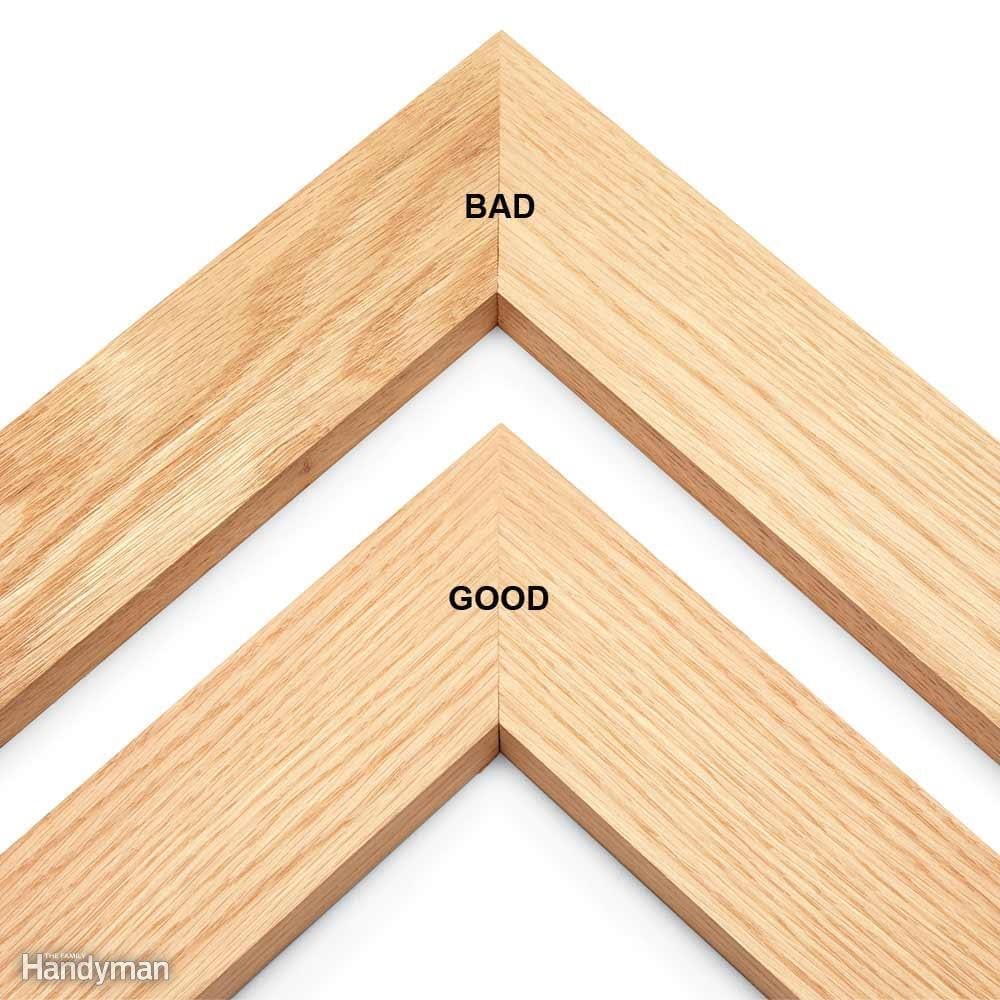
Image Source: https://www.familyhandyman.com/woodworking/perfect-miters-every-time/view-all/
Micro-adjust using paper shims
If you are needing to do micro adjustments then you need to remember that it can be very hard to do. You can do this though once you will be using a few sticky notes. This simple solution will address any small adjustments that you need. You need to make a few test cuts and add or remove sheets until you are able to get the exact angle that you need.
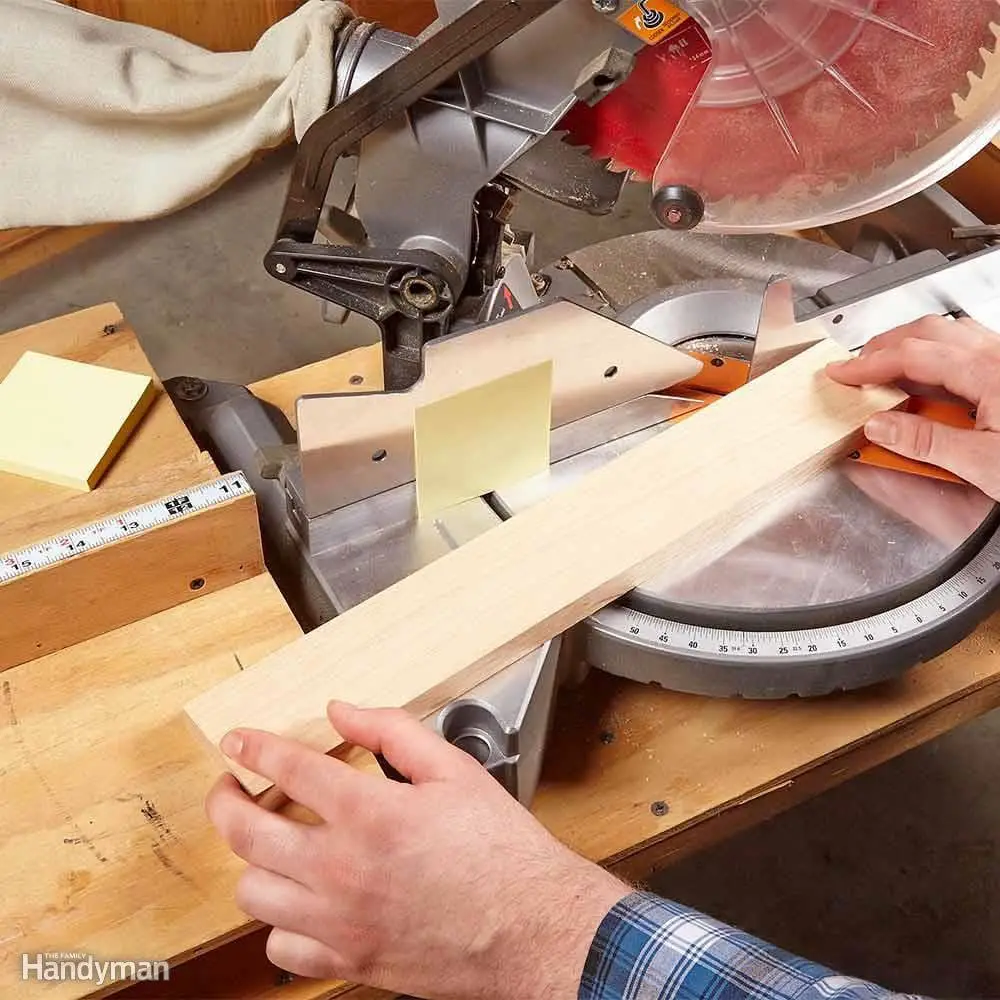
Image Source: https://www.familyhandyman.com/woodworking/perfect-miters-every-time/view-all/
Align using biscuits
You will find it hard to align and clamp miters once you will have all that glue on your hands. This is the reason why many woodworkers use biscuits on miter joints. This is also done in order to provide additional strength. You will also find this one very helpful once you will be applying glue on the wood.
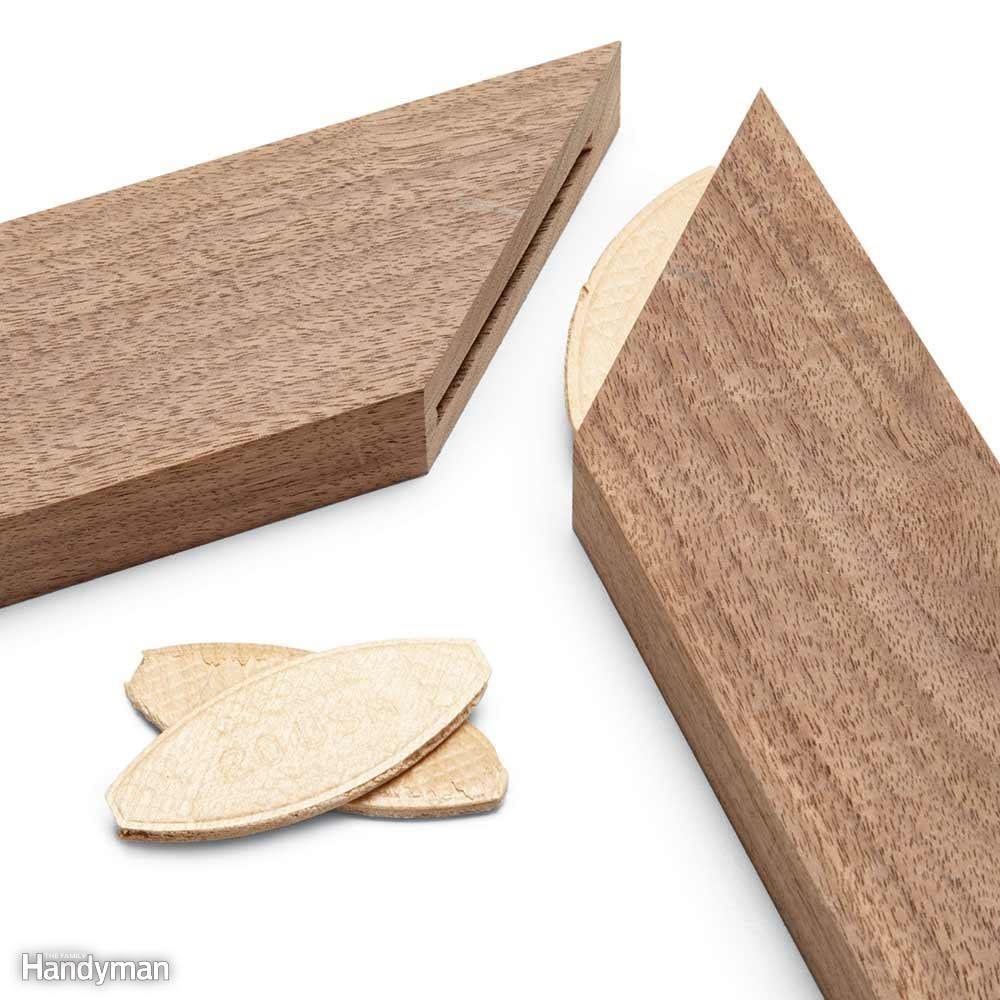
Image Source: https://www.familyhandyman.com/woodworking/perfect-miters-every-time/view-all/
Square up using corner clamps
It is important to see to it that you are able to make a perfect 90-degree angle on the wood that you are working on. You can do this by using some miter and clamping method. A corner clamp though will ensure that you are able to make a perfect 90 degrees since it will automatically do it for you and will give you that perfect square
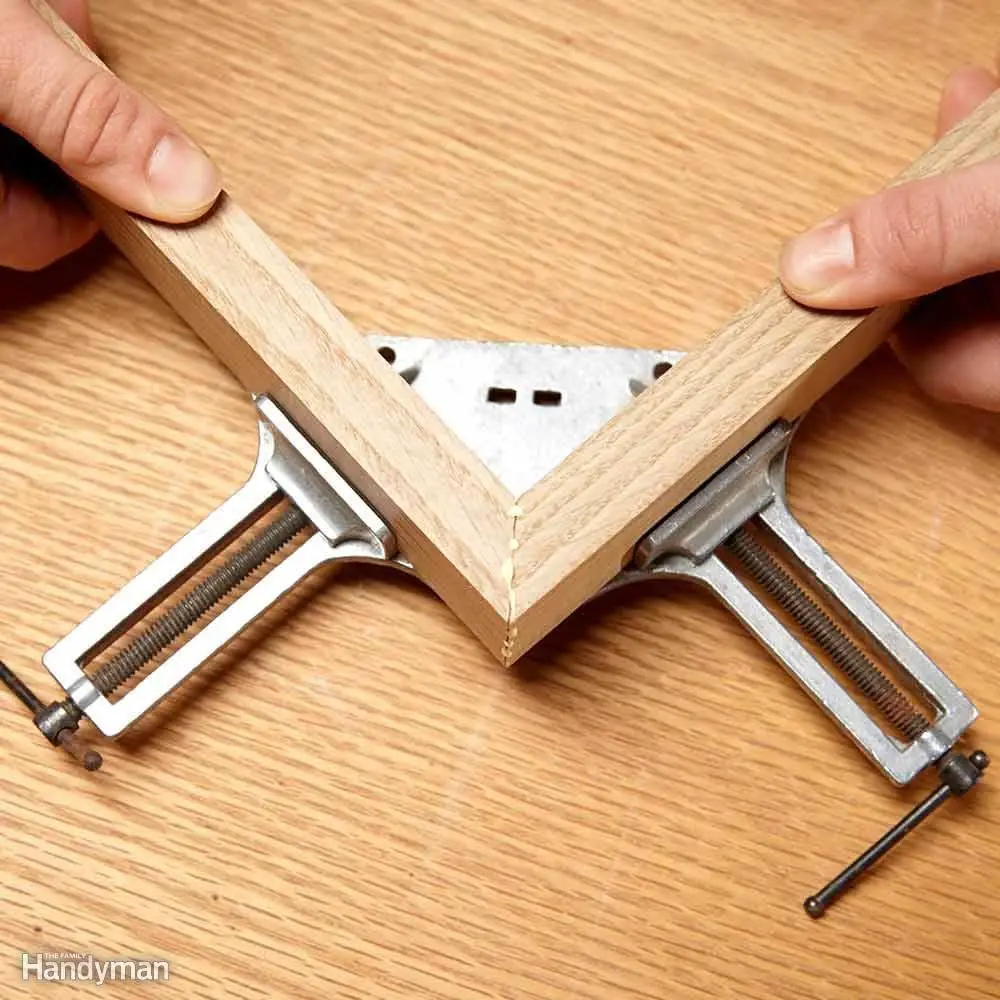
Image Source: https://www.familyhandyman.com/woodworking/perfect-miters-every-time/view-all/
Conclusion
Since there are many different ways on how you are able to join 2×4 pieces of wood together then choosing the right one will depend on the quality that you want to have and the purpose of the piece that you are making. Regardless of these factors, knowing these different joining techniques will enable you to create better projects that are not just beautiful but also durable as well.
