Constructing wood projects is a great way of turning your innate talent into beautiful objects. To achieve the perfect look of every wood project, you need to put the wood pieces together by getting the most out of wood joinery techniques.
In this article, we will learn how to join two pieces of wood at a 45-degree angle.
What Do You Need to Keep in Mind?
Wood is naturally made of fibers that run side by side. While gluing up would allow the sides of the wood fibers next to each other usually results in a strong glue joint, gluing the ends of the wood fibers will be a weakly joint.
Joining two pieces of wood at a 45-degree angle is made possible using one of the 6 joinery techniques. These are the edge joint, miter joint, butt joint, a dovetail joint, mortise and tenon joint, and dado joint.
What You Will Need to Follow This Tutorial
The important things you need to prepare to join two pieces of wood at 45-degree angles include a compound miter saw, glue, screws, clamp, measuring tool, and the wood or board you need to join. Preparing these tools and materials before you start your project will definitely save your time and effort.
Having large boards to create your project is amazing. Unfortunately, you have to create a panel that’s 8 inches wide, and the widest board is only 6 inches in width.
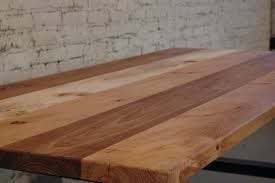
Fortunately, gluing up the boards side by side is a relatively easy way to create wider boards. The edge joint is very durable.
The wood surrounding the glue joint breaks before the glue does if ever you try to break the board.
You may use dowels or biscuits to help align the boards. However, they’re really required for strength.
Gluing wood fibers from end to end is weaker, so this method of lengthening a board won’t work. 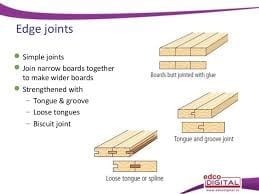
Image Source: https://image.slidesharecdn.com/23joints-140114083202-phpapp02/95/23-joints-6-638.jpg?cb=1412323543
Miter Joint provides a better glue surface because the 45-degree angle has a semi-long grain and long grain glue surface.
But this technique still not ideal, and you may need splines or a biscuit for extra strength.
Miter joints are used in situations where the strength is not that critical, as the face frame.
Miter joints are used in situations where the strength is not that critical, as the face frame.
This is an easy and quick way of joining two boards at right angles. But the end grain is mating with one board’s long grain from the other. The glue won’t hold the boards together so joints are best reinforced with nails or screws. 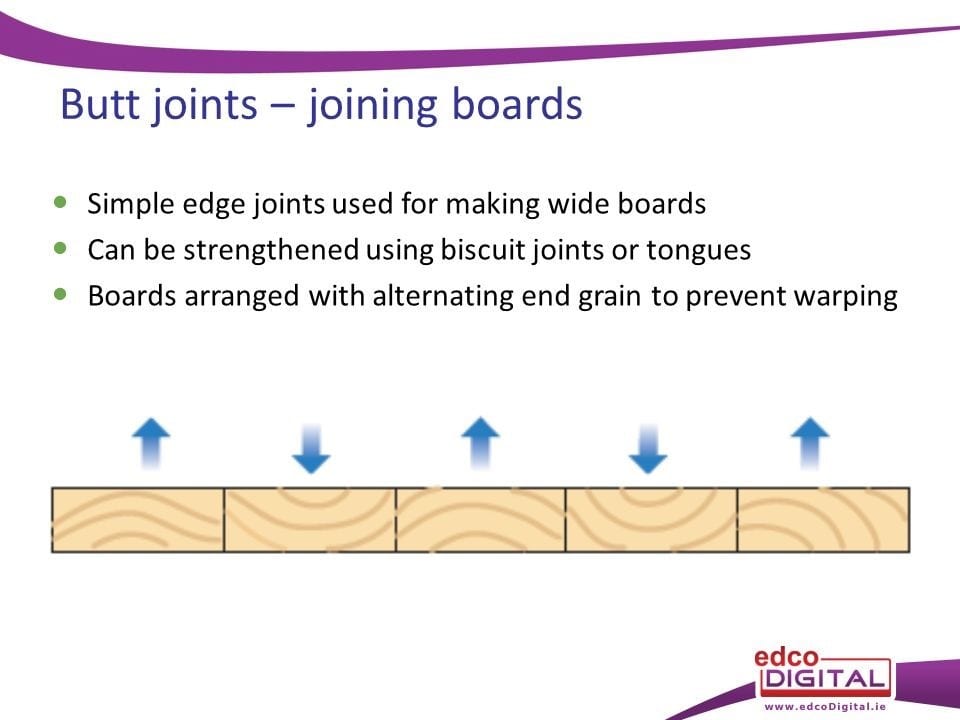
Image Source: https://image.slidesharecdn.com/
How to Join Two Wood Pieces Using Miter Joint
The tools you need to miter the corners of your wood project depend on what you are cutting and the manner it is cut. The standard cuts are done with the use of a hand saw and a miter box. With more complex cuts, you’ll need a table or circular saw.
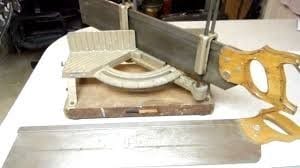
Image Source: https://i.ytimg.com/vi/XUV00cQgync/maxresdefault.jpg
Determine the miter angle by measuring the complete angle change, and dividing that by the number of pieces making the turn. The 45-degree angle is the most common miter angle.
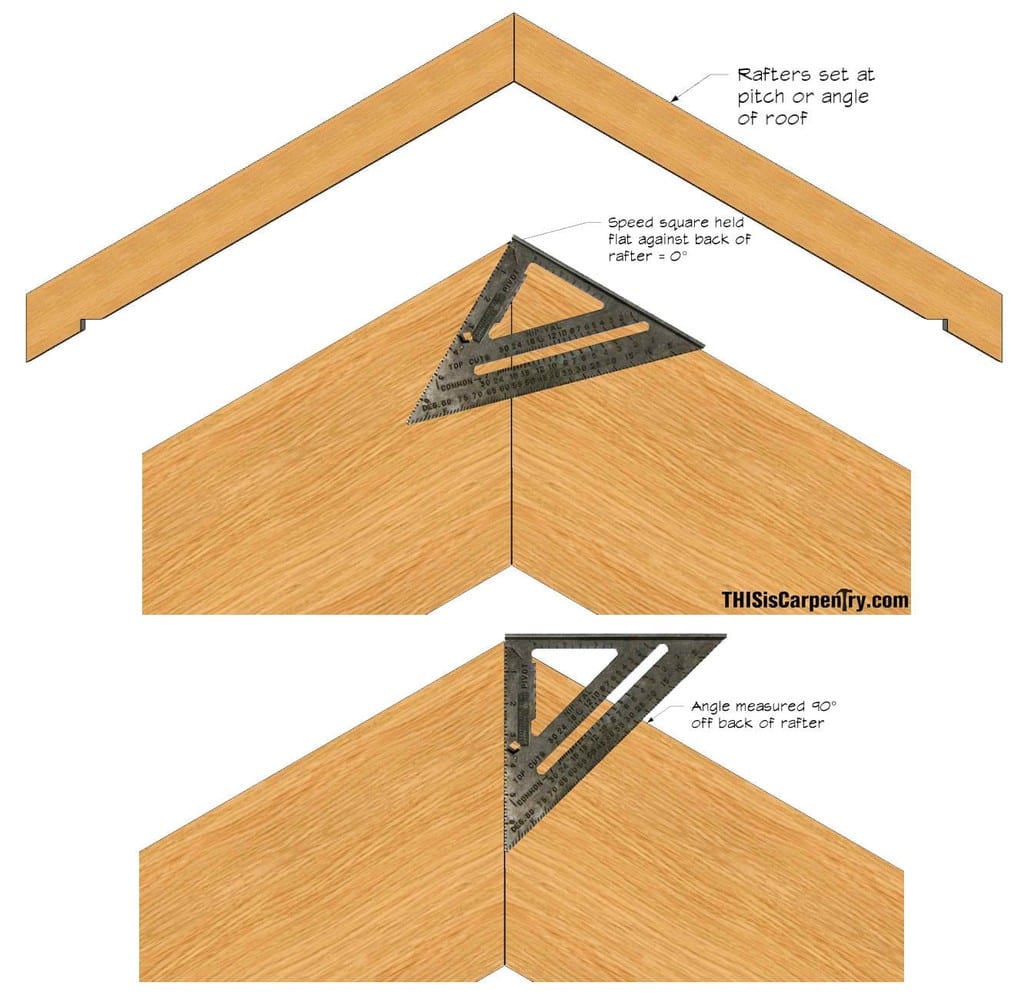
Image Source: http://tic.wpengine.netdna-cdn.com/wp-content/uploads/2011/05/RafterAngles.jpg
The next step is measuring the starting points. You will have one side longer than the other because the cuts are angled. It is important to keep track of the side and measurement correctly.
For instance, the measurement of the wall on an inside corner piece needs to be equal to the longer and back area of the wood. The inside needs to be equal to the wall for an outside corner with the shorter distance.
Image Source: https://www.wikihow.com/images/thumb/b/be/Miter-Corners-Step-2-Version-3.jpg/aid25861-v4-728px-Miter-Corners-Step-2-Version-3.jpg
Measure the angled gap using scraps at first. Calculate how much additional material you will need at the end since the piece needs to be longer as compared to one side that actually appears, like inside corners.
For a standard 45-degree mitered corner, you will need a gap at the end which is equal to the wood piece depth.
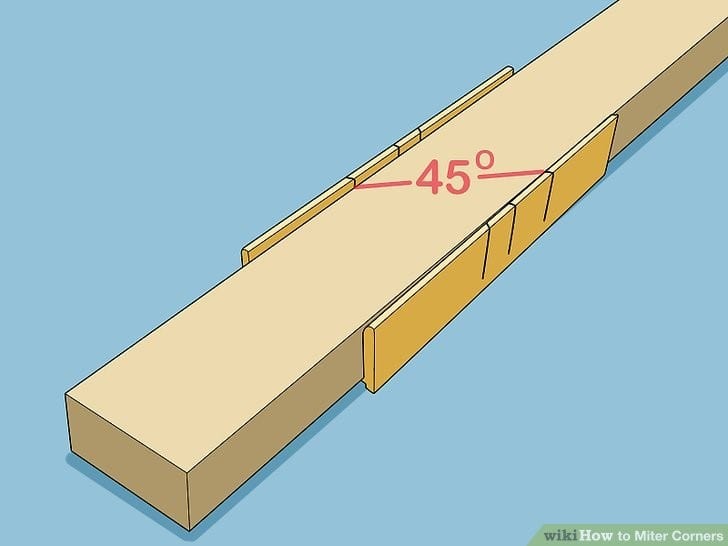
Image Source: http://tic.wpengine.netdna-cdn.com/wp-content/uploads/2013/06/fig-15-1.jpg
Set your miter saw to your desired angle, line up the wood, clamp the wood, and start sawing. Raise your saw and wait for the blade to stop moving. When joining the two pieces of wood at a 45-degree angle, you may use clamps, dowels, glue, and nails, or notch joint.
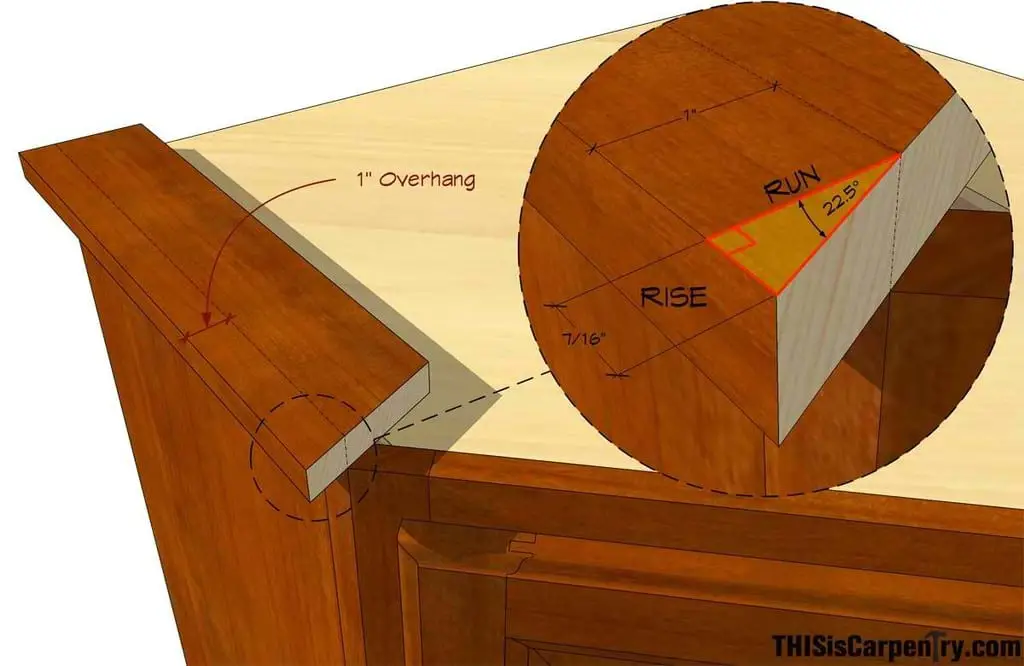
Image Source: https://www.canadianwoodworking.com/sites/default/files/images/articles/gluingtechniques_lead.jpg
Conclusion
The basic way to join two pieces of wood at a 45-degree angle is using glue and nails. This method works best when the wood pieces will be nailed. You can also use dowels if the wood is thick enough, adding support, and making the joints stronger. Do you find this post helpful? If yes, like and share it and leave a comment below.
