For any wood project, joining two wood pieces is an important aspect to achieve stronger and more beautiful woodwork. But, how to join two pieces of wood at right angles?
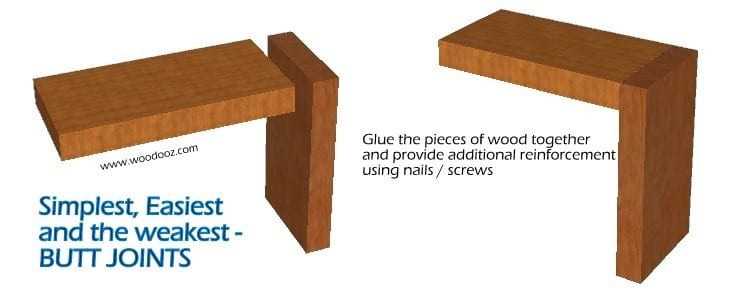
While the butt joint is considered the most basic method of joining wood pieces, it is not that appealing as compared to other types of joints because the end grain of one board is visible.
What is your best option?
In this article, we’ll share with you the best method you can use to join two wood pieces at right angles.
What You Will Need to Follow This Tutorial
The things you need to prepare to join two pieces of wood at right angles include a compound miter saw, glue, screws, clamp, measuring tool, and the wood or board you need to join. Preparing these beforehand will definitely save your time and effort.
Why use a Mitered Butt Joint?
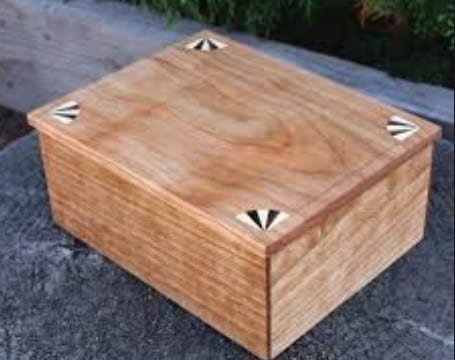
For a more attractive option, you can try using a mitered butt joint. While it will not be any stronger as compared to a standard butt joint, it’s certainly more aesthetically pleasing to the eyes because you will not see the wood board end grain.
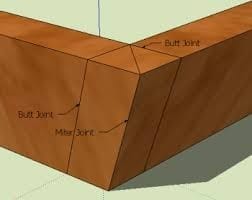
Image Source: http://jansson.us/jcompound.html
An important aspect when it comes to making a mitered butt joint is cutting the angles precisely. To make these angled cuts, a compound miter saw is your best tool. The first step in cutting a good mitered butt joint is to determining the final joint angle and dividing that number by two.
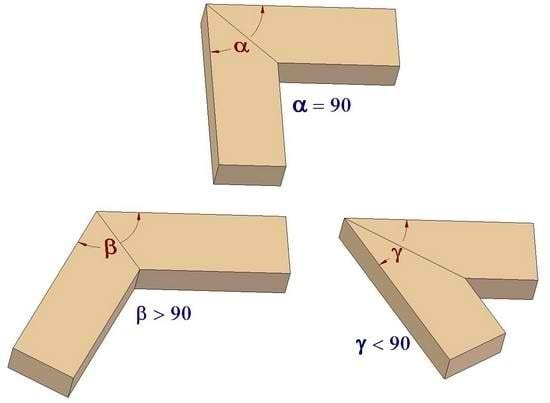
Image Source: http://www.craftsmanspace.com/sites/default/files/free-knowledge-articles/various_miter_joints.jpg
You will need to create a 45-degree angle cut for a square connection or 90-degree angle, on each of the boards needing to be joined. The two cut ends must match up perfectly if the two stock pieces are of the same width.
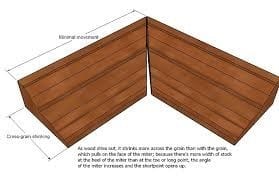
Image Source: http://www.garymkatz.com/trimtechniques/open_miters.html
Mitered butt joints are also used when creating other angled joints. For instance, if you’re creating an octagon-shaped picture frame, the angles of each of the eight sides must be 45 degrees rather than 90 degrees, so you need to cut 22 1/2-degree angles on every end to make the butt joints.
Why Use Glue to Hold the Joint?
A wood glue provides most of the strength to hold the joint. Both sides of the woodworking glue joint will be on the porous end grain, so you’ll likely need to use more glue as compared to gluing on a side grain. Before you apply glue, make sure to dry-fit your wood pieces for a proper and perfect fit.
For example, if you are making a picture frame, cutting all the angles and lengths and placing the pieces into place on your work table should be done.
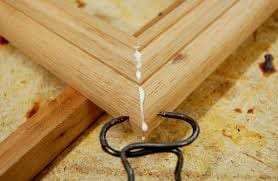
Image Source: www.yourstreetgiftcards.com
After which, cross-check the picture frame for squareness, making sure that the joints don’t have gaps before you apply the glue.
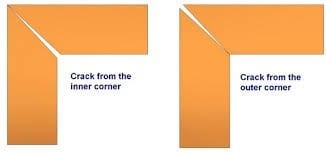
Image Source: http://www.craftsmanspace.com/sites/default/files/free-knowledge-articles/miter_joints_errors.jpg
Why Use Mechanical Fasteners?
When using a woodworking glue for holding a mitered butt joint, there is not a lot of strength. You can strengthen the join using finish screws, nails, and brads for the joint’s lateral strength.
When using a finish brad or nail in securing the joint, you need to apply a glue to the joint. After which, secure it using a woodworking clamp.
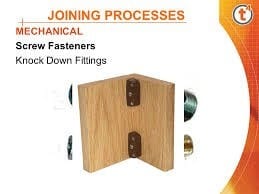
Image Source: https://images.slideplayer.com/26/8755645/slides/slide_8.jpg
Use a pneumatic finish nailer or a brad nailer to drive the fastener through the face of the board into the end of the other board that adjoins in the joint.
Drive another nail into the joint to follow up through opposite board’s face into the end grain of the other board. If you use hardwood, it is important to pre-drill before the screws are installed. This is to avoid splitting.
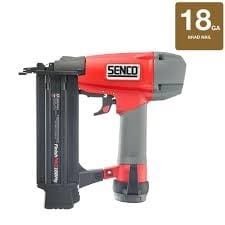
Image Source: www.homedepot.com
How to Join Wood at a 90-degree Angle
A 45-degree miter is done by applying glue to mitered corners. Laying one board on the back between two clamps is the next step. Take the other board and then join the mitered corners where you applied the glue.
The two clamps should be lightly tightened and slide the joined wood pieces to the edge. Lightly clamp the other board to the table with the use of the other two clamps.
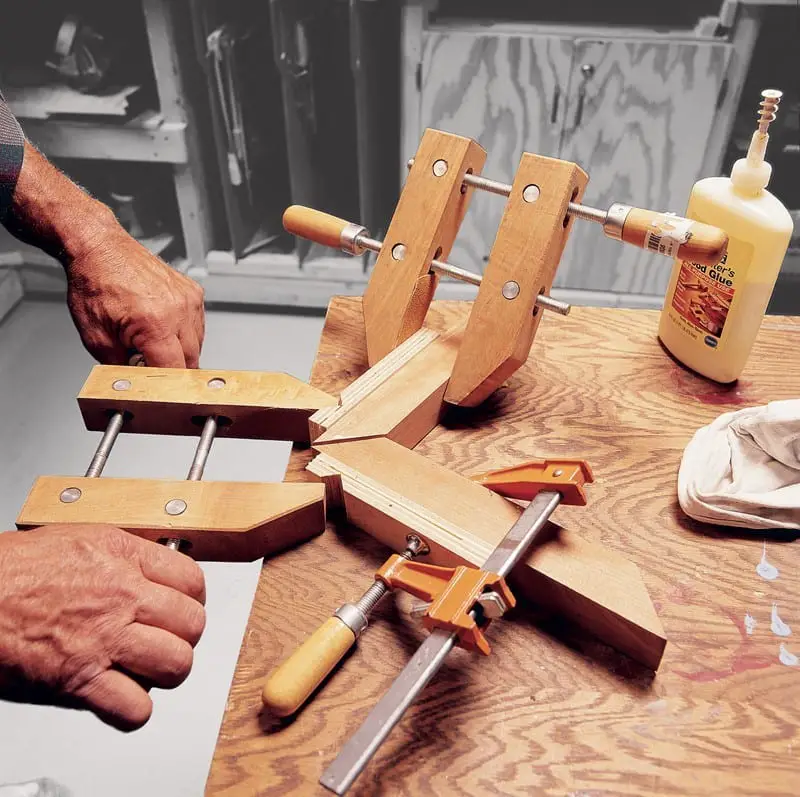
Image Source: https://s22293.pcdn.co/wp-content/uploads/7252-GLUING-MITERS_5F00_21.jpg
Next, verify the two boards’ alignment. When the two boards are aligned correctly, you can tighten the clamps equally. For edge to edge, apply glue beads to the edge of the initial piece and lower side of the next piece. Using two clamps, lay the first wood piece on the back.
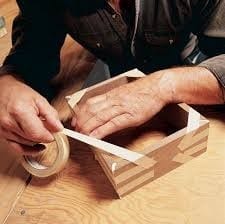
Image Source: https://s22293.pcdn.co/wp-content/uploads/7252-GLUING-MITERS_5F00_51.jpg
The second piece stands upright for the glued surfaces to face each other. The two pieces slide together and the edges of the boards should be aligned. Next, tighten the clamps.
Conclusion
There are two ways to join two wood pieces at a 90-degree angle. One is creating a 45-degree miter for a seamless joint and the edge to edge. We hope you learned something from this post. If you find this article helpful, you can like and share this post and leave a comment below.
