The most annoying thing for a carpenter is to deal with splitting wood slices when they work on them. It is a very common phenomenon. Splitting of wood is the ruptures that occur on the wooden grains. This happens due to the contraction and expansion of wood when it dries. The quality of wood is measured by its appearance, strength, and use. Splitting hampers all these essential qualities. When you know how to keep wood slices from splitting, you don’t have to worry. There is more than one method to doing this. The following write-up summarizes all the tips and tricks in a step-by-step guide.
To prevent the wood from splitting, you should first know the causes for splitting. The main reasons are:
- High/Low moisture content
- Expansion and contraction of wood
- Screwing nails without care
The pores on the wooden structure absorb moisture and make the diameter of the wood increase. This expands the wooden slices and leads to cracking.
Method 1
Application of sealant and drying wood
Things needed:
- Wood moisture meter
- Wood sealant
- Paintbrush
- Wooden slices
Drying the freshly cut slices of wood can prevent it from splitting. But there are certain procedures to be followed for the same since wood takes a long time to dry. Most people consider sun-drying the wood, but it only dries superficially. The inner parts do not dry and can lead to splitting. Air drying in shade can be a good method to dry your wooden slices. Applying sealant over the air-dried slices is one of the easiest ways to prevent splitting. Follow the below mentioned to know how to keep wood slices from splitting.
Step 1: Cleaning
- The most important thing is to clean the wood and make it free from dust and other particles.
- Only if the surface is clean, it can be ready for the next step of application of sealant.
Step2: Sanding
- Sand the wood slice with sandpaper that is at least 220 grit. This helps to smoothen the surface.
- Once this is done, clean it with a damp cloth to remove all sawdust created while sanding.
- Leave it to dry for 24 hours and then it is ready for the sealant.

Step 3: Applying sealant
- Dip the paintbrush and apply a thin layer of sealant on the slices.
- You have to ensure that the entire surface is covered, else air can be trapped through the minute holes.
- Leave the wood to dry for 48 hours after which it is ready for the second coat. Follow the same process as with the first coat.
Step 4: Wrapping and stacking
- Wrap the wood in a piece of cloth that allows air to flow through. While the cloth allows heat to pass through, it also prevents a direct exposure to Sun.
- Both the interior and exterior of the wood slice will dry at the same rate when this is done.
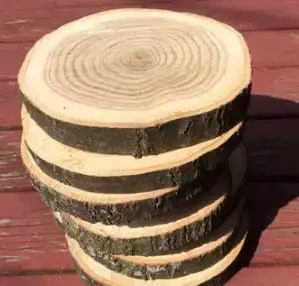
- The pieces of wood can also be weighed down with the help of cinderblocks. This will help build pressure on the wood and prevent splitting. This is also an important step in how to keep wood slices from splitting.
Step 5: Drying
- The wood should be allowed to dry for 1 year for every 1-inch thickness.
- Examine the moisture content on the slices frequently with the help of a moisture meter.
- When the level reduces to less than 7%, the wood is considered dry.
Method 2
Wooden slices are also affected due to the tools used on them. To know how to keep wood slices from splitting, the following method can be effectively employed.
Things needed
- Drilling machine
- Drill bit
- Masking tape
Step 1: Pre-drill a hole
- Understanding the point that pre-drilling a hole eliminates pressure from the wood is essential. By relieving pressure, the wood can be saved from splitting.
- Pick a drill bit that is ¼ inch thinner than the nail you are using. Put the point of the nail in the hole and make a straight hole before pulling the bit out.
Step 2: Blunt the nail
- Since sharp nails can cause serious damage to the fibers in wood, they have to be made blunt before hammering.
- Turning the nail upside down and tapping the sharp end a couple of times with a hammer will make it blunt.
Step 3: Masking tape
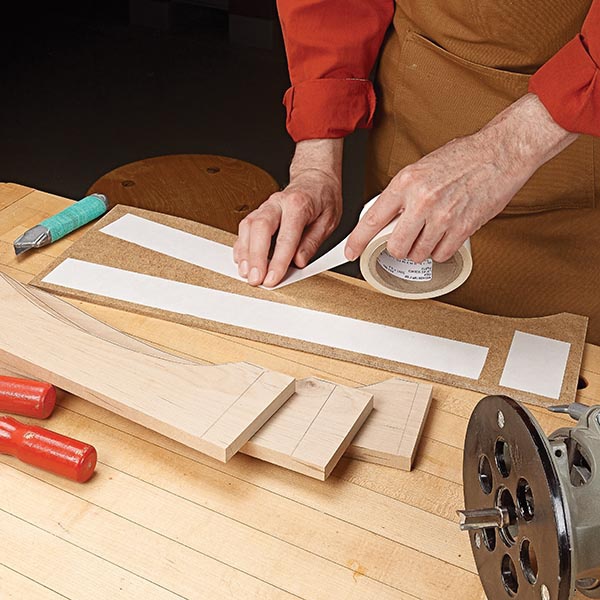
- If you want to cut the wood, place a strip of masking tape around the slice and draw a line on top of it.
- You should be able to easily cut the wood along the line drawn.
- The masking tape helps to hods the edges of wood and prevents splitting. After the required slab is cut off, remove the tape and dust off any particles.
Method 3
Apply boiled linseed oil
Things needed:
- Linseed oil
- Wood slices
- Sandpaper
- Paintbrush
- Old cloth
Step1: Sand and Clean
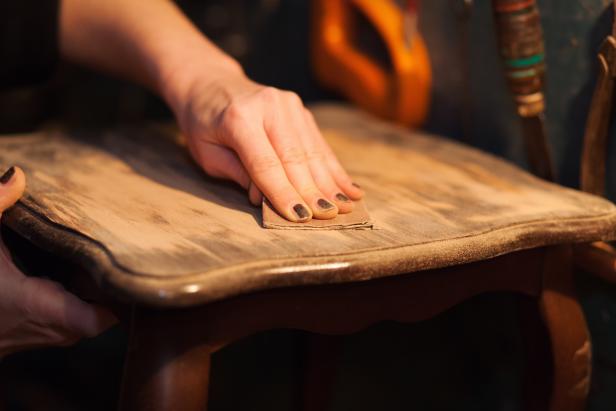
- Sanding the wood with 220 grit sandpaper to smoothen the surface is the first step. Rub the wood along the fibers of the wood so that the wood stays intact.
- Clean the wood to remove the dust accumulated by sanding.
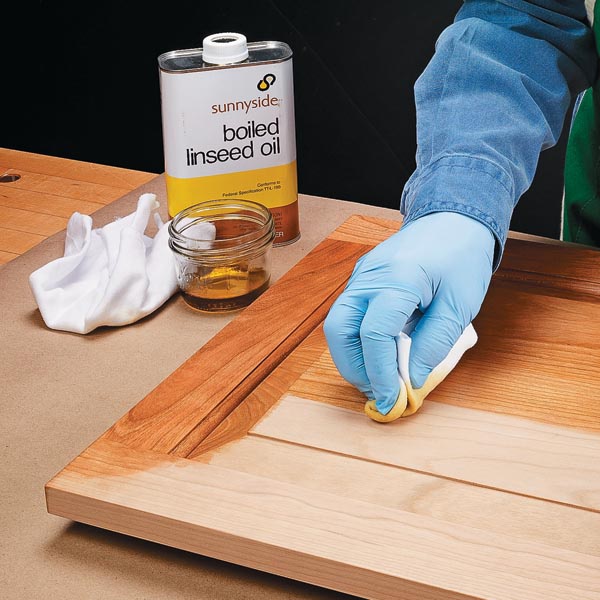
Step 2: Apply linseed oil
- Take a paintbrush and apply boiled linseed oil all over the surface of the wood.
- Apply a thin coat and when it dries apply 2-3 more coats. The wood slice remains completely covered and protected.
- Dry the wood in a shaded area so that it completely absorbs all the oil. Avoid harsh sunlight as it may spoil the wood.
The above methods listed are the answers to how to keep wood slices from splitting. However, it is easier said than done. So, it is essential to know certain tips for curing when cracks appear even after following the above tips.
- When cracks appear, fill it with epoxy that is easily available in stores. After the epoxy dries, smoothen out the surface and paint over to get a smooth finish.
- If the cracks are starting to emerge, you can use a butterfly key to prevent the cracks from spreading to the other parts of the wood.
- Also, it is essential to keep in mind that diagonally cutting the wood enables cracking of wood. Avoiding this can help improve the chances of wood slices being intact.


