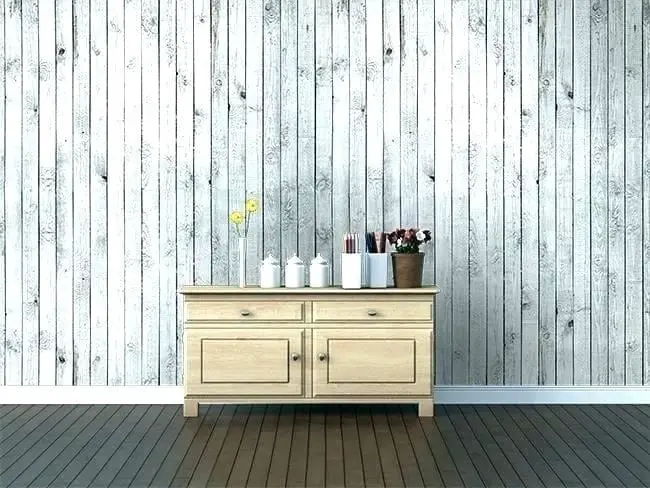
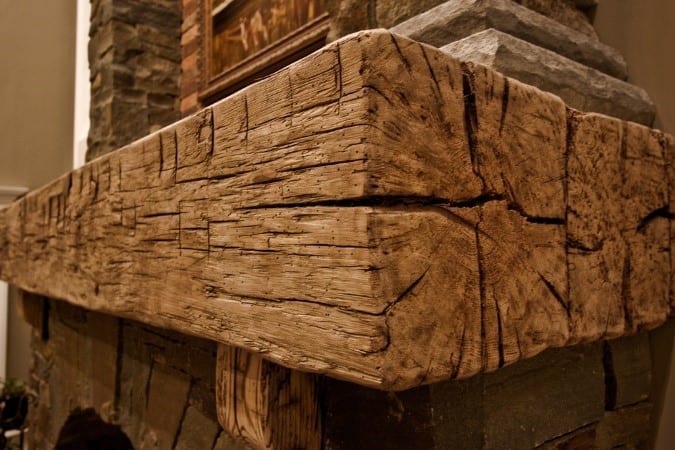
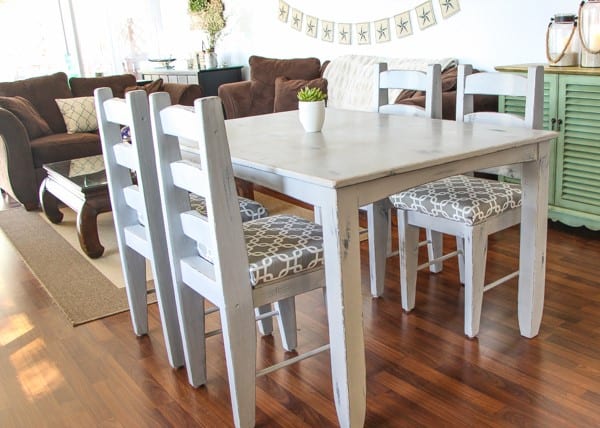
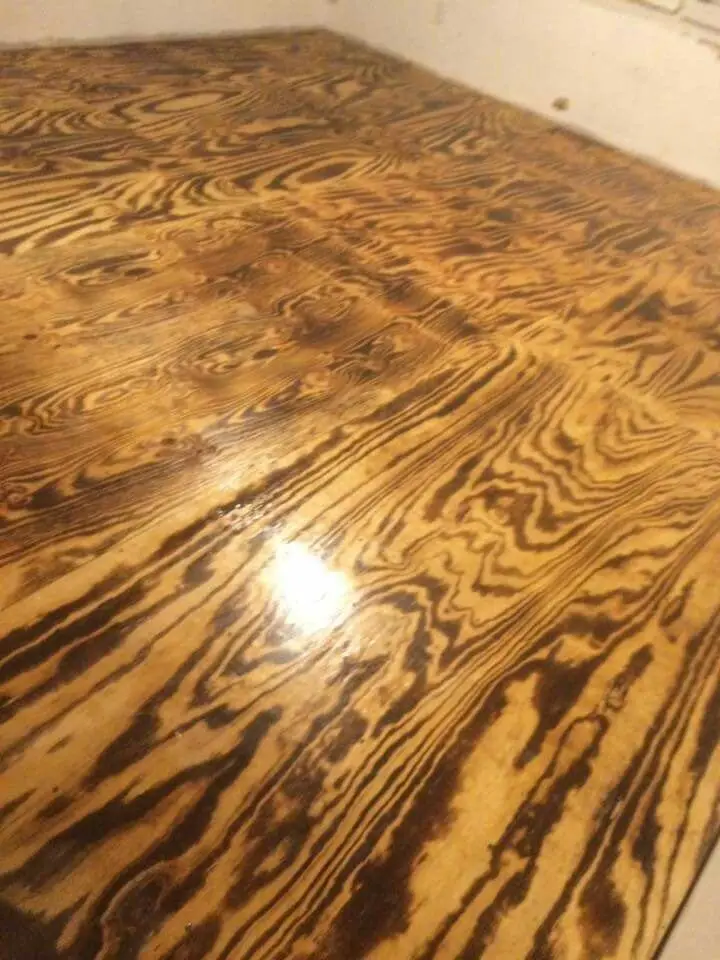
When my family moved to our long dreamed new home out-of-town, we were faced with the depressing, dark, old wood paneling.
Thus, we knew we have to find out how to lighten wood paneling. However, we also wanted to learn how to lighten wood paneling without paint because we didn’t have much time or money to cover with paint the wood paneling over the entire house.
Being a passionate DIYer myself, I am extremely happy to share with you the solution that my husband and I decided to opt for in order to brighten the dungeon-like wood paneling.
What You Will Need To Follow This Tutorial
- 2-part wood bleach
- Synthetic paint brush
- Wood spoon (to stir the bleach)
- Coarse-grit sandpaper
- Fine-grit sandpaper
- Rags
- 3 plastic containers (for example, a bucket or a bowl will work fine)
- Plastic sheeting
- Vinegar
- Water
- Drop cloth
Pro Tips
1 – Plastic sheeting vs. drop cloths
We chose to go for plastic sheeting because it is much cheaper than purchasing drop cloths. However, we must warn you that it can be daunting to work while trying to keep balance on the slippery plastic sheeting. Although you can avoid this by wearing suitable shoes, you may want to consider the benefits of drop cloths.
2 – Protection is obligatory
While working with any form of bleaching solution, it is a MUST to protect your eyes and other parts of the body which will be exposed to the solution. That includes your hands but also your nose.
Safety glasses and gloves, as well as masks, are very helpful. Nevertheless, ventilating the room by opening the windows works excellently. You can also run fans if needed. At any cost, do not touch your face or other parts of the body while working with the bleaching solution.
Step By Step Instructions for Lightening Wood Paneling Without Painting
Step 1 – Prepare the room, as well as the wood paneling for the bleaching
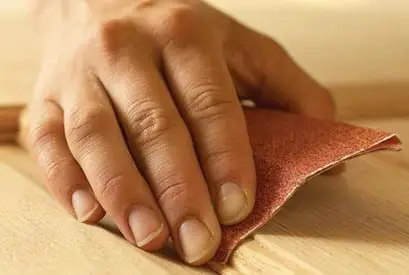
Image Credit: grassfire.org
In the beginning, you need to cover the floors, as well as any exposed surfaces or furniture to minimize possible harm from the bleaching solution. Nevertheless, covering the floors will help you clean up the dust and dirt from sanding later on.
Start sanding the wood paneling with coarse-grit sandpaper. Next, proceed with sanding by using 220 and/or 150 fine-grit sandpaper.
It’s important to remove the entire upper layer of the wood paneling and reveal the fresh wood beneath. It is through the naked wood surface that the bleaching solution will penetrate and lighten the paneling well.
Finally, go over the surface with a clean and damp rag.
Step 2 – Mix and apply the bleaching solution

Image Credit: woodmagazine.com
Bleaching solutions by different brands vary in terms of mixing the concoction. Follow the instructions carefully and pour the mixture in a suitable container. Use a wooden spoon to help the solution blend well. Never use metal as a chemical reaction can occur when bleach gets in contact.
Start applying the solution with the help of a synthetic paint brush. Always squeeze the excess amount of the solution left on the brush to avoid splashes.
Step 3 – Finish lightening the wood paneling to the desired level
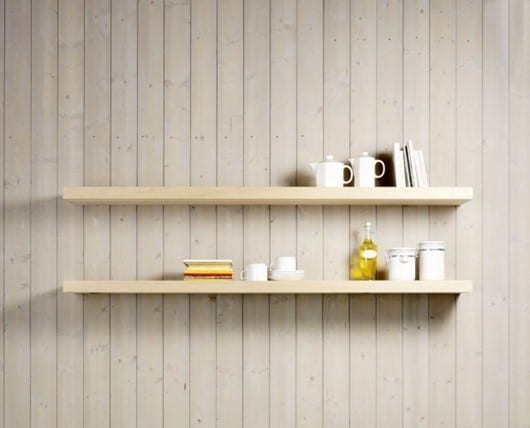
Image Credit: diychatroom.com
Once you have applied the first coat of the bleaching solution by following the manufacturer’s instructions, you will have to wait between 3 to 24 hours until the effect takes place. If you want a better lightening effect, you can proceed with applying a second coat of the bleaching solution after the first layer has dried completely. A third coat, however, can make the wood swell, so it’s best to avoid it.
Finally, mix 2 parts of water with 1 part white vinegar and go over the wood paneling with a clean rag. Repeat the process after half an hour and finish by wiping the surface with a dry rag. Lastly, sand with fine-grit sandpaper.
At the end of this tutorial, I’d like to share one more personal impression with you. Admittedly, I am a raving fan of everything non-toxic and environmental friendly.
However, after doing a little trial on a small wooden surface to test the lightening powers of the bleaching solution, the fantastic effect quickly convinced me to give this affordable method a try.
I hope the tutorial we shared will help you find the best way to lighten wood paneling (no painting involved). Did you enjoy this article? Do you have valuable tips or any questions on that matter? Like, share, and comment!
