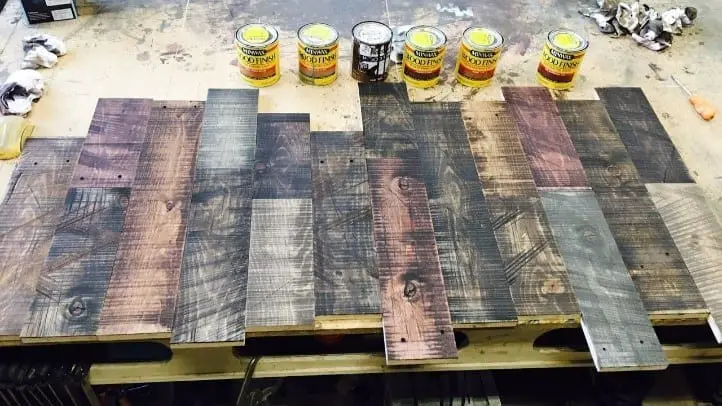
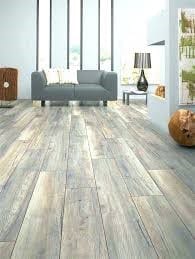
It is tricky to finish a tabletop is tricky, most especially if you’re dealing with a big table. It requires skill and knowledge to coat an entire wood surface before the finish will become too sticky.
In this article, you’ll learn how to make a wood tabletop smooth.
What You’ll Need to Follow This Tutorial
The things you will need to make a wood tabletop smooth include a mop, screwdriver, screws, orbital sander, sandpaper, brush or roller, and desired coat or finish.
Remember that oil-based poly becomes too sticky to work with after 5 to 10 minutes. Also, water-based poly even dries faster, that’s why all your supplies should be ready before you start.
Step-by-step Guide to Make a Wood Table Top Smooth
Step #1
Tenting the work area is a must because trusses and rafters are endless sources of falling dust. Hanging plastic above at least 12 inches from the light fixtures is essential if you are working in an open ceiling.
Also, if you add plastic walls, cleaning up the area is a lot easier. If you are using an oil-based finish, you need to hang the sheets a foot from the floor for proper ventilation. The floor is dampened using a mop or a spray bottle to prevent kicking the dust-up as you walk.
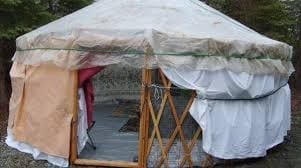
Image Source: www.makezine.com
Step #2
Propping up the tabletop is the next step by setting the top on screws for the edges to easily finish. Disassemble the table and remove the legs so you can move easier and for the legs to finish easier. Remove each leg that’s simple like unscrewing a nut.
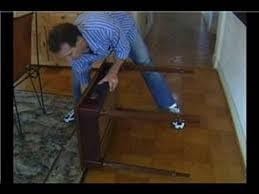
Image Source: www.youtube.com
Step #3
When sanding, use a brush attachment to remove 99% of the sanding dust. After you vacuum, wipe the surface using a tack cloth if you’re planning to use an oil-based stain or coating.
If you will use a water-based finish, use a lint-free rag that’s dampened with mineral spirits. Using a random orbital sander is best for most sanding.
Doing a 5-minute final sanding manually should also be done using the same sandpaper grit, to remove torn wood fibers and swirls left by the orbit sander. Avoid oversanding.
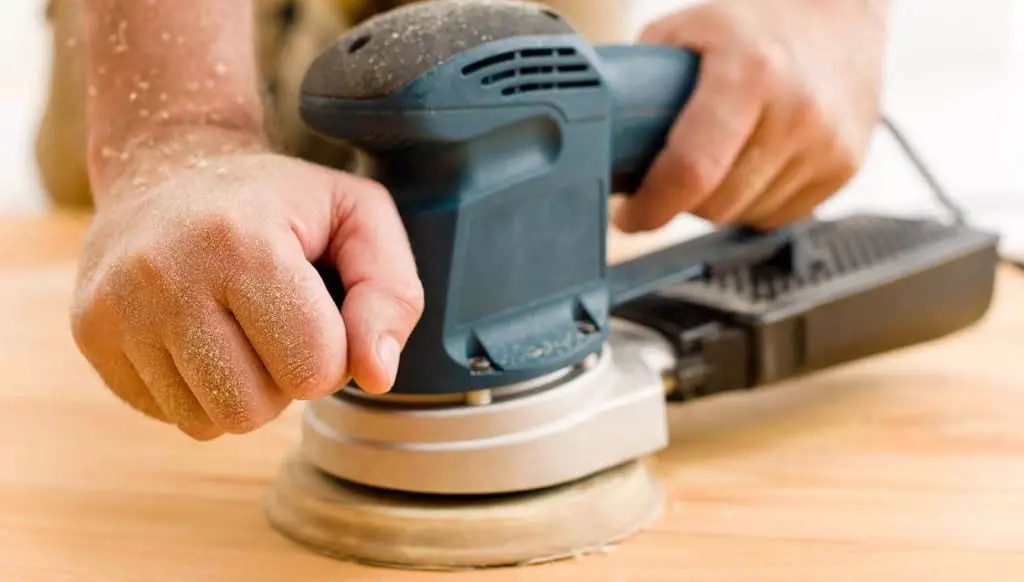
Image Source: https://mitersawjudge.com/wp-content/uploads/2017/10/wood-sander-buying-guide.jpg
Step #4
Resanding stained wood is tedious, so to avoid blotches when staining the most common wood such as pine, cherry, birch, and maple, applying a pre-stain conditioner is important to absorb stain evenly.
Before staining, find the flaws and use a low-angle light to inspect the sanding work. You can reveal the problems by wiping mineral spirits.
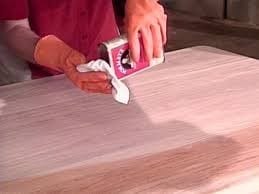
Image Source: https://www.diynetwork.com/how-to/make-and-decorate/decorating/how-to-refinish-a-table
Step #5
Finishing a tabletop. First, you need to build up gloss poly coats for a shiny look. For a less sheen, you can dull the finish through wet sanding or wipe a couple of satin coat or semi-gloss coat. Rolling on an oil-based poly is easier and faster.
Don’t worry about the bubbles because they disappear in minutes, thus the surface is smoother than what you can achieve using a brush.
Apply lighter coats to minimize the flaws like ridges and humps.
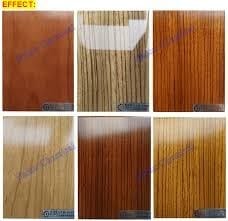
Image Source: http://muperla.club/data/varnish-vs-lacquer/images/varnish-vs-lacquer-lacquer-paint-furniture-polyester-solid-color-wood-furniture-paintsvarnish-lacquer-lacquer-paint-mandolin-varnish-vs-lacquer-finish.jpg
Step #6
Before applying the final coats, wet-sand by loading a sanding block with a paper in 600-grit, dribbling on some soapy water then rubbing the finish smooth.
After which, wipe the table dry, check for flaws and then rub some more. Do not stop until you have achieved perfection. You can smooth shaped the edges using a synthetic steel wool.
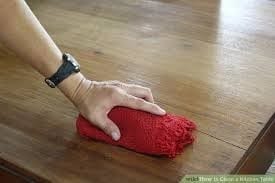
Image Source: https://www.wikihow.com/images/thumb/4/4b/Clean-a-Kitchen-Table-Step-1.jpg/aid137553-v4-728px-Clean-a-Kitchen-Table-Step-1.jpg
Step #7
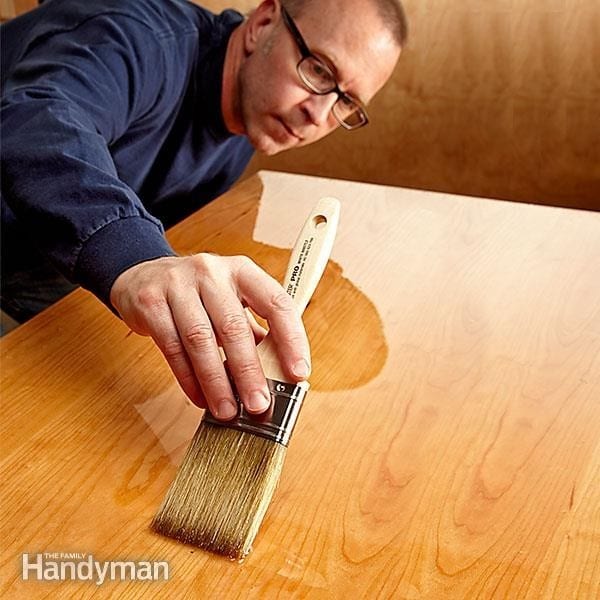
Sand in between coats through manual sanding using pads or paper to resists clogging with 320-grit. When white residues appear, wet-sand as the table dries.
Using a grain filler for finishing touches is important for a perfectly smooth surface. Apply it by wiping the filler, squeezing off any excess with a plastic putty knife and sanding after it is dry for a smoother surface.
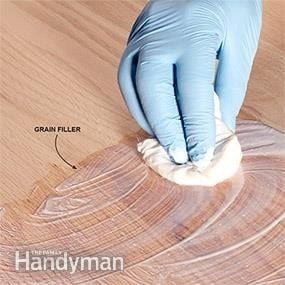
Image Source: https://cdn2.tmbi.com/TFH/Step-By-Step/display/FH14OCT_FINISH_09.jpg
Step #8
Coating the underside is important to prevent swelling or shrinking due to humidity changes. Apply at least 3 coats for a thicker layer of protection.
Don’t use a polish or wax for routine cleaning your tabletop. Only use a damp cloth because applying a fresh coat won’t stick.
Finally, seal the end grain.
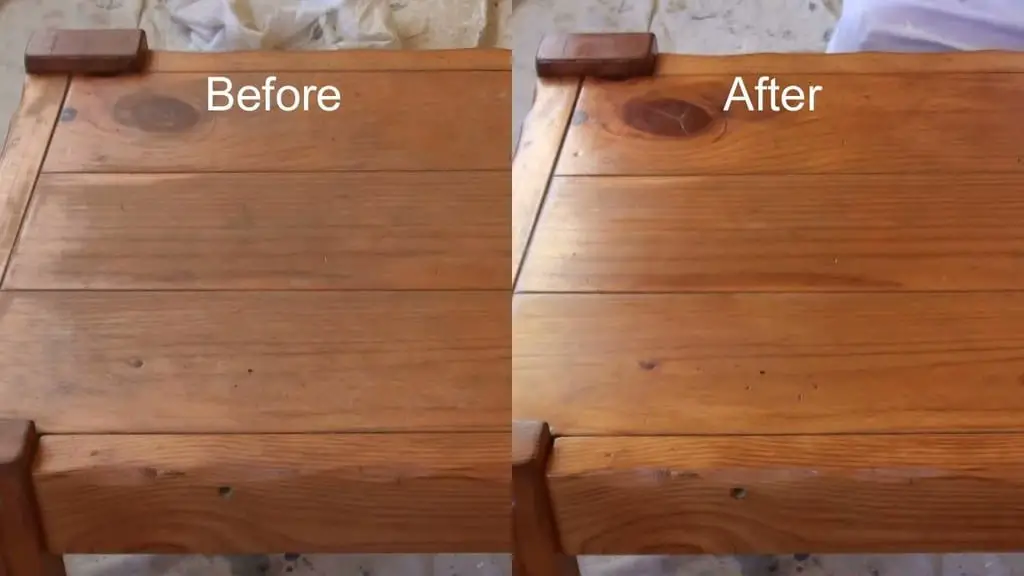
Image Source: https://i.ytimg.com/vi/YxJeUhsc264/maxresdefault.jpg
Conclusion
You can achieve a smooth tabletop by sanding the surface evenly using the same grit all throughout. Also, preparing everything you need is important because staining the tabletop easily becomes sticky. Never apply wax or polish when routinely cleaning your tabletop for a fresh coat to stick. Do you find this post useful and helpful? Leave your comment and share this post now!
