When I was a little kid my favorite time of the year was spending the summer vacation at my grandparent’s beach house in North Carolina. My granny was an artist by heart, and so was my grandpa. Every afternoon we would walk down the beach in search of driftwood.
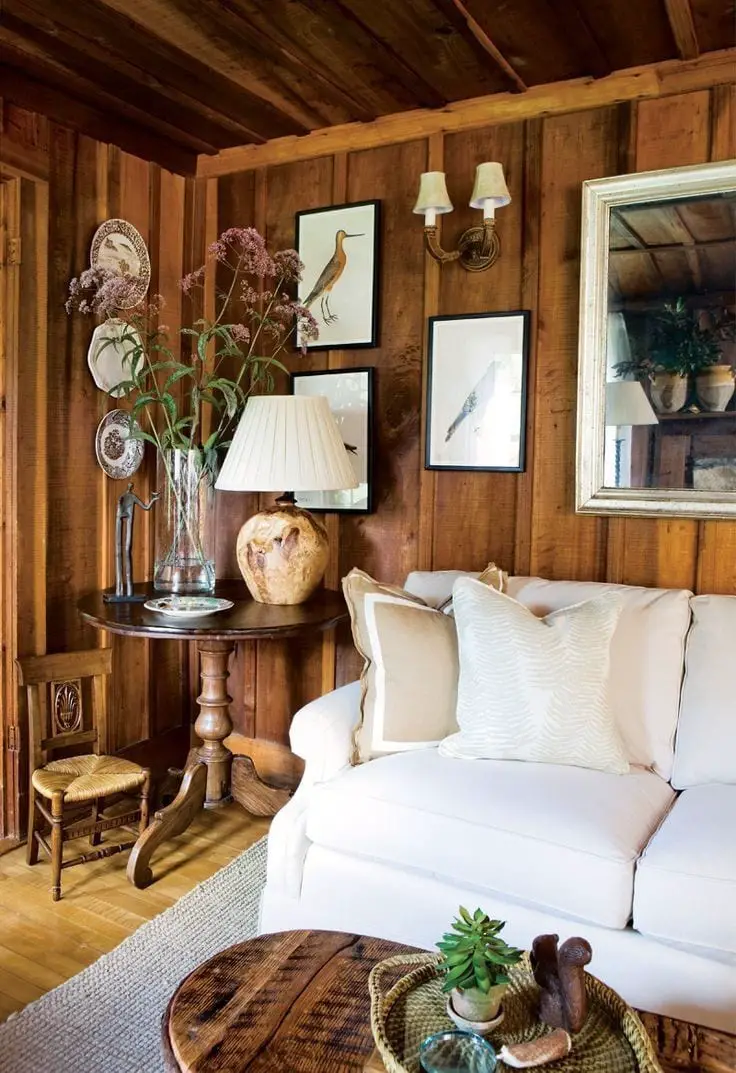
It was then that I fell in love with driftwood. 20 years later, I still remain a driftwood connoisseur. So it comes as no surprise that the interior decoration I choose needs to match the driftwood character in my home.
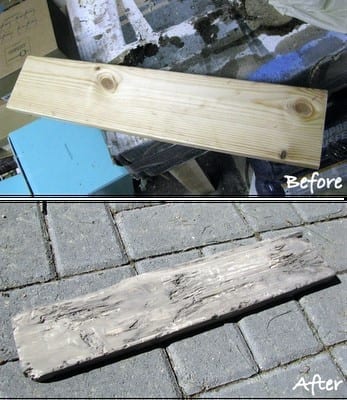
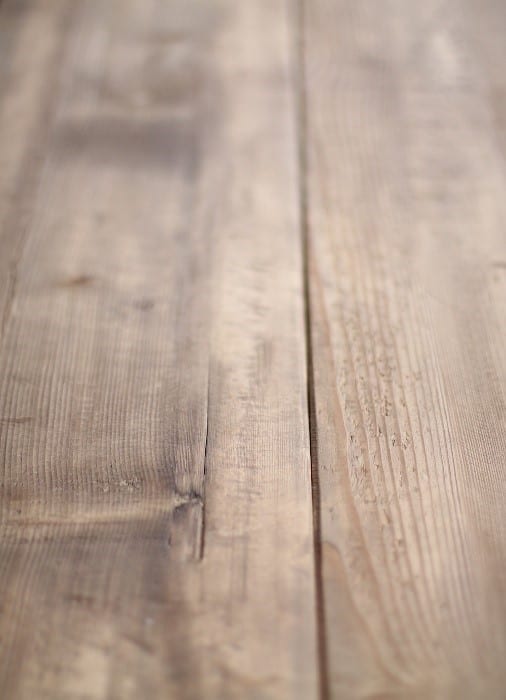
But how to make wood look like driftwood (in the case it most OBVIOUSLY is anything but driftwood)?! I’ve been lucky to discover a very simple DIY technique to achieve this particular effect without much of a fuss.
What’s best, you can try this method on just about any surface (metal, porcelain, glass, etc.) Ready to check it out? Let’s jump in.
What You Will Need To Follow This Tutorial
- Liquid deglosser/sander (optional)
- Sandpaper
- White paint
- Gray wood stain
- Brown wood stain
- Chip paint brush
- Matter sealer (optional)
Pro Tips
1 – Use 2 paint brushes instead of 1
You are going to work with 2 shades of wood stain, which will make the process of blending these together tricky. That’s because you need to apply the layer of brown stain while the layer of gray stain is still wet. To avoid the hurry from trying to clean your brush fast, simply use 2 brushes instead of a single one.
2 – Be careful with the shade of brown stain you choose
As a rule of thumbs, there are no restrictions in the shade of brown stain you will choose. However, my experience has brought me into thinking that a Red Mahogany, as well as Ebony shades, fail to give off that natural driftwood appeal with this particular technique.
The most important part of the process, though, is to be ready to experiment. When mixing the gray and brown stain, pour as much or as little from each to get the effect you are looking for.
Step by Step Instructions for Making Wood Look Like Driftwood
Step 1 – Prep the surface of the wood
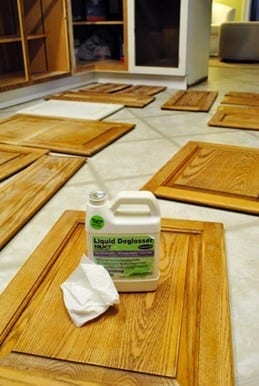
Image Credit: Pinterest.com
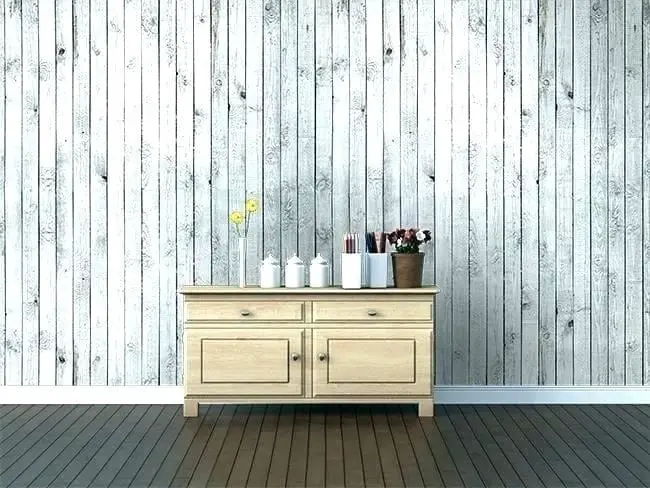
The signature trait of driftwood is that it lacks any shine. Thus, in order to make wood look like authentic driftwood, you need to get rid of the gloss. This is only optional, though. If you work with bare wood which has no apparent coating, you can proceed directly with sanding the surface lightly using fine-grit sandpaper.
However, I opted for using a liquid sander (aka deglosser) because I find it easier and faster to work with.
Once you have made sure that the surface of the wood object is smooth and shine-free, it’s time to apply a generous coat of white paint. The paint you use needs to have a flat finish. Let the white paint dry out thoroughly.
Step 2 – Apply the gray stain and proceed with applying the brown stain
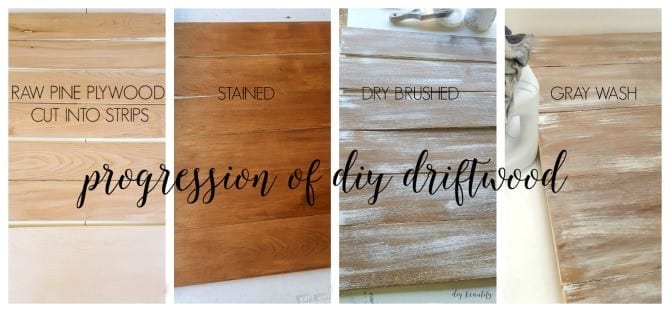
Image Credit: diybeautify.com
While you are applying a layer of gray stain, you want to make sure that your brush strokes go in the same direction. When working for creating a beautiful driftwood effect, it’s not obligatory to follow the grain of the wood, though.
Don’t wait for the coat of gray stain to dry. Instead, your aim is to apply a layer of brown stain immediately. Don’t forget to make all your brush strokes in the same direction with the brown stain, too.
Next, allow the second layer of stain to dry only for several minutes. Wipe off the surface of the wood with a clean, dry rag and sand it slightly if you wish to accentuate by “wearing off” particular areas.
Repeat the process by alternating the gray and brown wood stain until you get the desired results. Finish with a matte coat of polyurethane.
What do you think about this tutorial? Remember that you can apply this technique for driftwood (almost) anything (maybe except for your cat, okay?).
This is a beginner-friendly method for those of you who want to learn how to make wood look like driftwood without getting confused with way too many ideas on that note (some of which require quite a set of tools).
If you enjoyed reading this article and find it useful, you can help us spread the positive vibes with the world. Don’t forget to like and share this content to make an impact. Your opinion matters! Join us in the comment section below.
